I’m hoping that that sun will be out in Suffolk this week as we are holidaying there!…We have booked an Airb&b cottage near to Framlingham, I have since discovered that this is Ed Sheeran’s home town – his song ‘Castle on the Hill’ was referring to Framlinghams’s very own castle! Anyway, apart from star spotting(!), I am looking forward to discovering yet another corner of the UK that I have never really visited. I have researched a few nearby gastro pubs (watch out for my reviews), but I will probably cook a couple of lunches and dinners so that we can relax and enjoy our rented cottage and its garden. Cooking in an ‘unknown’ kitchen, without ones trusted utensils, can be a challenge, plus I don’t want to spend too much time at the stove, so I have been thinking about a few menus which will require little effort. I thought that this week I would share these, as no doubt they will be useful for you to have, not only for cooking at home but also away!…
Menu One is ‘One Pot Summer Chicken’, all you have to do is brown the chicken pieces and cook them in a pot with some stock and lovely fresh vegetables – baby gem lettuces, asparagus and peas. It really doesn’t need much to accompany it, just a good glass of wine and hopefully some warm weather to enjoy it al fresco; although, some steamed new potatoes wouldn’t be a bad thing. Menu Two is ‘Mullet with a Mustard Crust’, this is simply a case of mixing the mustards and spreading them over fish, then baking them in the oven for about 20 minutes. Once again a good salad and steamed potatoes are a good accompaniment. Finally, not one but two recipes for this month’s ‘Blast from the Past’ recipe. I posted these last July, both recipes use Sauce Vierge, which is a no cook tomato and herb sauce. The sauce can be served with fish – in this case simply pan fried plaice or for an even simpler alternative and a vegetarian option, it is delicious served with spaghetti – ‘Spaghetti alla Sauce Vierge’!
Enjoy…See you next Tuesday for my ‘Tuesday Treat’!
(Don’t forget to check out my ‘Eating Out’ page for new restaurant reviews – just recently I enjoyed ‘Bocca di Lupo’ in Soho and ‘Claude Bosi’ in South Kensington!)
One Pot Summer Chicken with Asparagus, Peas & Lettuce (Serves 4)
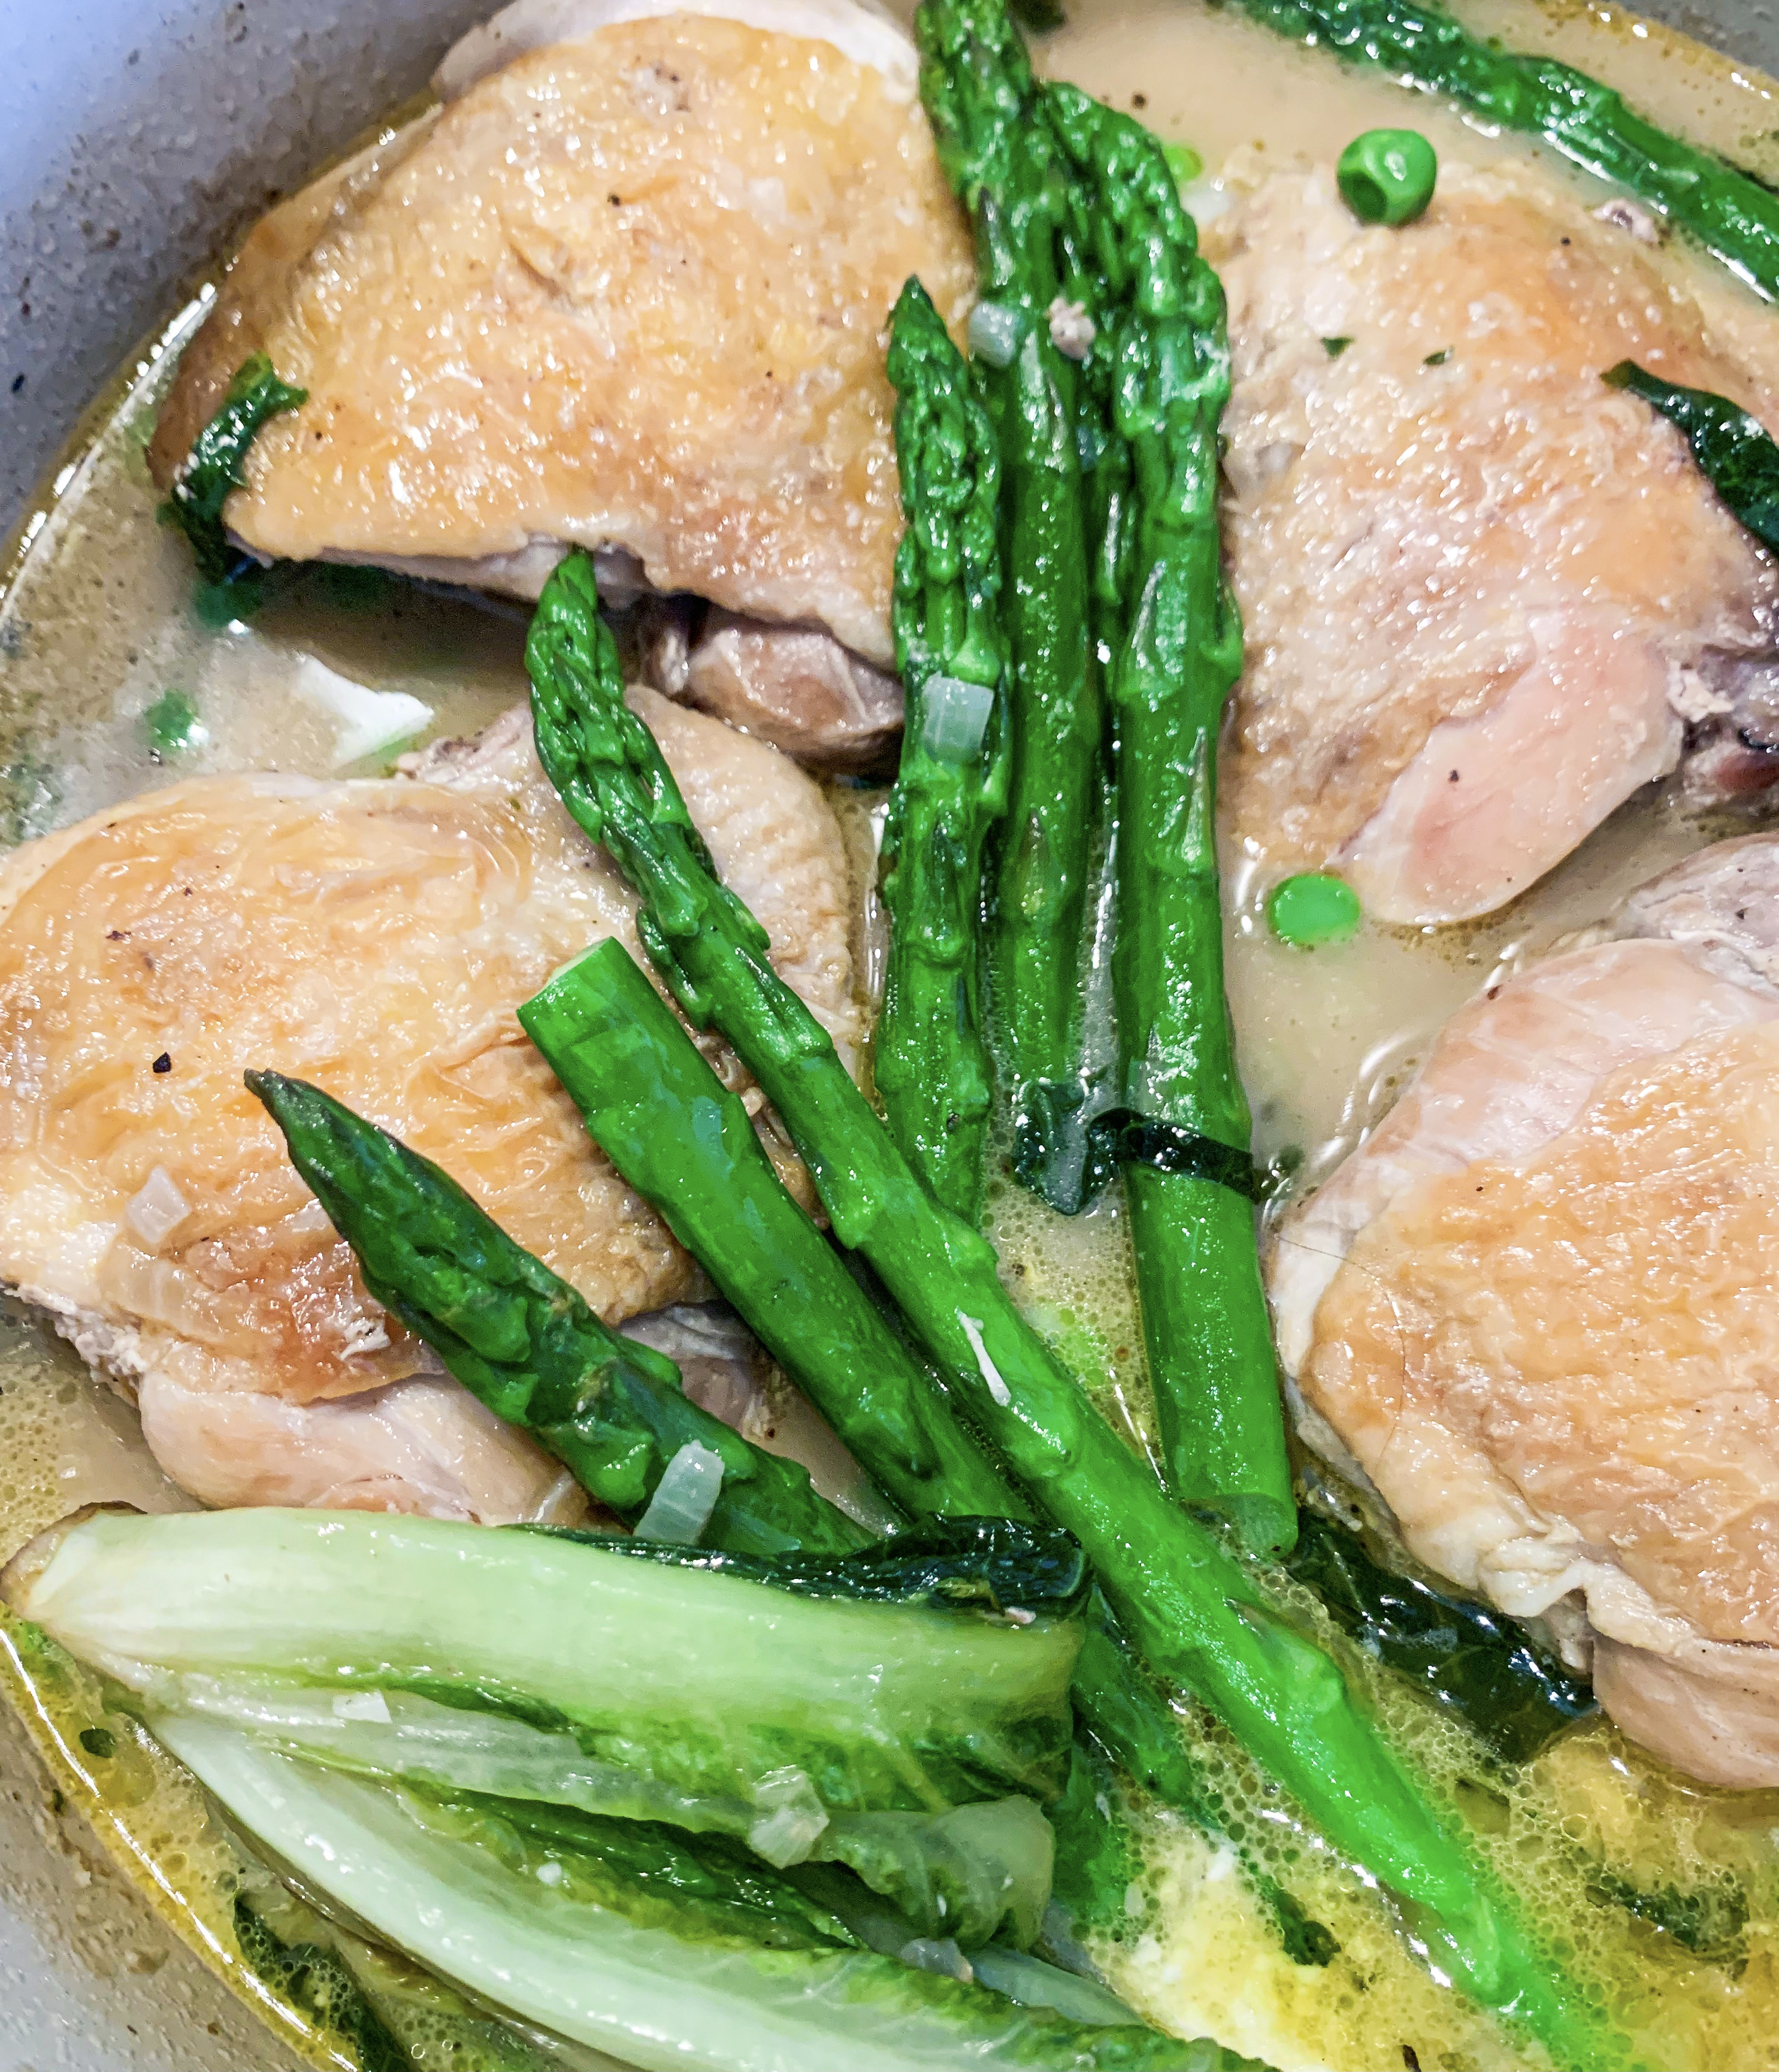
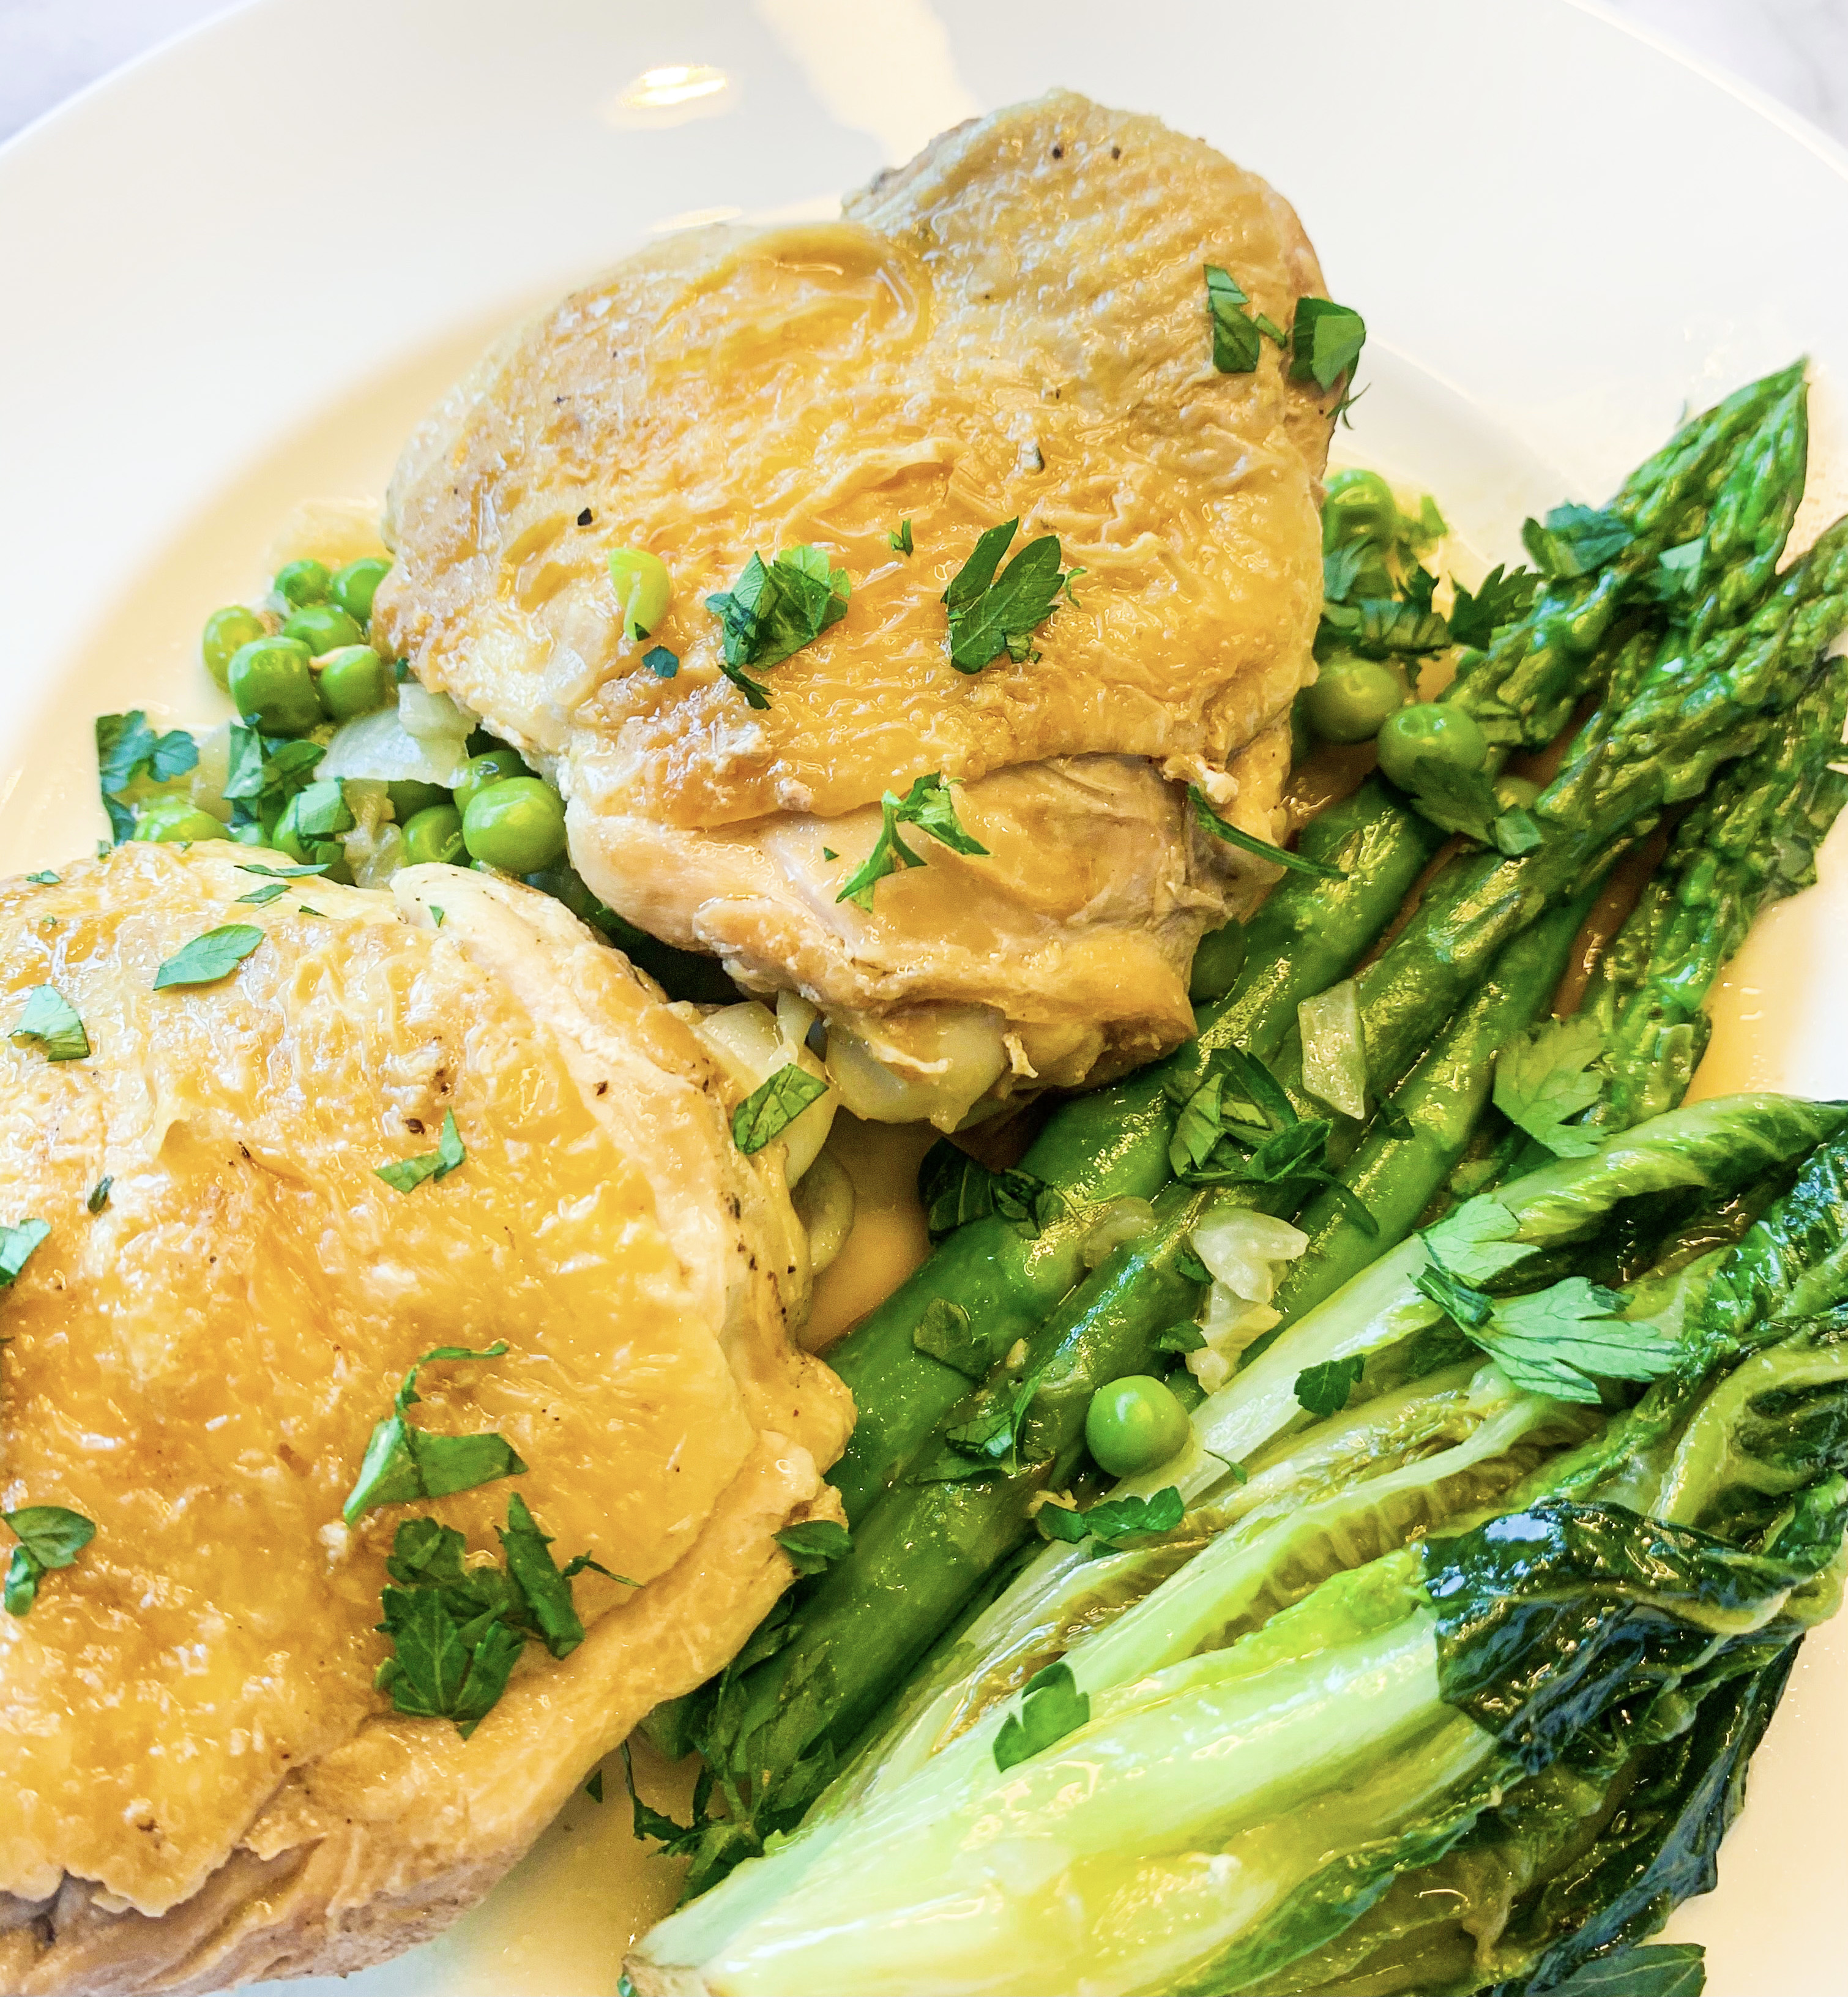
This is such an easy dinner dish, all you have to do is brown the chicken pieces and cook them in a pot with some stock and lovely fresh vegetables – baby gem lettuces, asparagus and peas. I particularly love the baby gem lettuces in this dish, they are one of my favourite summer vegetables; if you haven’t cooked them on their own before, you really should try them – see my recipe here! It really doesn’t need much to accompany it, just a good glass of wine although, some steamed new potatoes wouldn’t be a bad thing!
1 tablespoon olive oil
8 small chicken thighs, skin-on and bone-in
1 onion, chopped
3 garlic cloves, chopped
2 baby gem lettuces, halved lengthways
400ml chicken or vegetable stock
3 thyme sprigs
250g asparagus
160g fresh or frozen peas
2 tablespoons crème fraiche
Small bunch fresh parsley, chopped
Sea salt and black pepper
- First of all prepare your asparagus, snap off and discard the woody ends and if the tips are particularly large cut them in half lengthways. Keep to one side.
- Place a wide, large casserole dish with the oil over a high heat, add the chicken, skin side down, and cook on a high heat until the skin has browned. Remove and set aside.
- Add the onion and fry for 2 minutes, stirring. Add the garlic, stir, then add the lettuce halves, cut side down, for 30 seconds. Then flip them over and add the stock and thyme and bring everything to the boil.
- Lower the heat to just below boiling and cook for 15 minutes.
- Add the asparagus and peas and cook for a further 6-8 minutes until al dente.
- Check the chicken thighs are cooked through and lift out onto a plate.
- Stir in the crème fraiche and chopped parsley, season to taste.
- Return the chicken to the pan to serve at the table.
Mullet with a Mustard Crust (Serves 4)
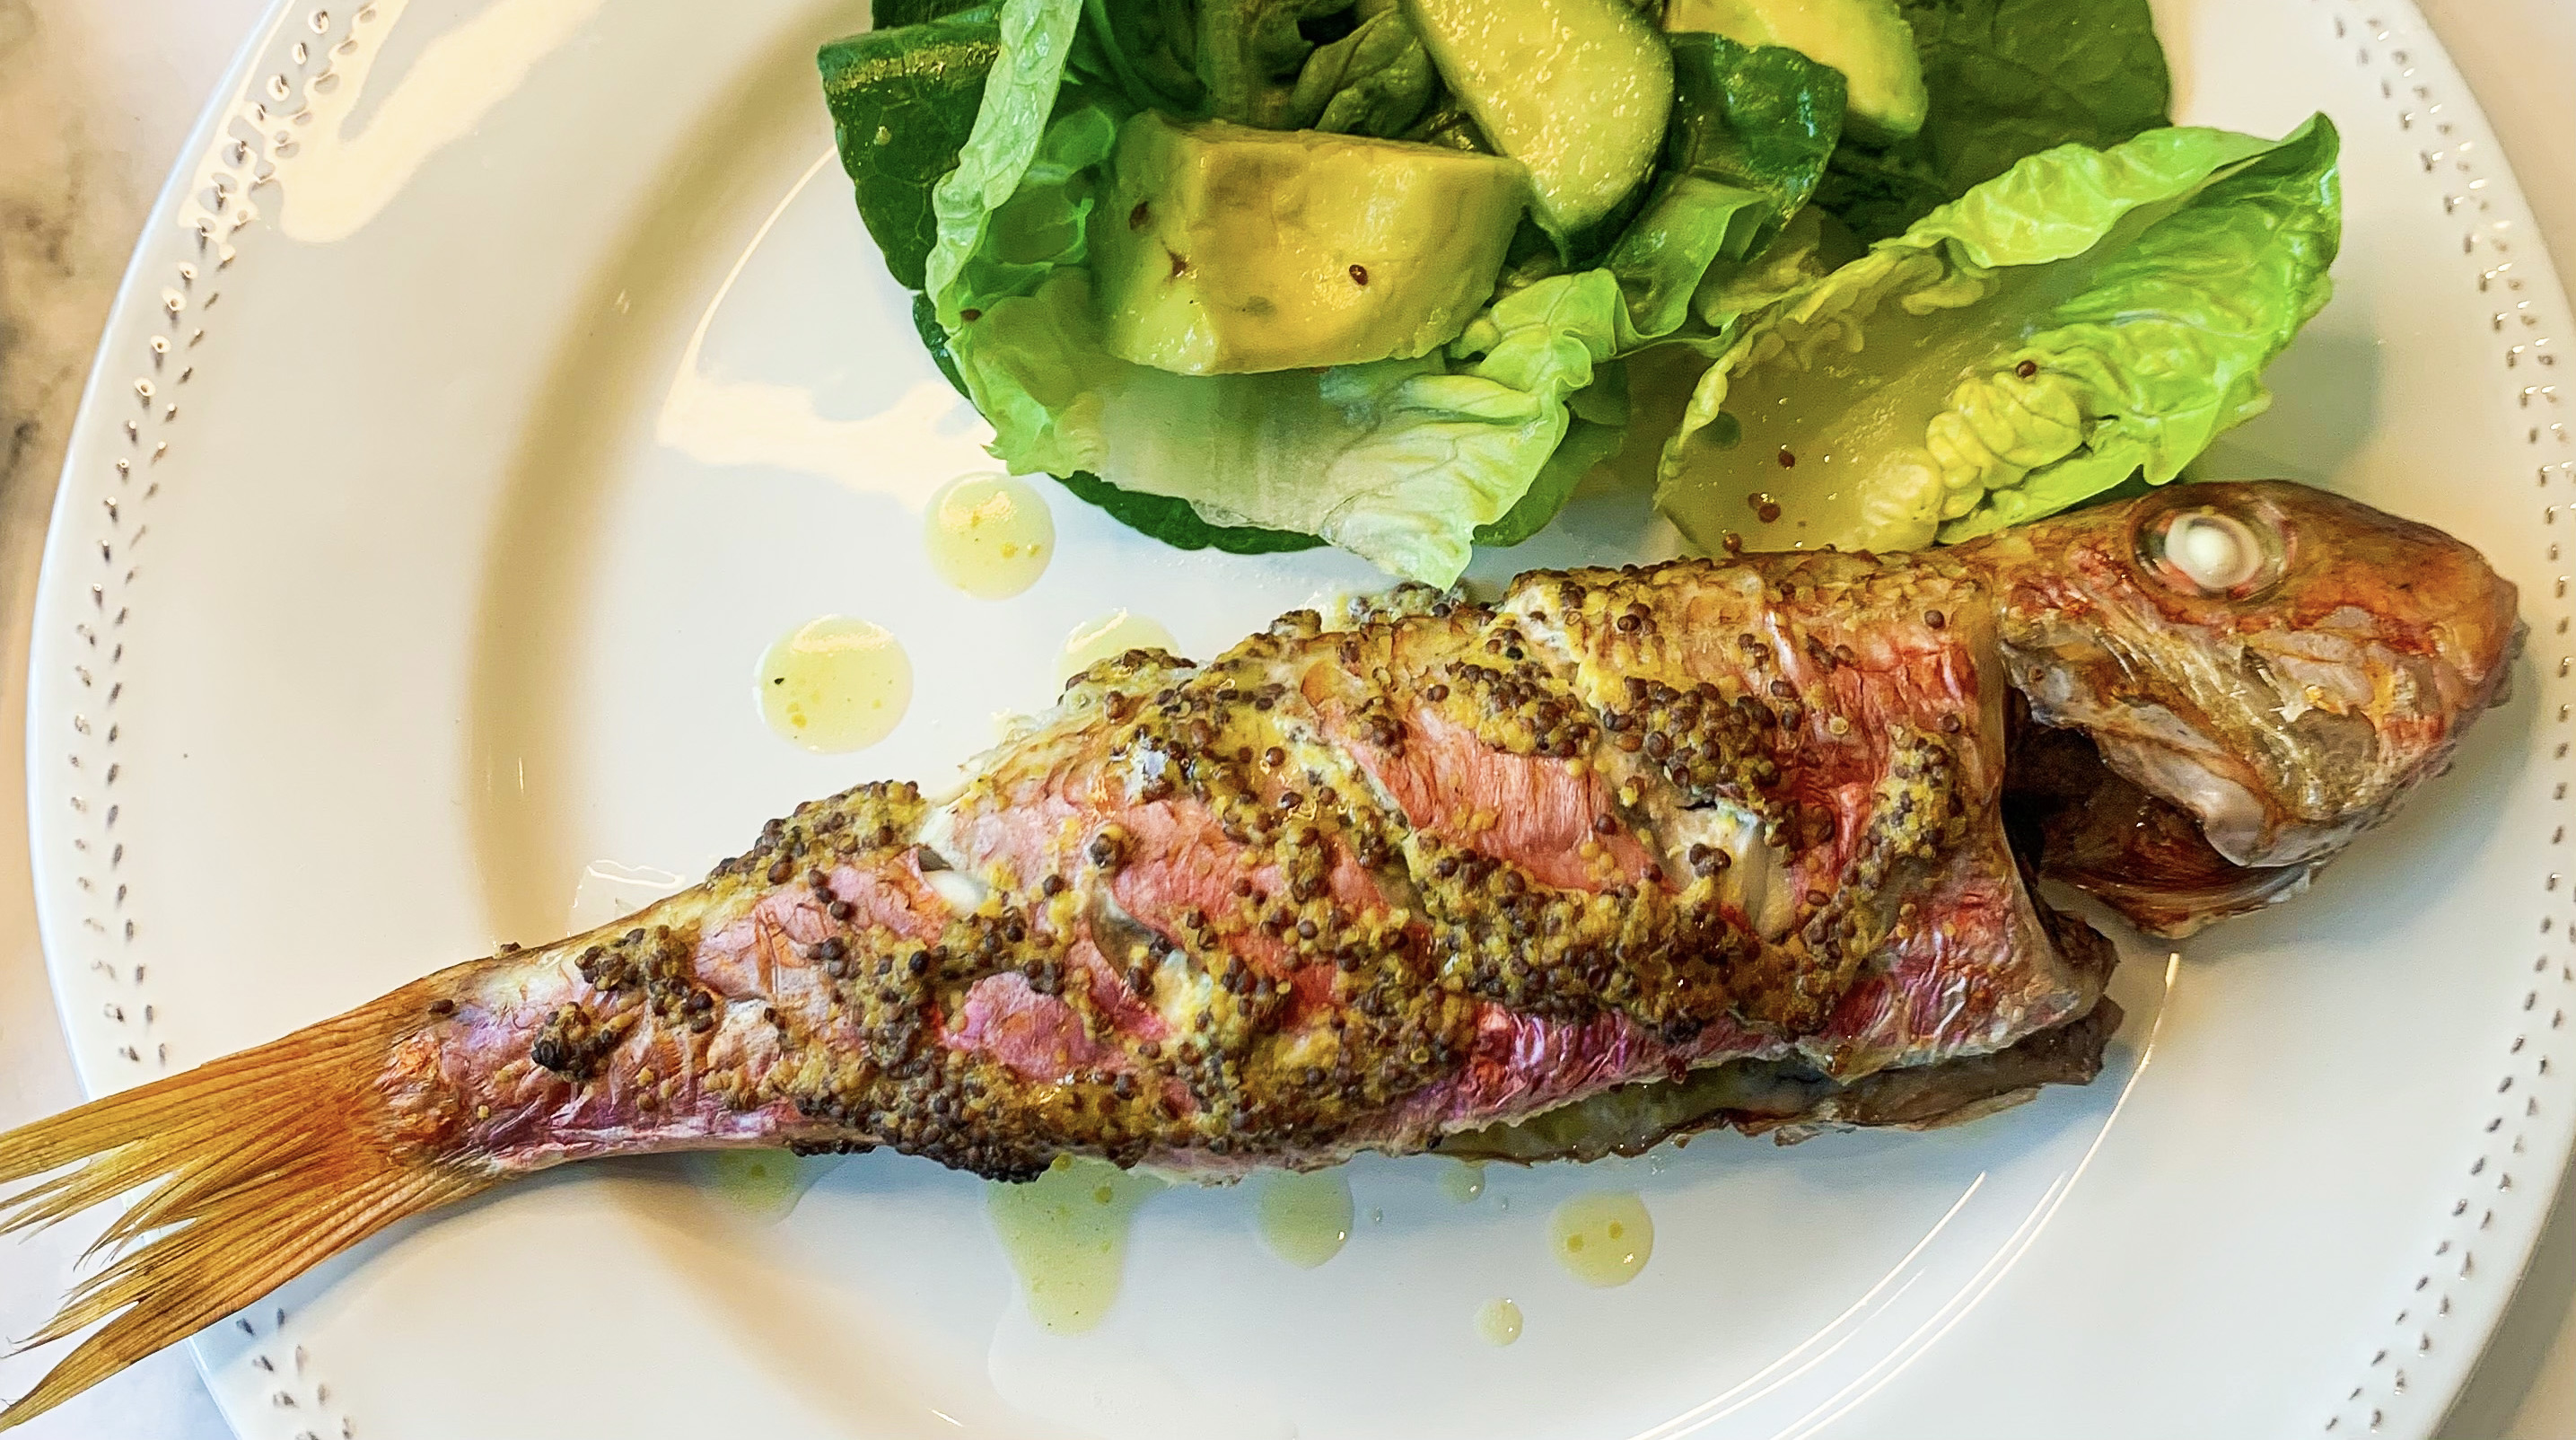
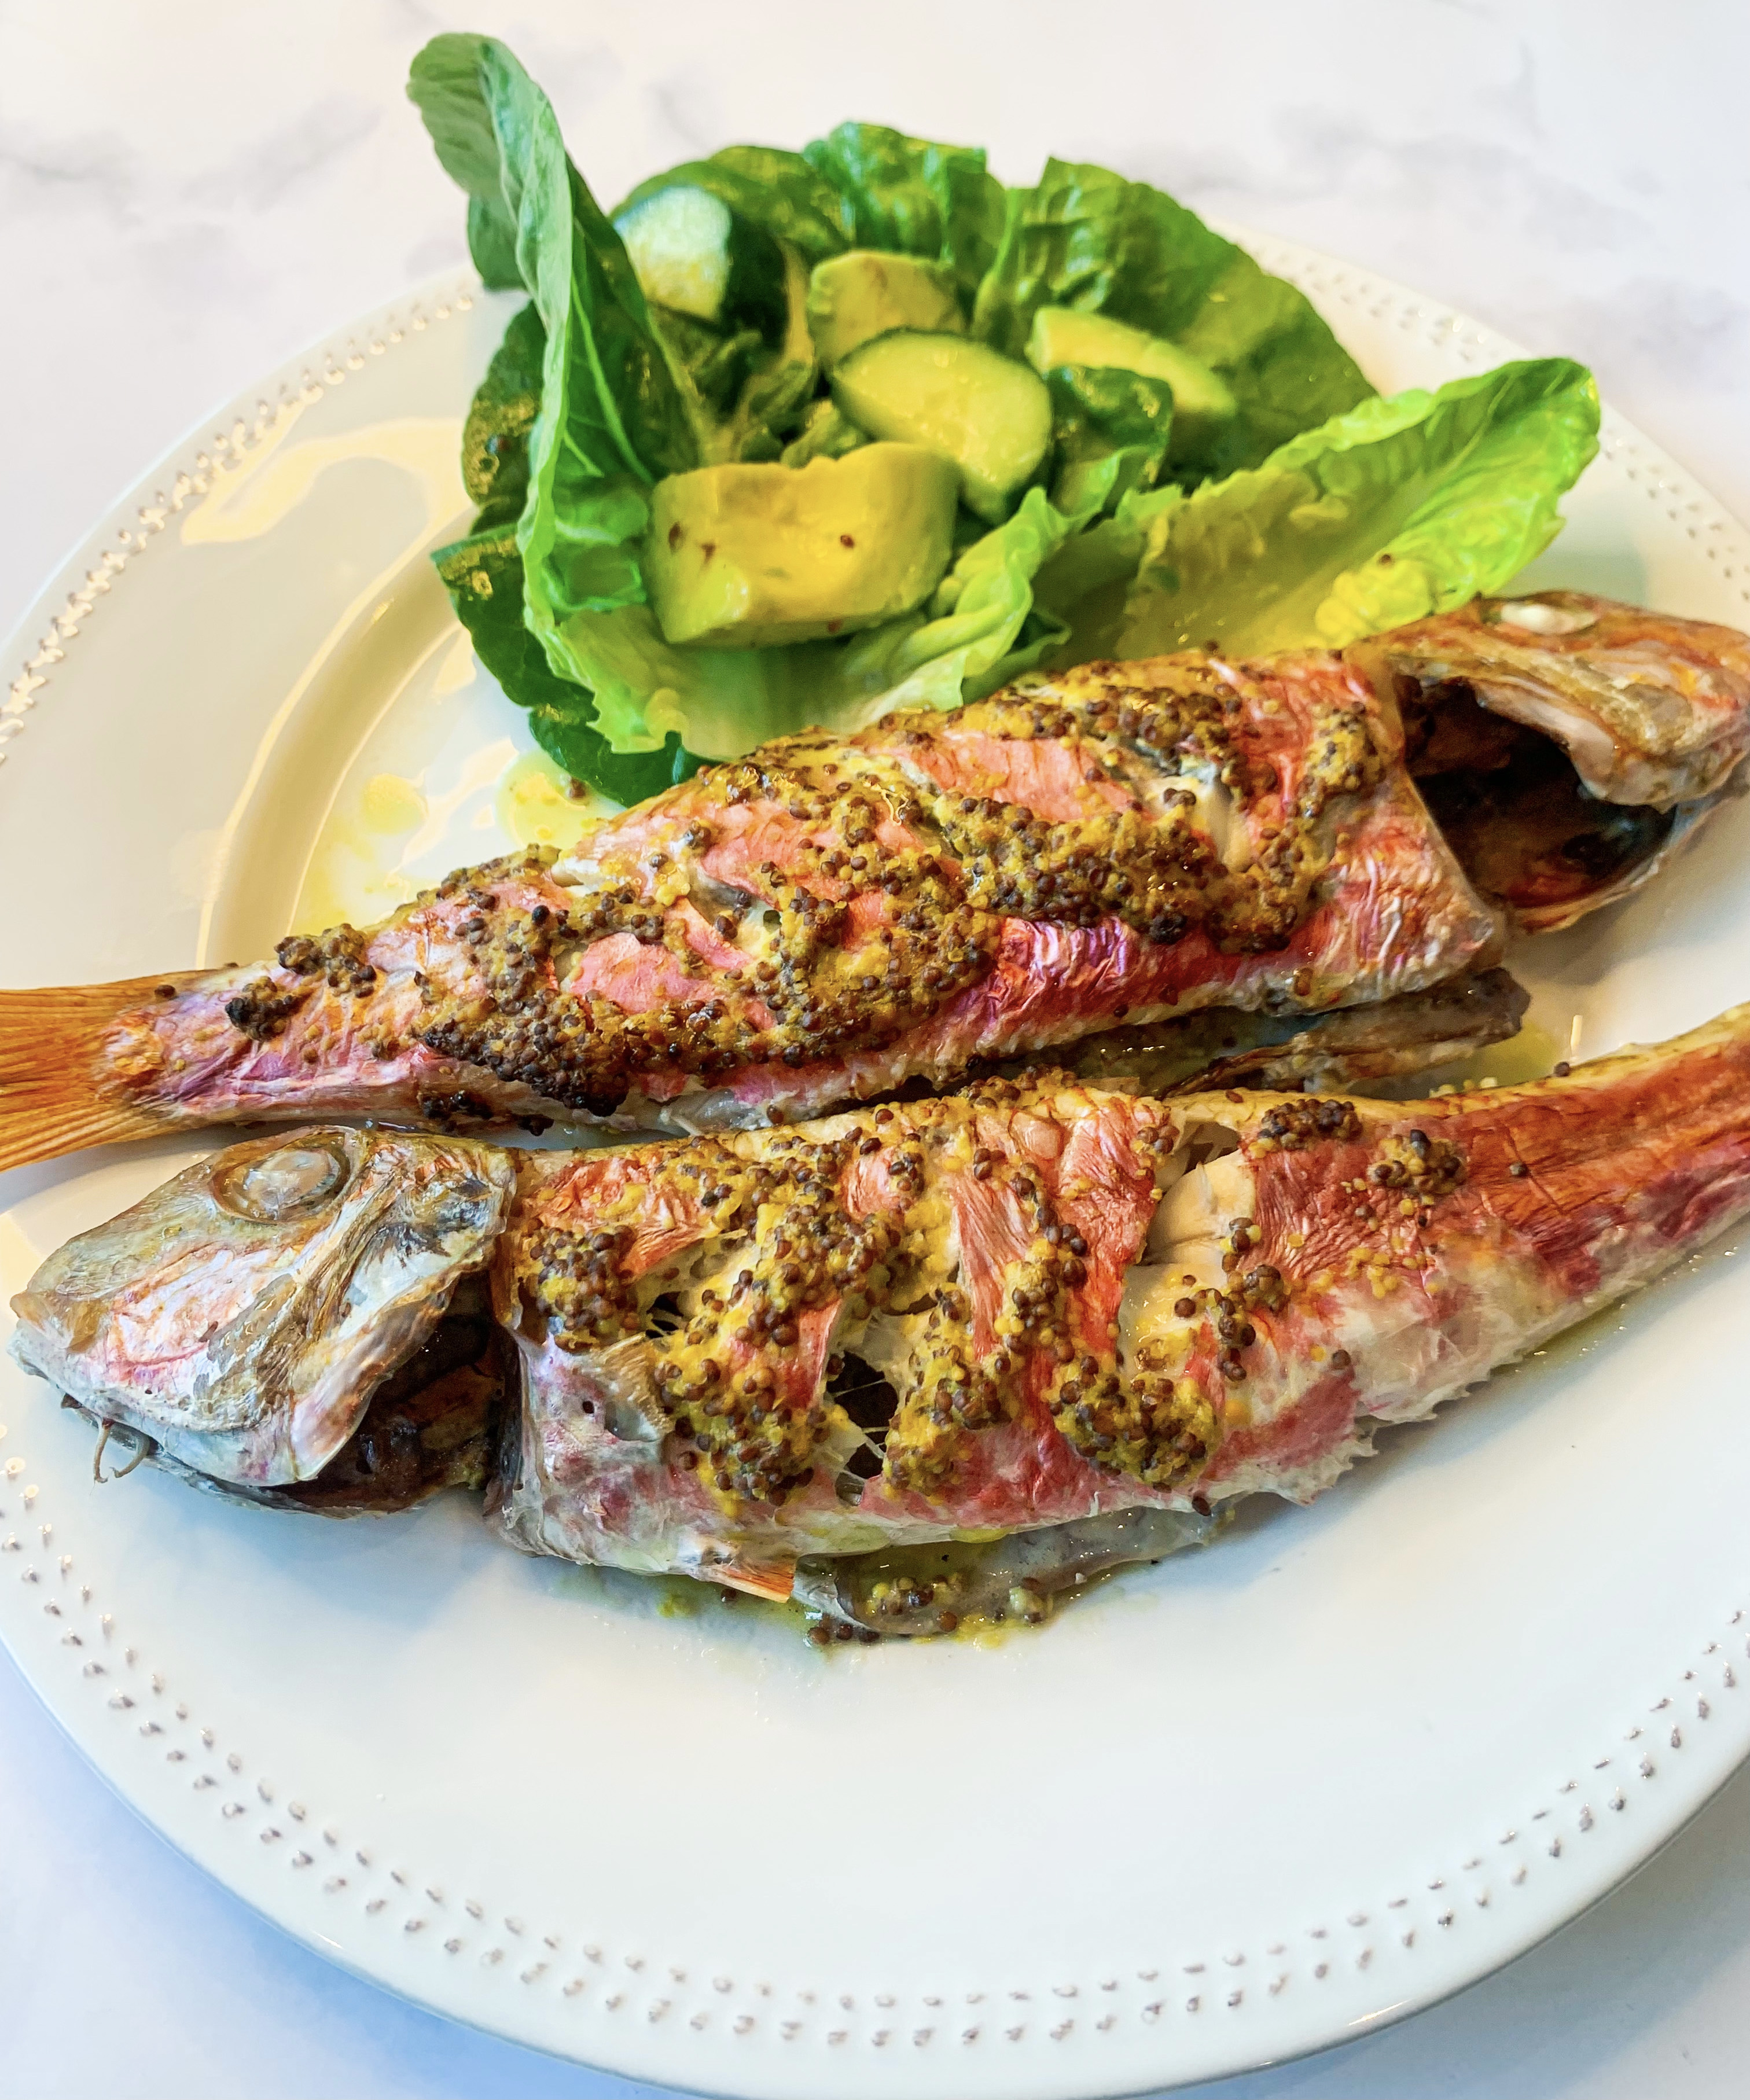
Such a lovely way to cook this fish and so tasty! It is simply a case of mixing the mustards and spreading them over, then baking the fish in the oven for about 20 minutes. Serve with a good salad (use a Honey Mustard Vinaigrette – recipe below) and steamed potatoes.
4 Red Mullet, gutted and scaled
2 tablespoons Dijon mustard
200g grainy mustard (such as Meaux)
Olive oil
- Make 3 incisions across the fish on each side.
- Mix the Dijon and grainy mustard together and spread quite thickly over the fish – you may not use all of the mustard mix.
- Lightly oil a large baking tray, place the fish on it and bake in the oven, 200’c fan, for 20 minutes.
- Serve at once with steamed potatoes and a good salad – I like to dress it with Honey Mustard Vinaigrette, recipe below.
Honey-Mustard Vinaigrette
Make up a salad as desired and dress with this honey-mustard vinaigrette:
1 teaspoon wholegrain mustard
4 tablespoons olive oil
Finely grated zest and juice of half an unwaxed lemon
1 teaspoon of honey
Sea salt and black pepper
- Whisk all the ingredients together.
‘Blast from the Past Recipes‘
I first posted the following two recipes last July, they are perfect summer dishes…if you haven’t already tried them, I urge you to now!!…
Fillet of Sole with Sauce Vierge (Serves 4)
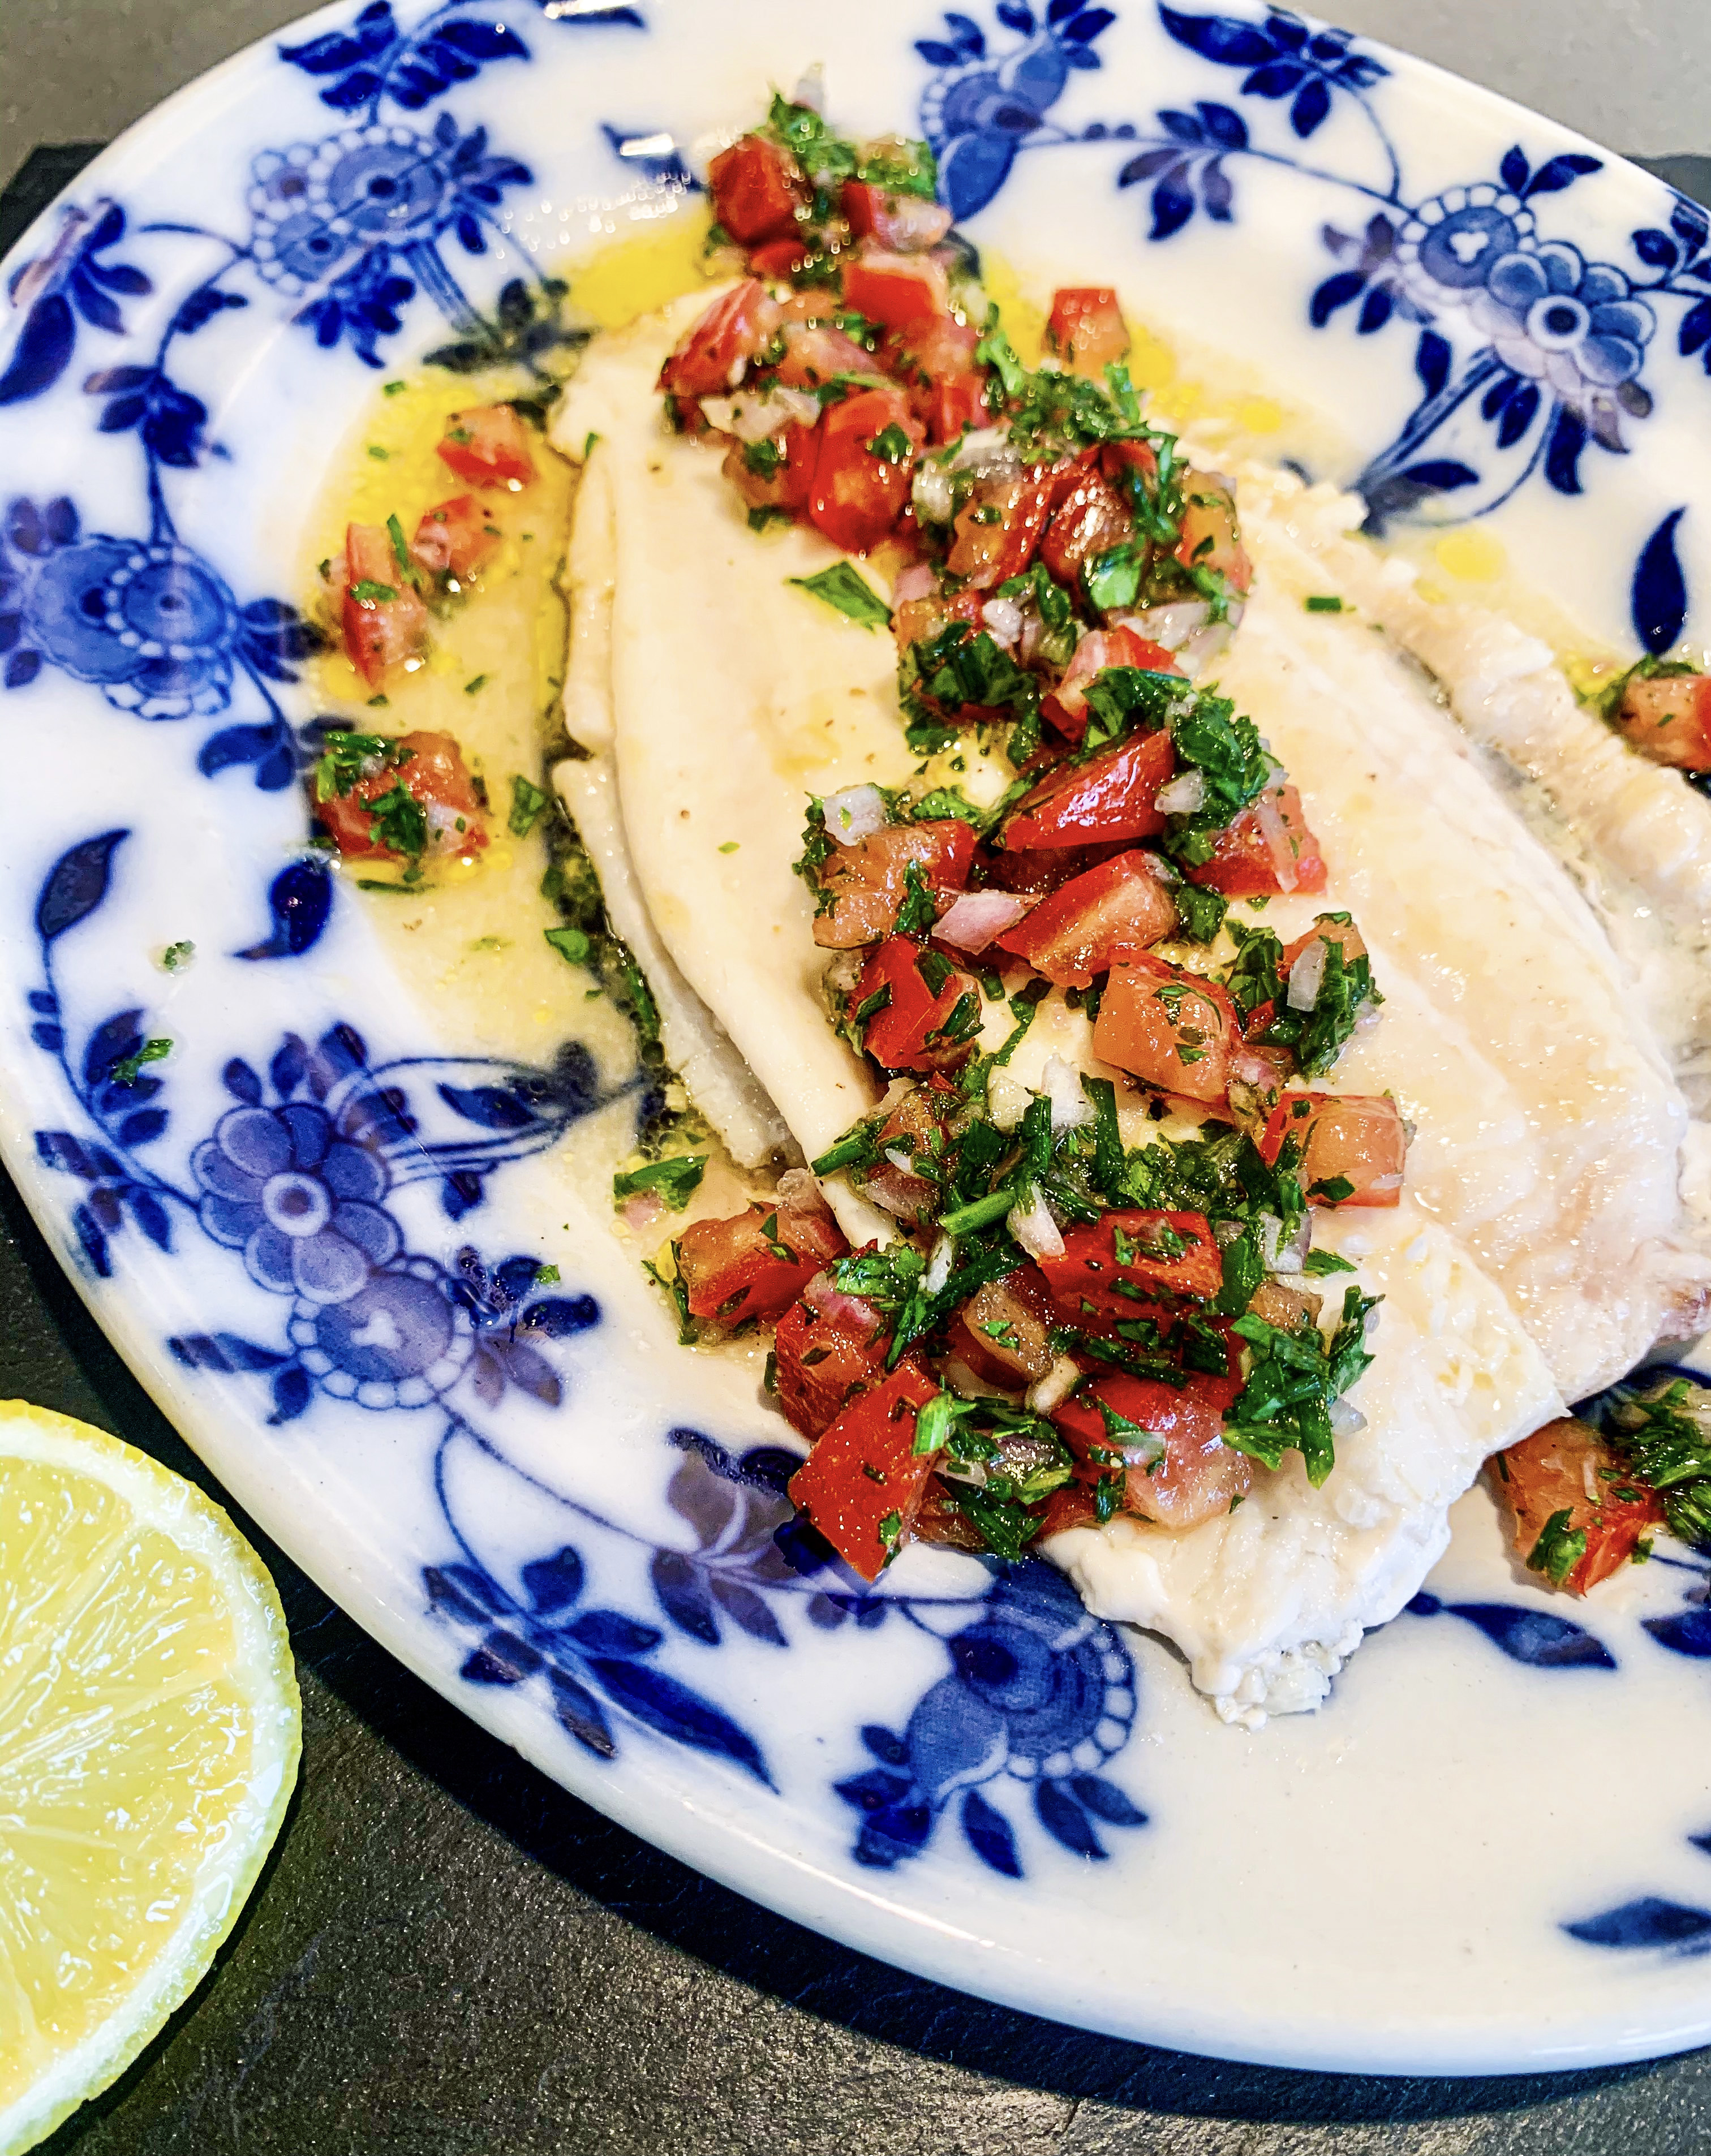
Sauce Vierge is a French sauce generally made with tomatoes, olive oil, lemon juice and herbs, there are many variations but my favourite version is one I found in a cookbook by Nina Parker, ‘Nina’s St Tropez’. It balances the flavours of the vinegar and lemon juice perfectly with the herbs, and is an ideal accompaniment to a delicate fish like sole. It is also a great sauce for pasta – so keep any leftovers for lunch the next day (recipe below)! This fish dish should be kept simple so that the delicate flavour of the sole is not overpowered – so serve simply with fine green beans and steamed new potatoes.
2 large knobs of butter
2 tablespoons of olive oil
1 clove of garlic, finely sliced
4 sole fillets
Juice of 1 lemon, plus one lemon quartered to serve
Sea salt and black pepper
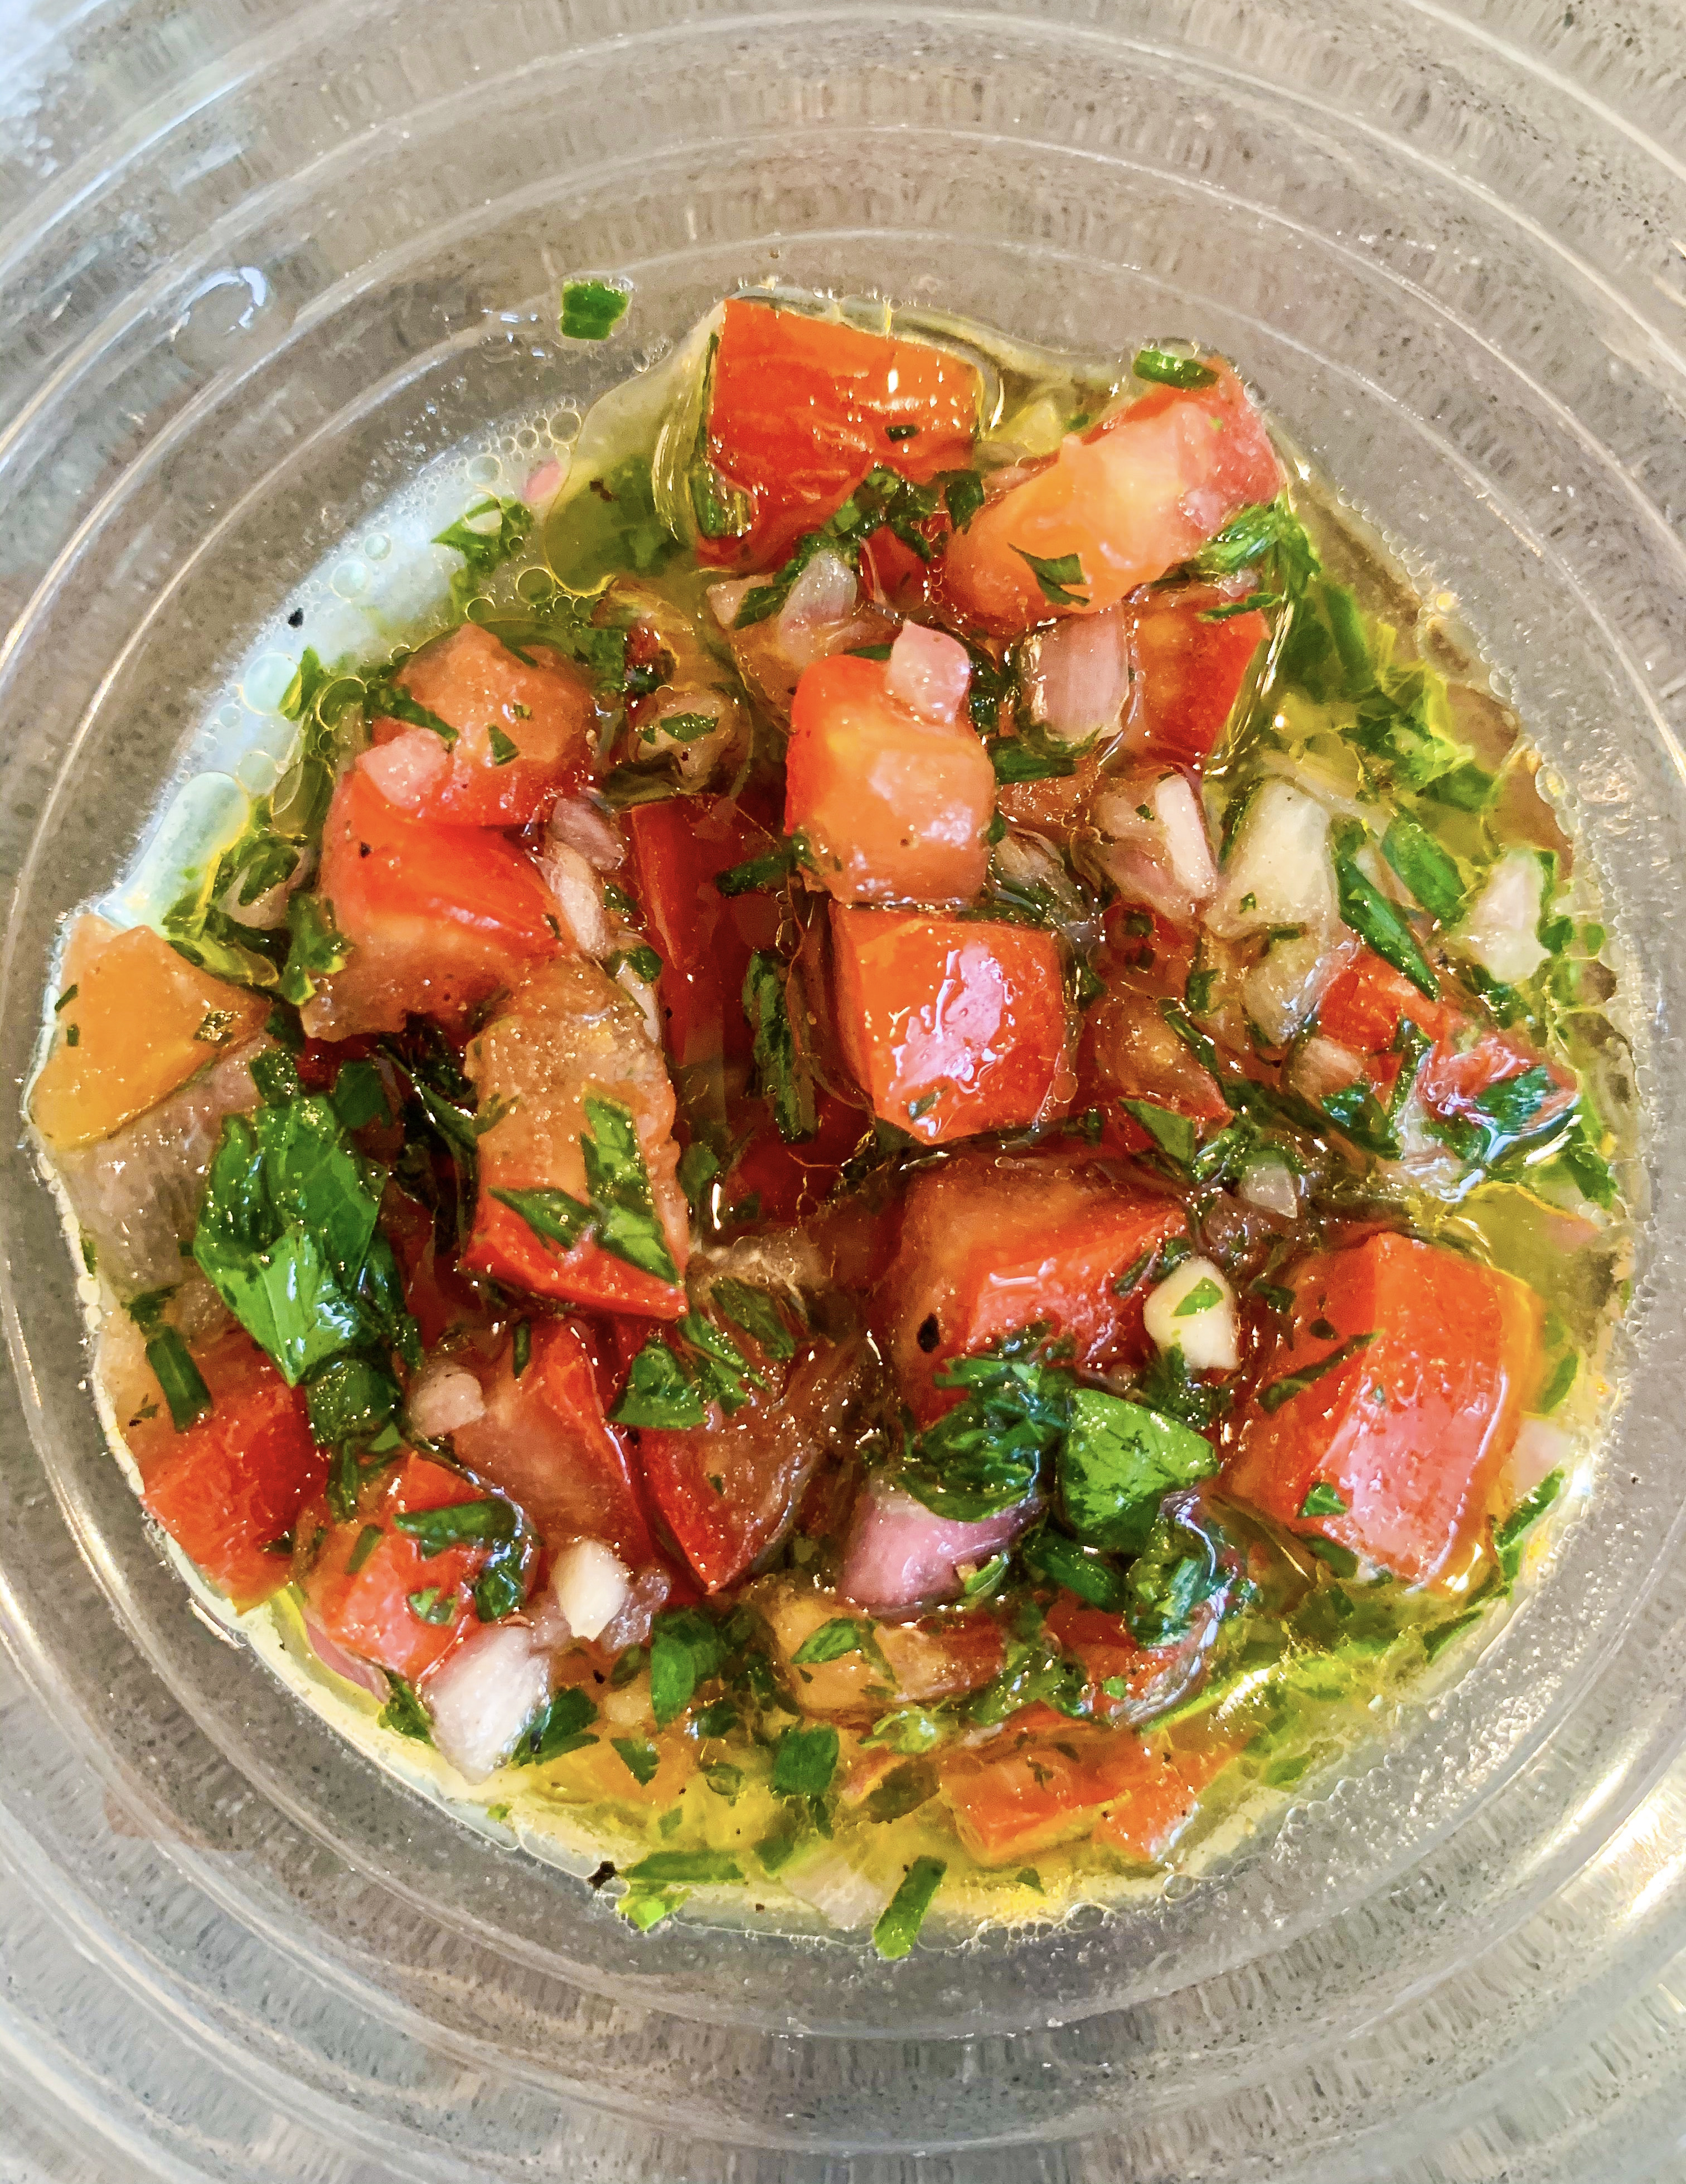
For the Sauce Vierge:
2 spring onions, finely sliced
2 shallots, finely chopped
Bunch of fresh chives, finely chopped
1 clove garlic, chopped
3 tablespoons fresh parsley, chopped
300g tomatoes, about 4 medium
4 tablespoons white wine vinegar
2 teaspoons caster sugar
Juice ½ lemon
60ml olive oil
Sea salt and black pepper
- Cut the tomatoes into quarters, deseed, discarding any liquid – pat them dry on kitchen roll, slice into strips, then finely dice, add to a bowl along with the other sauce ingredients, mix well and season to taste.
- To cook the sole, melt a knob of butter and 1 tablespoon of olive oil over a medium heat, add half the garlic. Reduce the heat to medium, add two of the fillets, skin side down, cook for 3-4 minutes.
- Just before turning the fish add half of the lemon juice. Carefully turn the fish over and cook for a further 1-2 minutes.
- Remove to a warmed plate whilst you cook the other 2 fillets in the same way.
- Serve immediately with the Sauce Vierge and the lemon wedges, fine green beans and steamed new potatoes.
Spaghetti with Sauce Vierge (Serves 4)
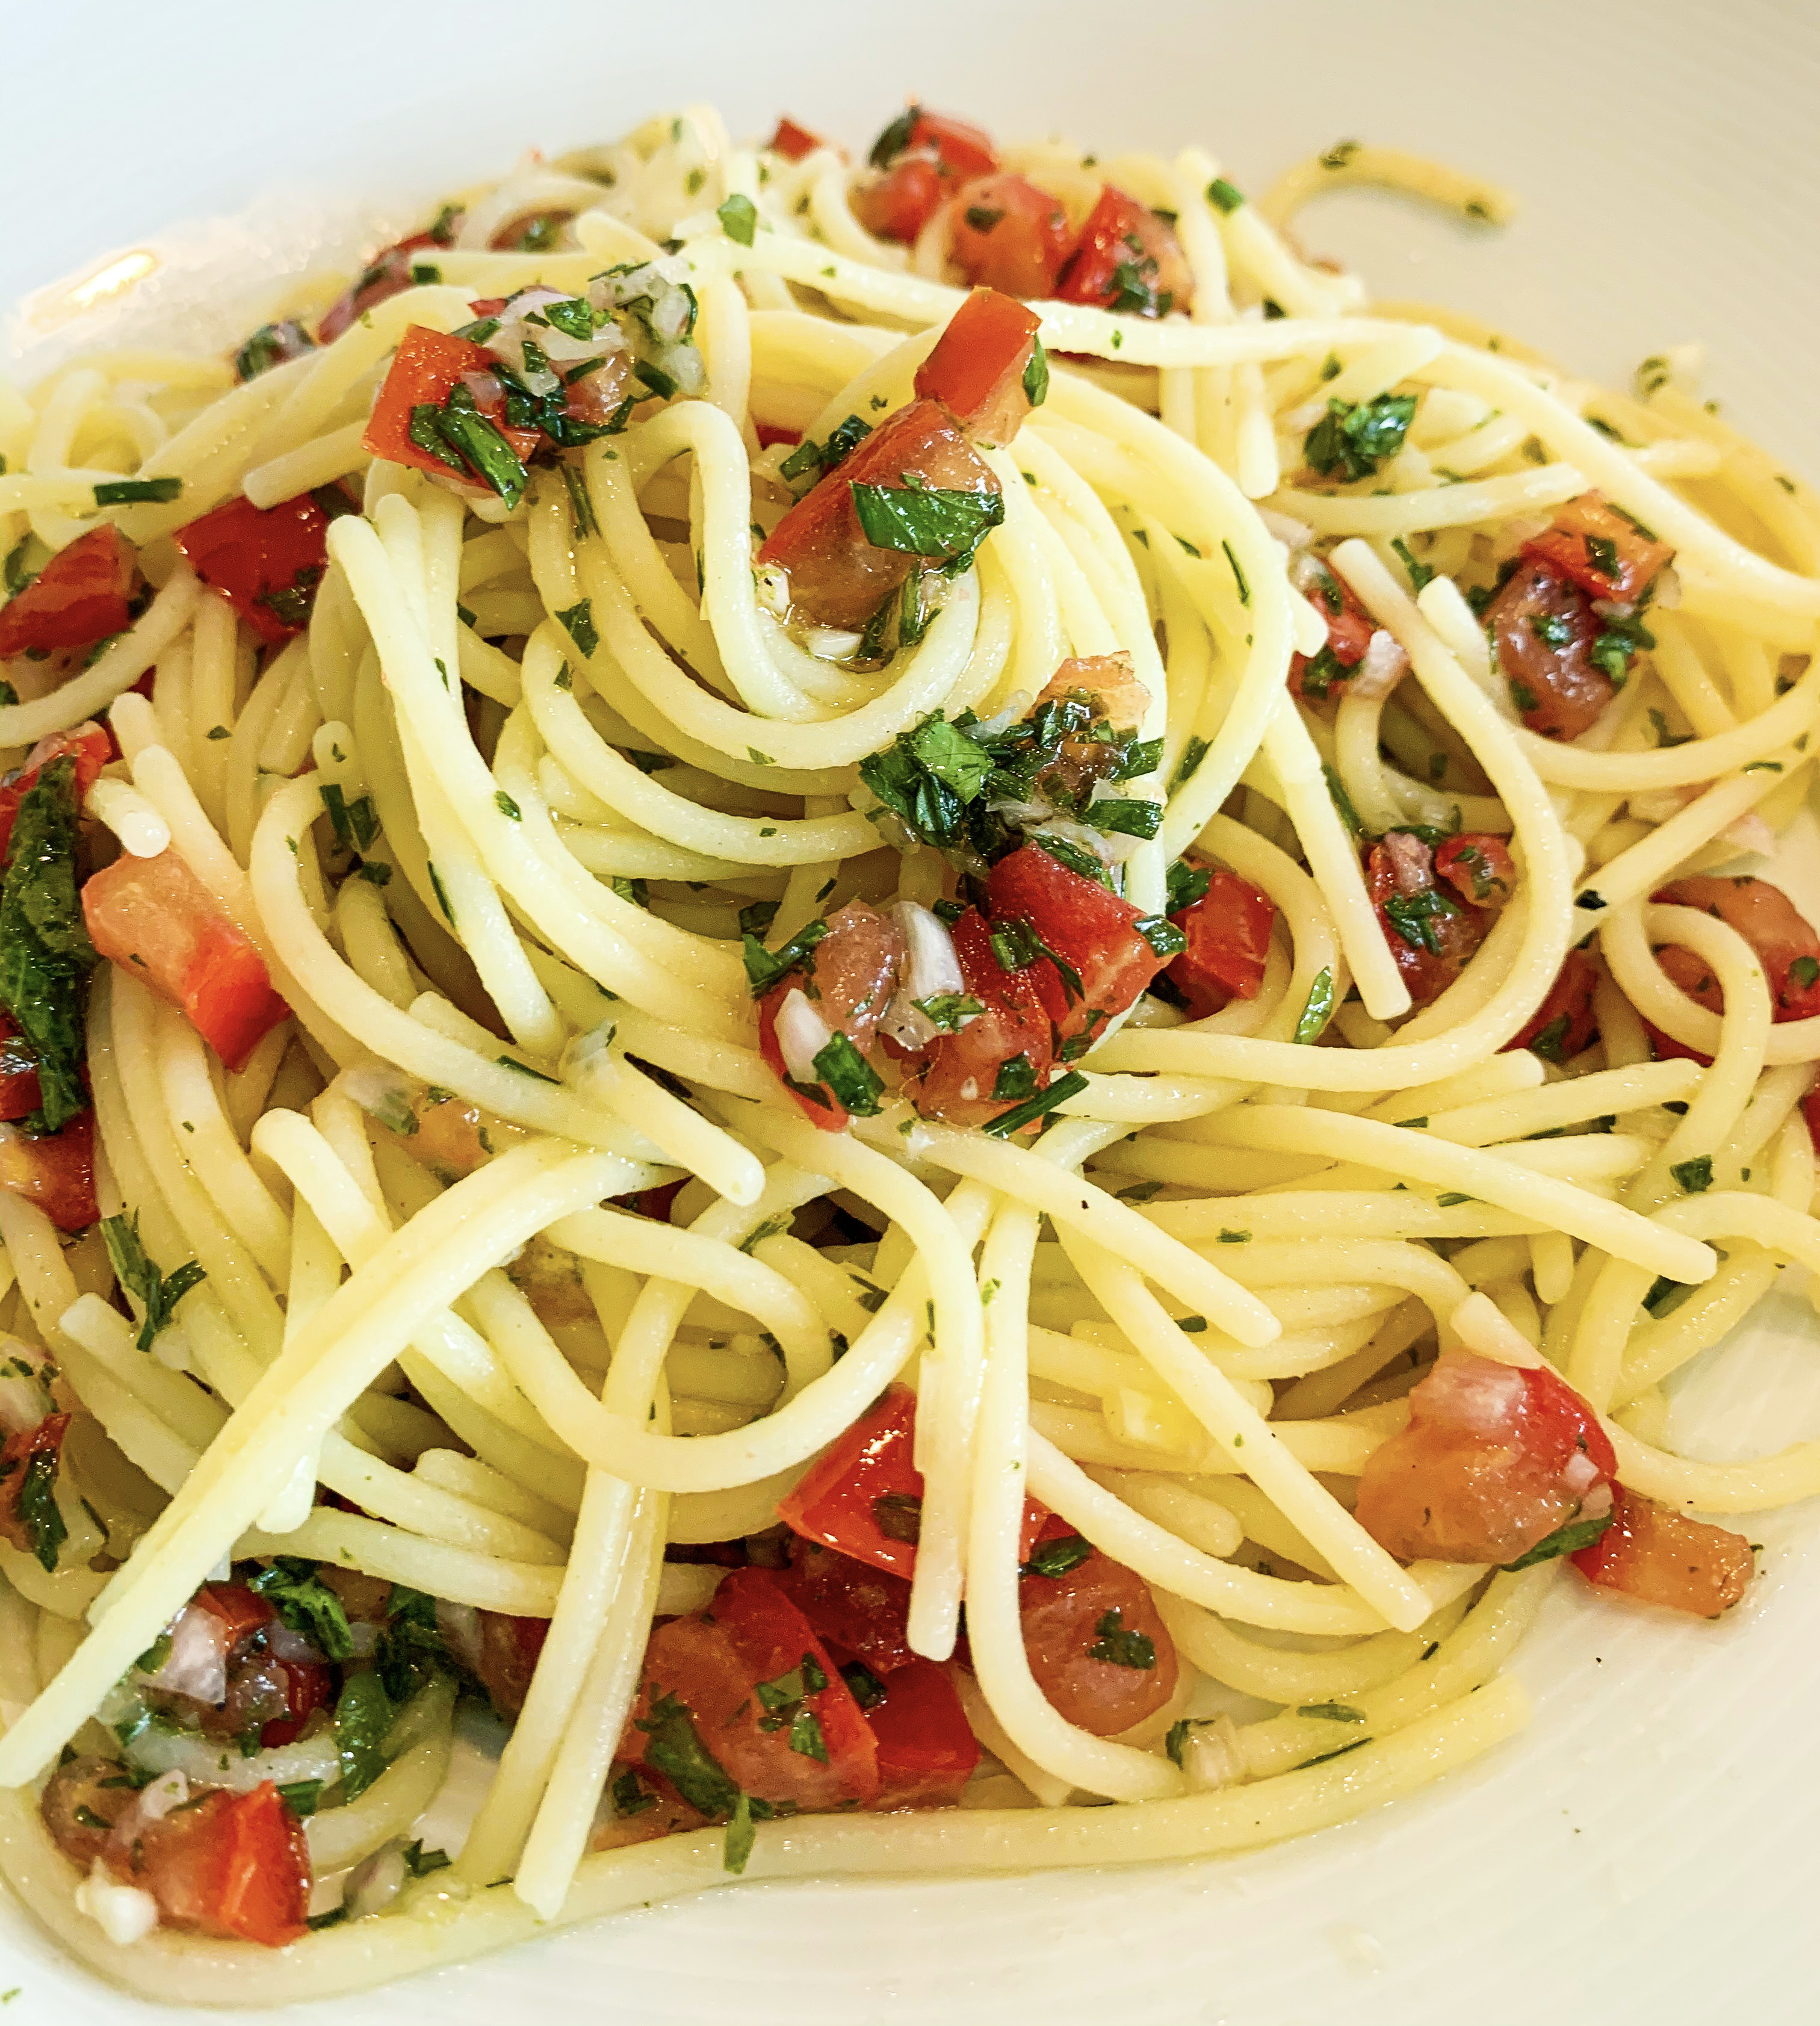
This is a perfect summer pasta dish, a delicious ‘no cook’ sauce for spaghetti with the added bonus of being vegetarian!
400g Spaghetti
Sauce Vierge – recipe above
- Make up the sauce vierge – see recipe above.
- Cook the spaghetti according to the packet instructions until al dente.
- Drain the spaghetti and mix with the sauce vierge.