There is little doubt that most of us are thinking towards that all-important date, December 25th, and about what we’ll be eating with our family and friends! Most of us have our own festive family traditions, so the menu for Christmas Day rarely changes from year to year; I always do a Christmas goose (see my menu here!). But let’s face it, the Christmas season doesn’t last just one day, and if you’re the one who’s hosting there’s definitely the need for a couple of recipes which can easily be doubled (or tripled!) for a crowd…
….Drum Roll Please for Menu Mistress’s December recipes!..
Menu One is ‘Beef, Root Vegetable & Mejool Date Stew’ from the cookbook ‘Sababa’ by Adeena Sussman. It’s a wonderfully comforting, flavourful stew; there’s a subtle sweetness from the dates whilst the unusual addition of preserved lemon at the end of cooking adds an interesting depth to the finished dish. Menu Two is ‘Pork Meatballs with Cider & Chestnuts’ from Claudia Roden’s book, ‘Med’. This is a dish that everyone is bound to love, kids and adults alike! In addition to being easily doubled, both these recipes can be prepared in advance and reheated – the stew in particular tastes even better the day after when the flavours have had time to meld together.
Merry Christmas!.. and for an extra festive sweet treat, check out my Tuesday Treat next week!..
Menu One
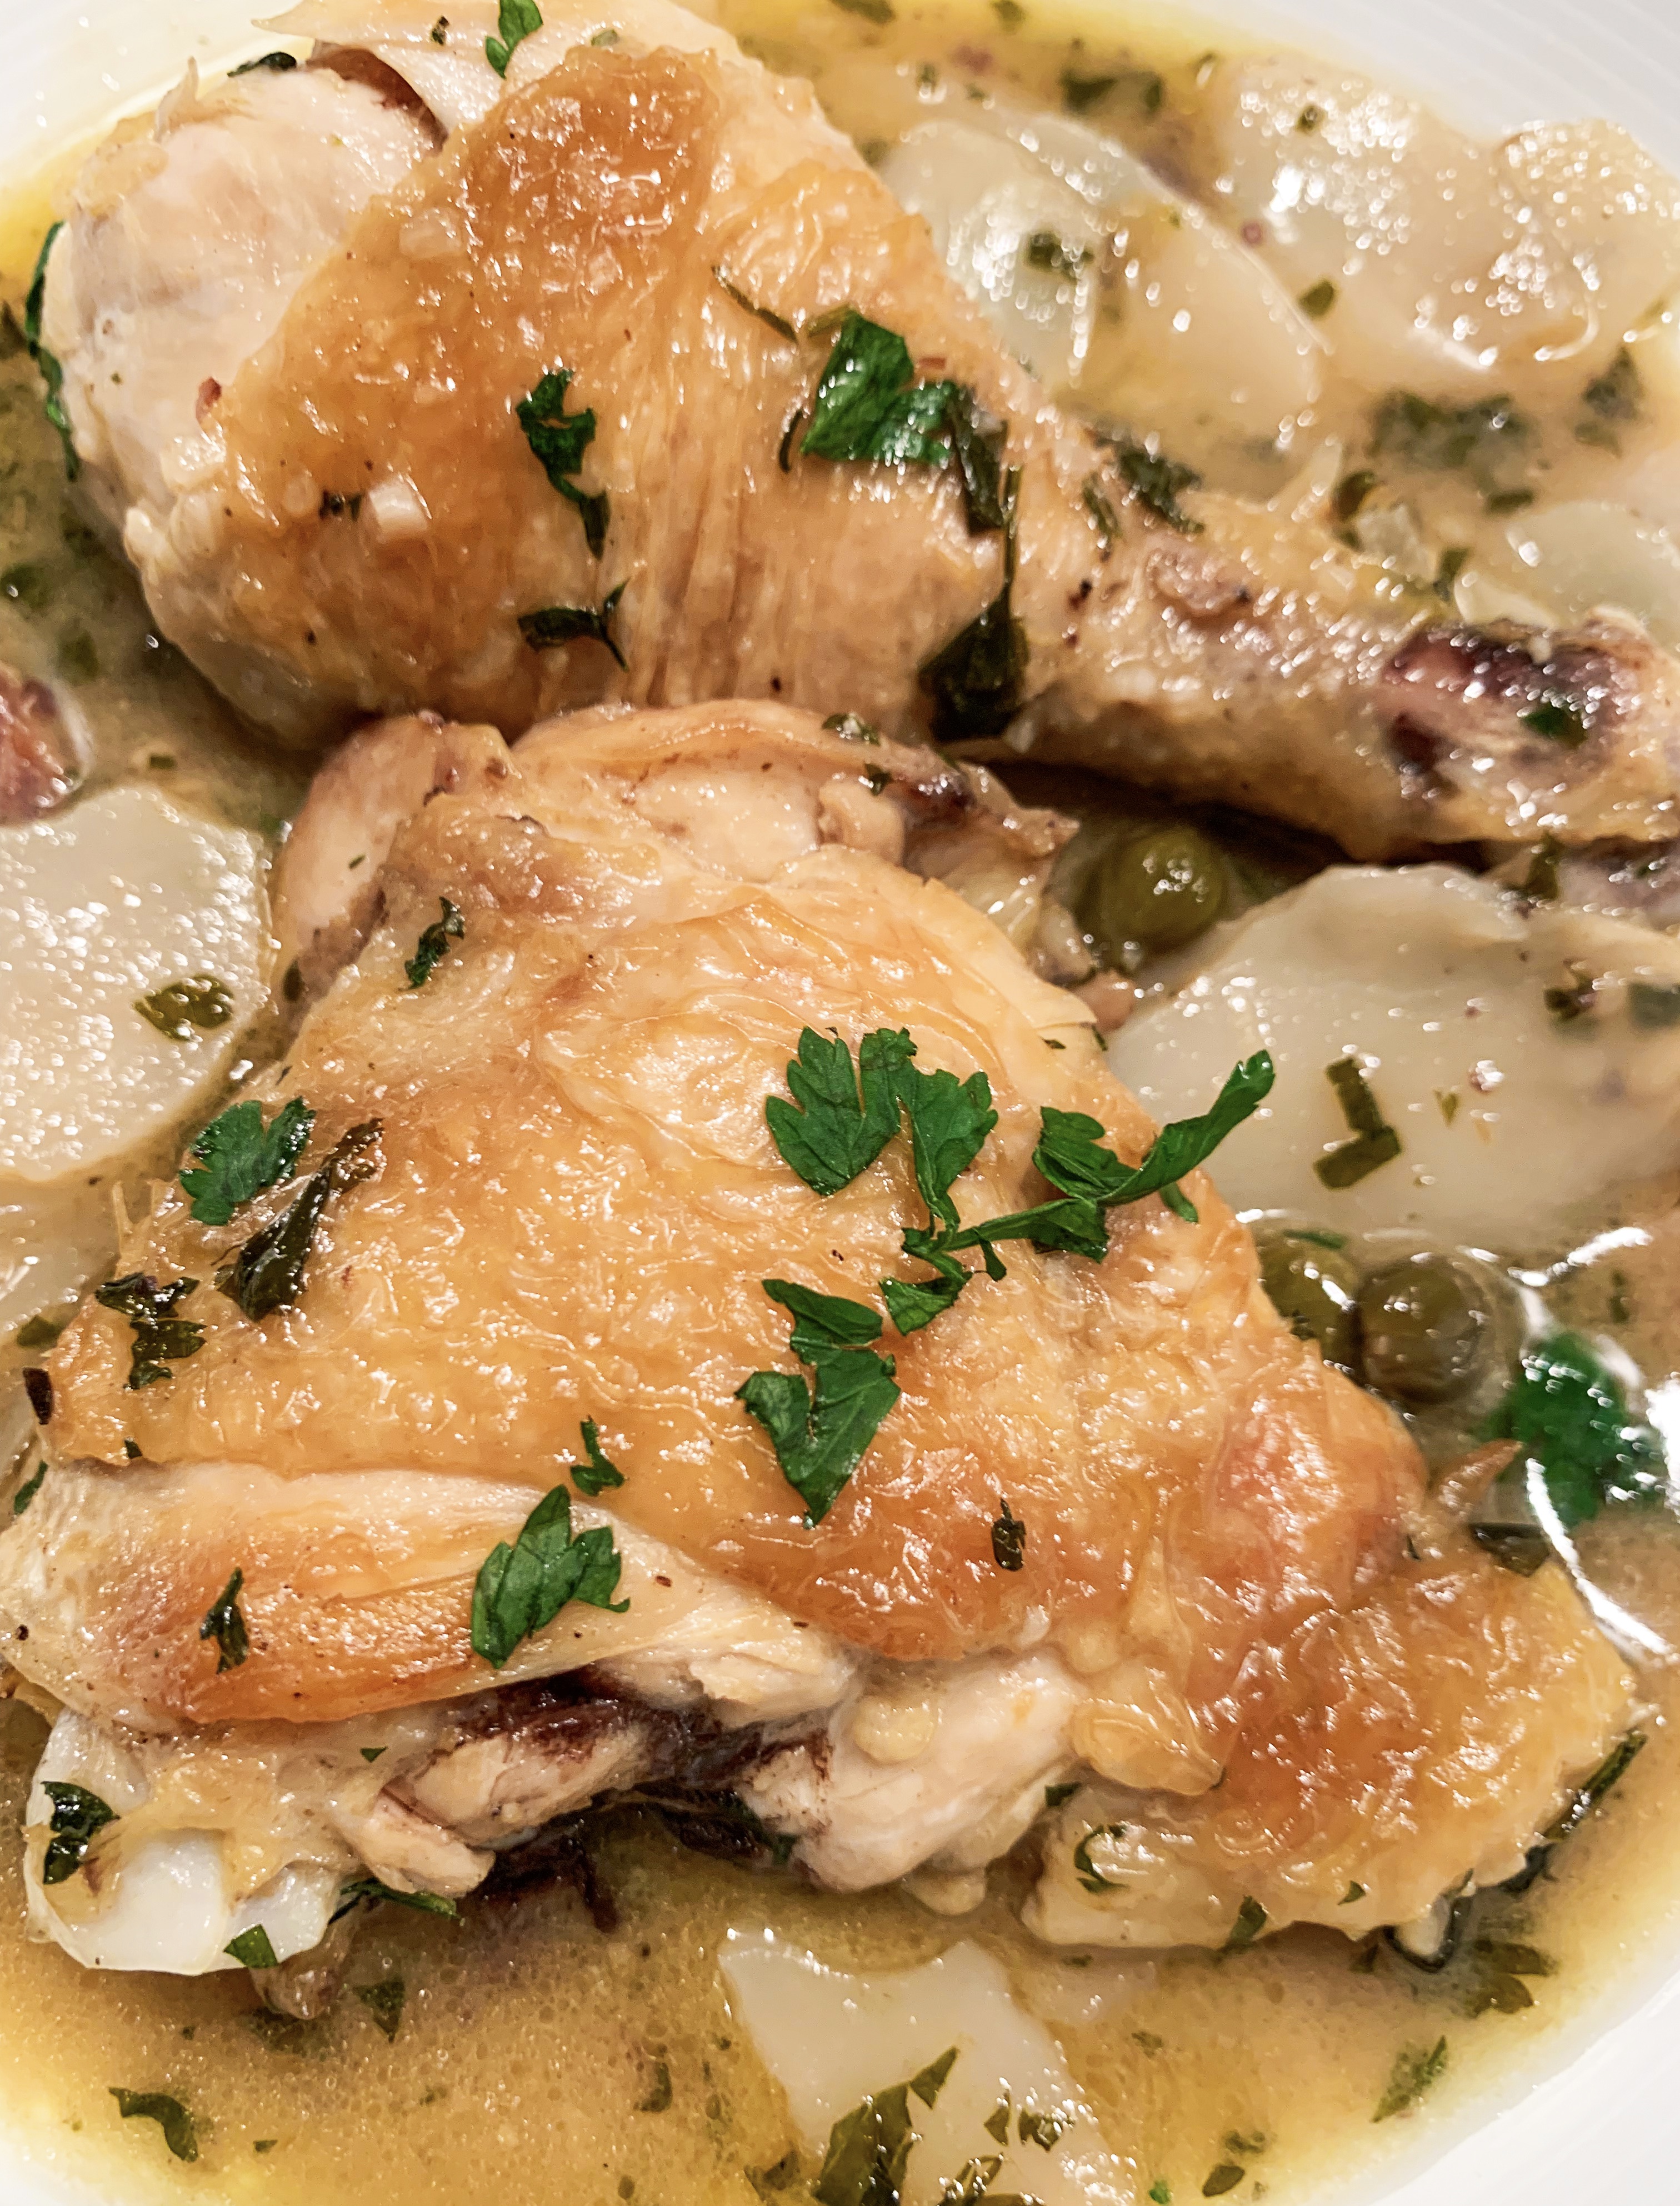
Beef, Root Vegetable & Mejool Date Stew (serves 6-8)
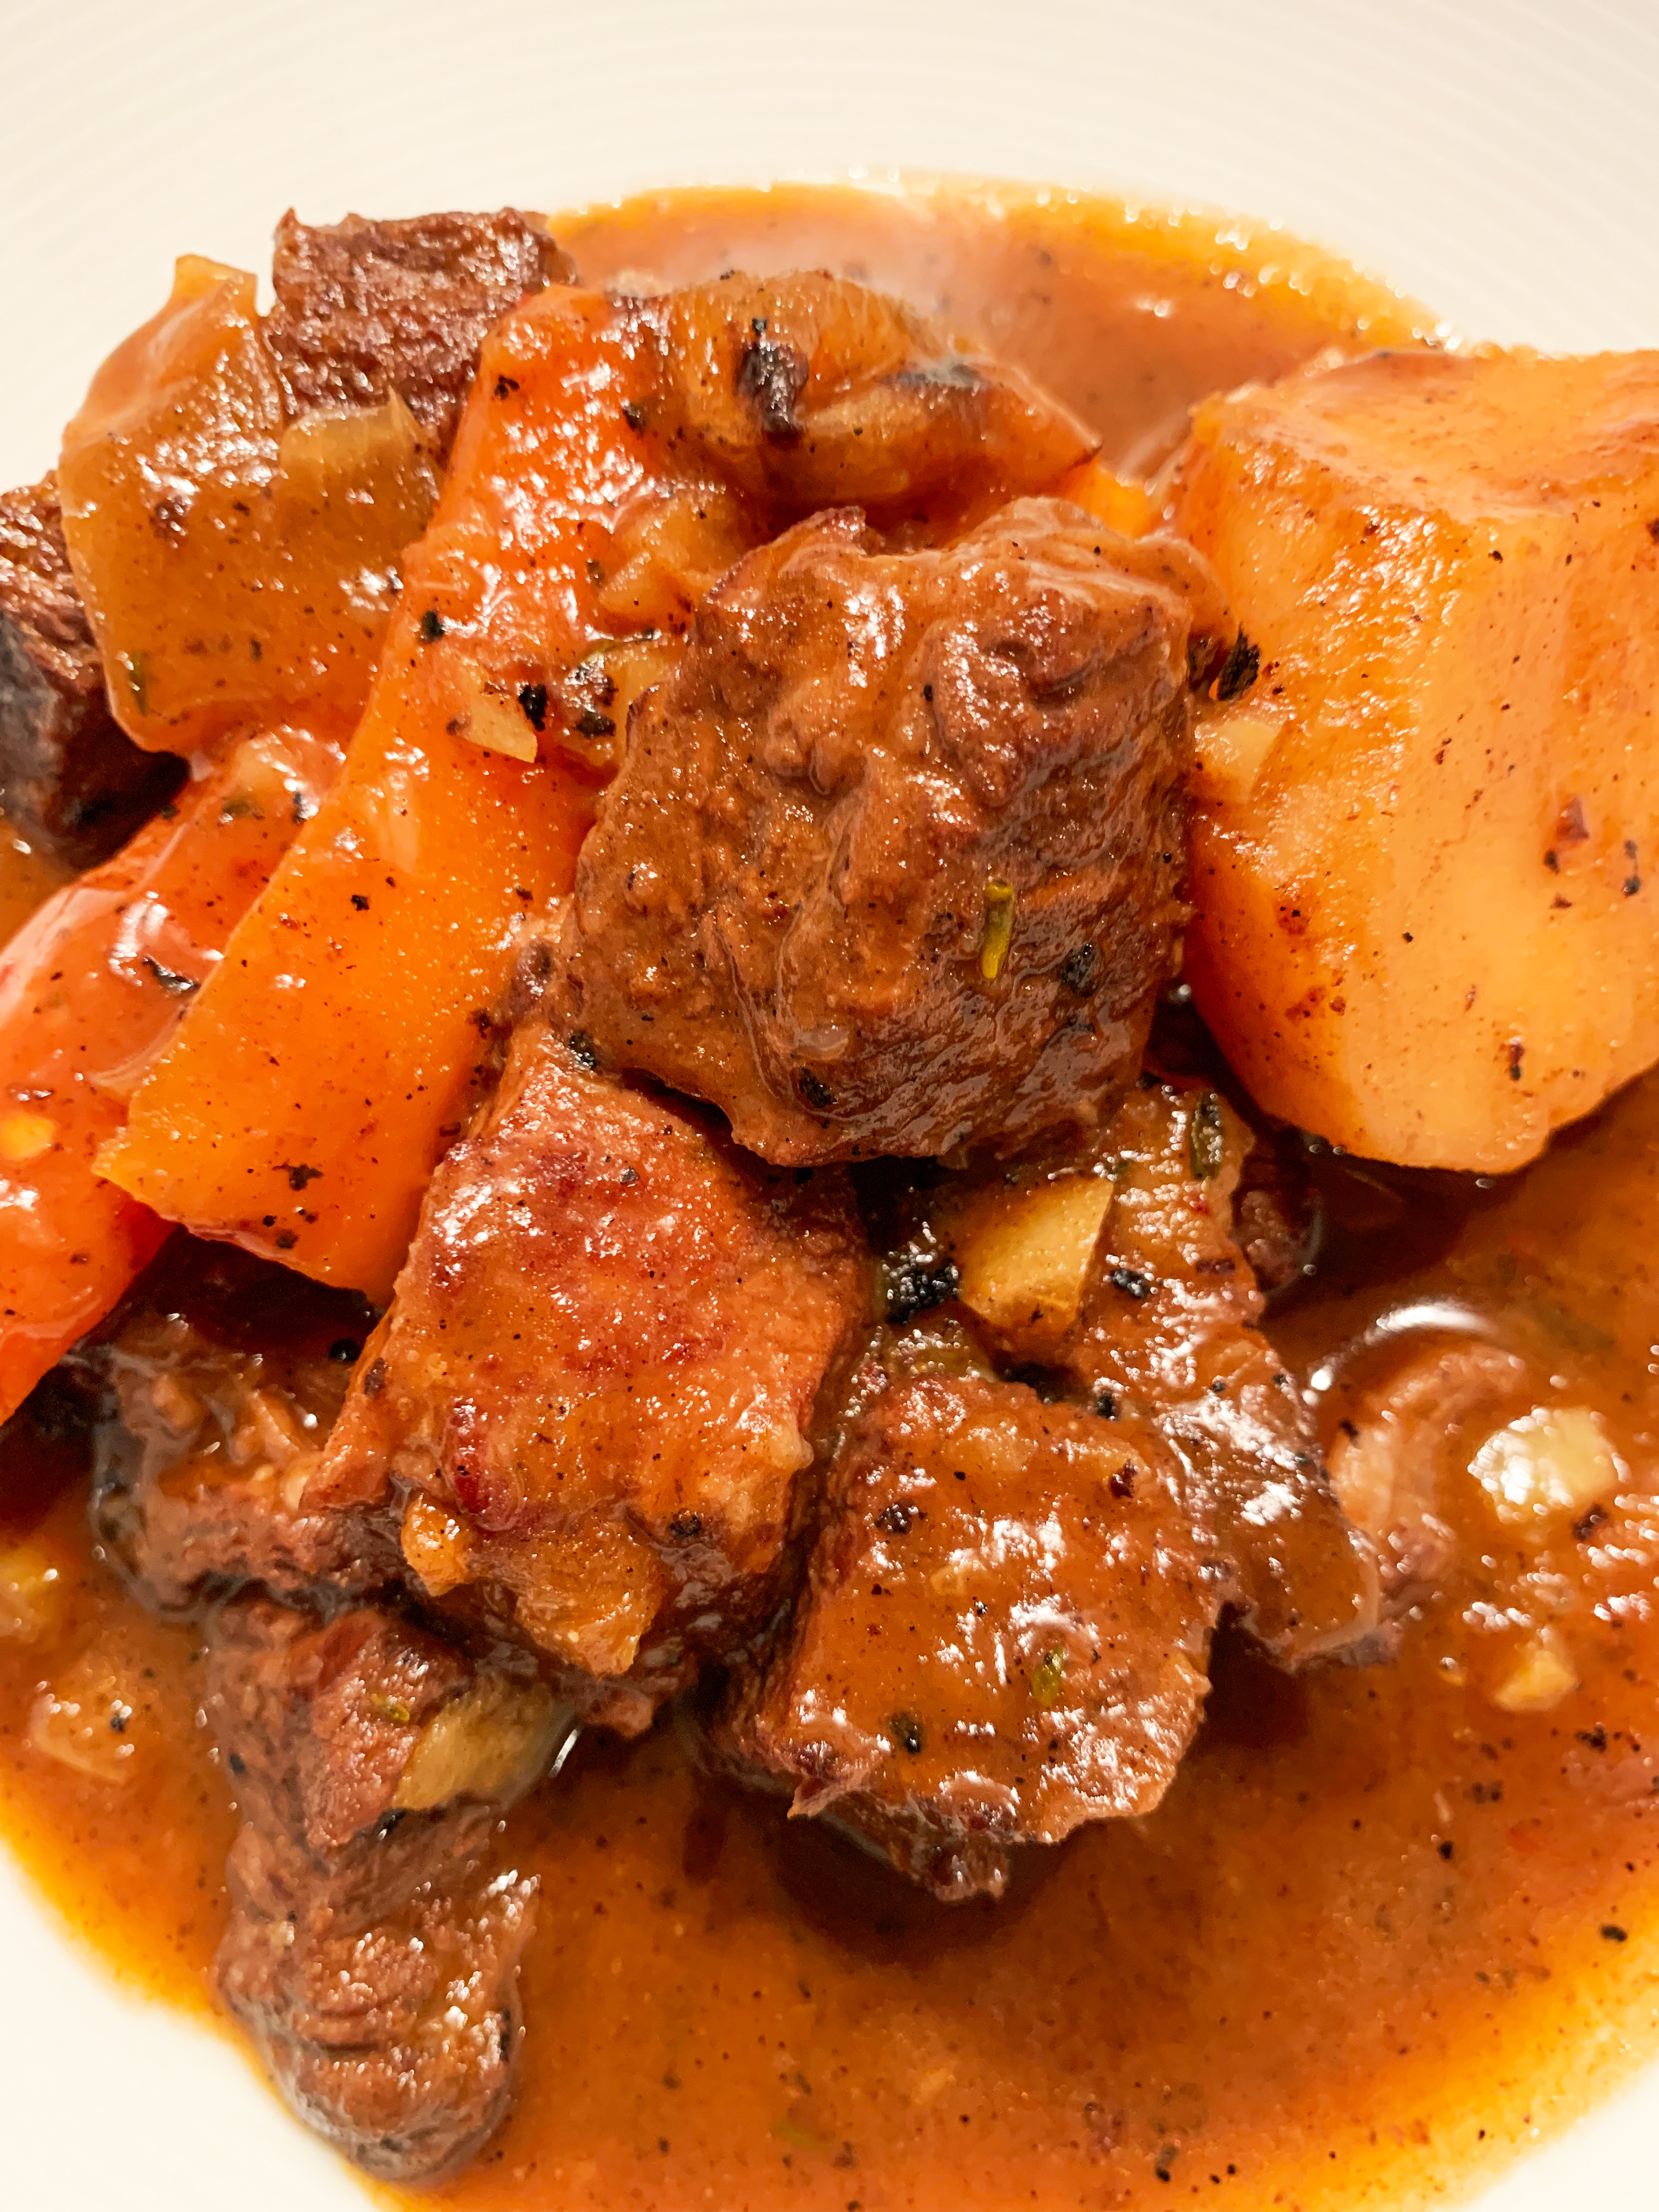
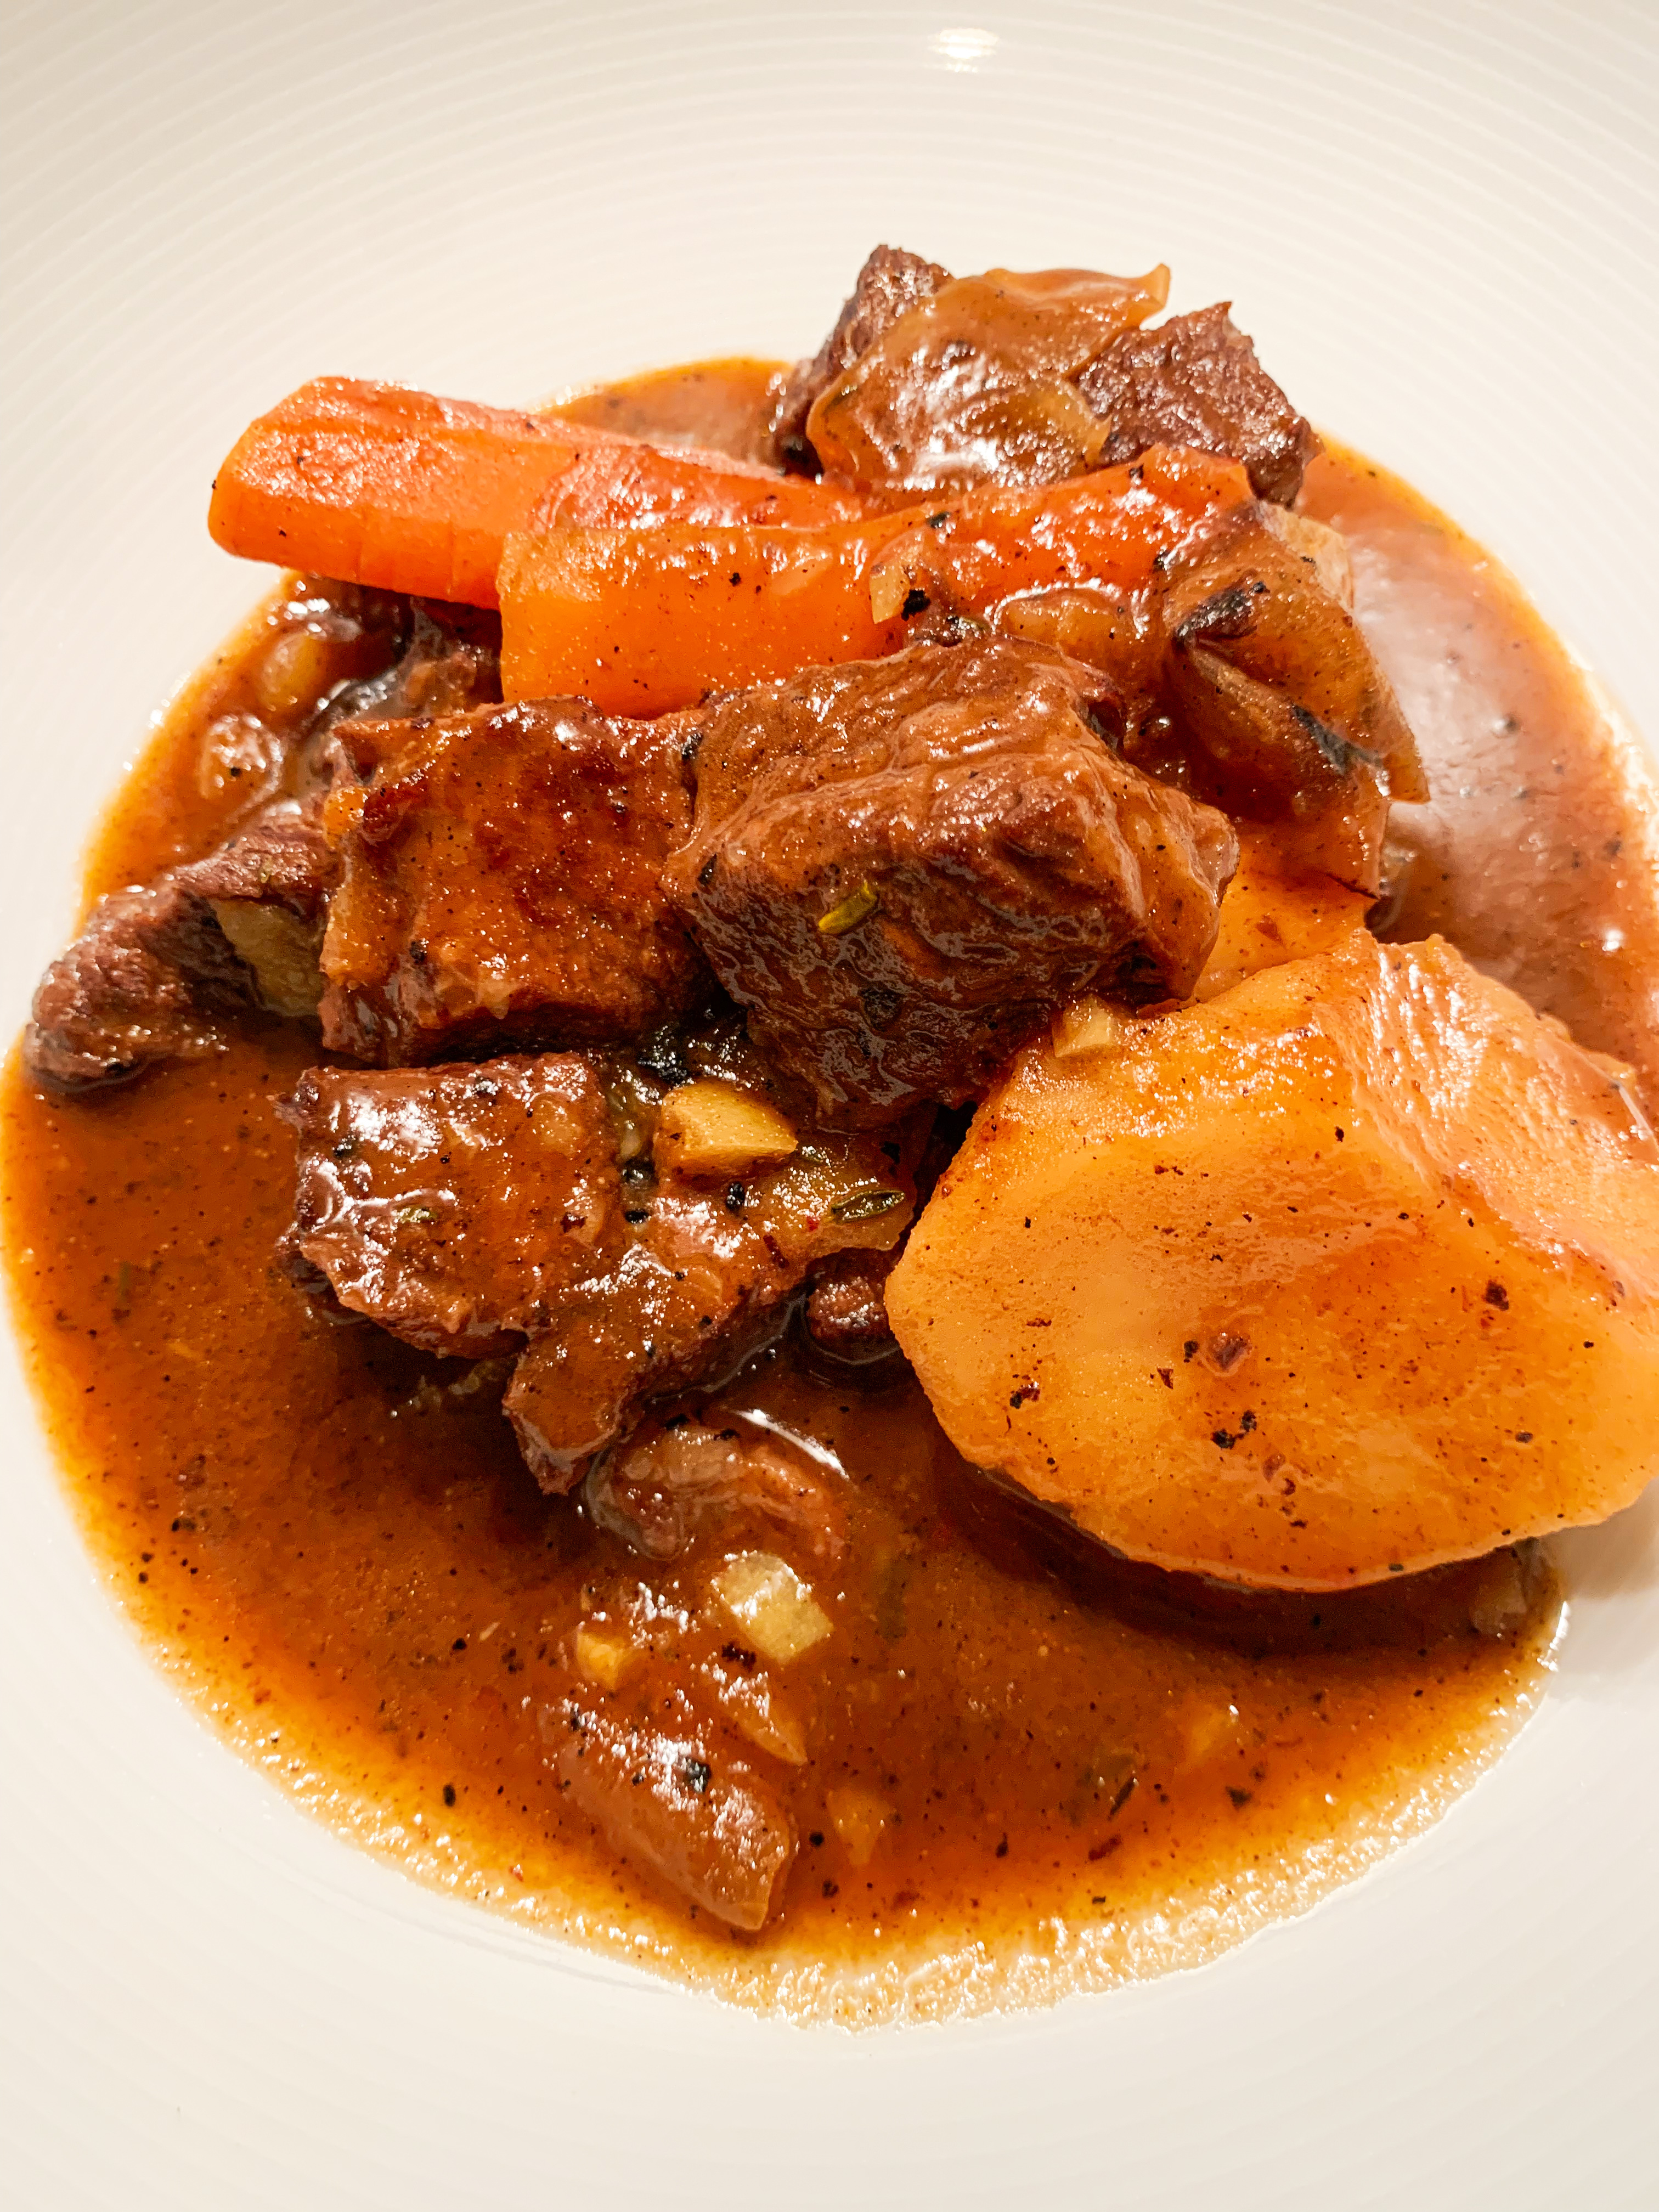
This stew from the cookbook ‘Sababa’ by Adeena Sussman is wonderfully comforting and flavourful; there’s a subtle sweetness from the dates whilst the unusual addition of preserved lemon at the end of cooking adds an interesting depth to the finished dish. Wonderful!
1125g beef stewing meat cut into 2 inch chunks
2 teaspoons salt, plus more for seasoning
Freshly ground black pepper
2 tablespoons flour (gluten-free if required)
2 tablespoons olive oil
1 large onion, cut into chunks
5 whole garlic cloves, peeled, left whole
3 tablespoons tomato paste
1 teaspoon paprika
200ml dry white wine
825ml beef or chicken stock
2 thyme sprigs
½ teaspoon chilli flakes
900g mixed root vegetables (e.g. potatoes, carrots, parsnips, beets)
8 Medjool dates pitted but left whole
1 tablespoon chopped Preserved lemon (or finely chopped fresh lemon)
- Season the meat generously with salt and pepper. Place the flour on a plate and roll the meat cubes to coat, shaking off any excess.
- Heat the oil in a large pot over a medium-high heat. Working in batches, brown the meat until seared on all sides. Remove the meat to a plate.
- Add the onions and garlic to the pot and cook, stirring, until softened, 6-7 minutes.
- Add the tomato paste and paprika and cook, stirring, until slightly caramelised, 2 minutes.
- Add the wine and 2 teaspoons salt, bring to the boil, reduce the heat to medium and cook until the wine is mostly evaporated, 2-3 minutes.
- Return the meat to the pot along with 600ml of the stock, the thyme and chilli flakes. Bring to the boil, reduce the heat, and cook for 1 hour, until the meat begins to become tender.
- Add the root vegetables and dates with the remaining 225ml of stock, return to the boil, then reduce the heat to medium-low and cook, stirring occasionally, until the vegetables are tender, about 1 hour more.
- Finally, stir in the preserved lemon 5 minutes before serving.
Menu Two
Pork Meatballs with Cider & Chestnuts (Serves 4)
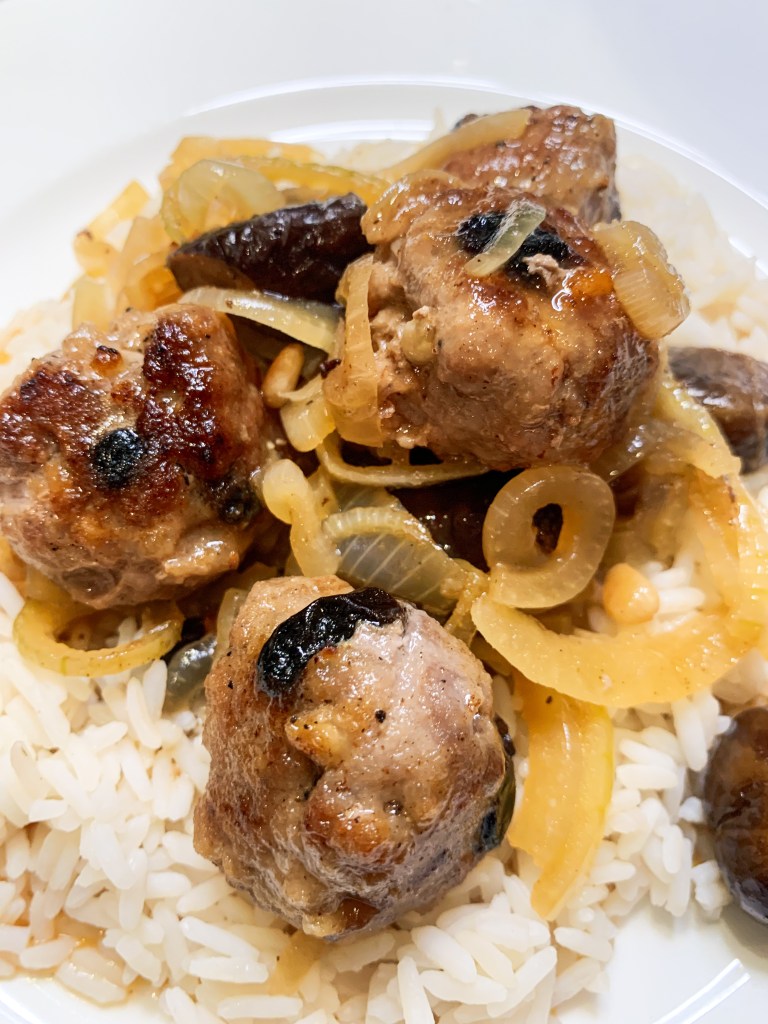
Taken from ‘Med’, Claudia Roden’s cookbook, this is a dish which everyone is bound to love, kids and adults alike!..
2 onions, halved and sliced
4 tablespoons olive oil
500g minced pork
A good pinch of ground nutmeg
30g currants or raisins, soaked in water for 30 minutes
25g pine nuts
Plain flour to coat the meatballs (gluten-free if required)
400ml medium-dry cider
180g pack cooked whole chestnuts
Sea salt and black pepper
- In a large sauté pan, fry the onions in the oil over a low heat for about 10 minutes or until brown and beginning to caramelise, stirring from time to time, then remove them from the pan.
- Put the meat in a bowl. Add salt, pepper and nutmeg and knead vigorously to achieve a soft, paste like texture. Work in the drained currants or raisins and the pine nuts. Take small pieces of the meat mixture and roll into little balls the size of a large walnut, pressing firmly between the palms of your hands.
- Roll the meatballs in flour, put them in the pan and cook over a medium heat, turning to lightly brown them all over.
- Return the fried onions to the pan and add the cider and the chestnuts, along with salt and plenty of black pepper. Simmer for around 15 minutes, covered, turning the meatballs over once, until they are cooked through and you are happy with the consistency of the sauce. Serve with rice or mashed potatoes.