
(All Recipes have Gluten-Free Options)
Zabaglione (Serves 4)
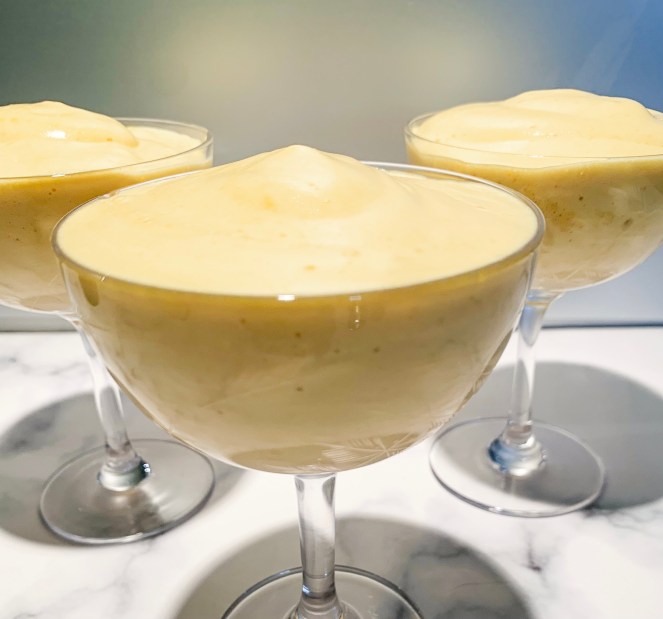
If you’ve never made Zabaglione or even tried it I urge you to do so with this recipe! It’s a light and creamy dessert with the most wonderful, subtle flavour of sweet Marsala wine. I have been making this particular recipe for more years than I can remember, I found it in Delia Smith’s ‘Complete Illustrated Cookery Course’ cookbook (yes, her really old one!). It’s super simple to make but it does need time whisking at the stove over simmering water (bain-marie), however, using an electric handheld whisk hurries things along. I recently discovered that Delia Smith had updated her recipe with the addition of cornflour so that it was possible to whisk it over direct heat without splitting and it thickened quicker. However, when I tried this recipe I found the result disappointing, it was nothing like the original recipe – you could taste the cornflour and the dessert was heavier. It’s definitely worth staying at the stove for an extra 5 minutes for this fantastic recipe!..
*Apart from this wonderful recipe, one of the best Zabaglione’s that I’ve tried was at Caffè Al Bicerin when I visited Turin a few years ago. Caffè Al Bicerin is a beautiful little cafe with just 6 or so tables, the interior is wonderfully antiquated and dimly lit by candles on white marble tabletops. It’s a ‘must-see’ place if you visit Turin (I would recommend a long weekend in this historic Italian city!). The cafe is renowned for having invented the Bicerin, but it’s also famous for its Zabaglione. What a dream a café where you can pop in just for a Zabaglione!.. (you can find my recipe for Bicerin here!)
8 Egg yolks
100g caster sugar
80ml Marsala wine
- Firstly choose a medium sized mixing bowl which will sit comfortably over a saucepan of barely simmering water (without touching it).
- Start with the bowl on the worktop. Place the egg yolks and sugar into it and whisk them with an electric handheld whisk until the mixture is pale and creamy (about 4 minutes). Then gradually whisk in the Marsala bit by bit.
- Now transfer the bowl to saucepan, keep the heat very low, and continue to whisk until the mixture thickens (about 8-10 minutes).
- To serve, pour into glasses and serve straightaway!..
Tres Leches Cake
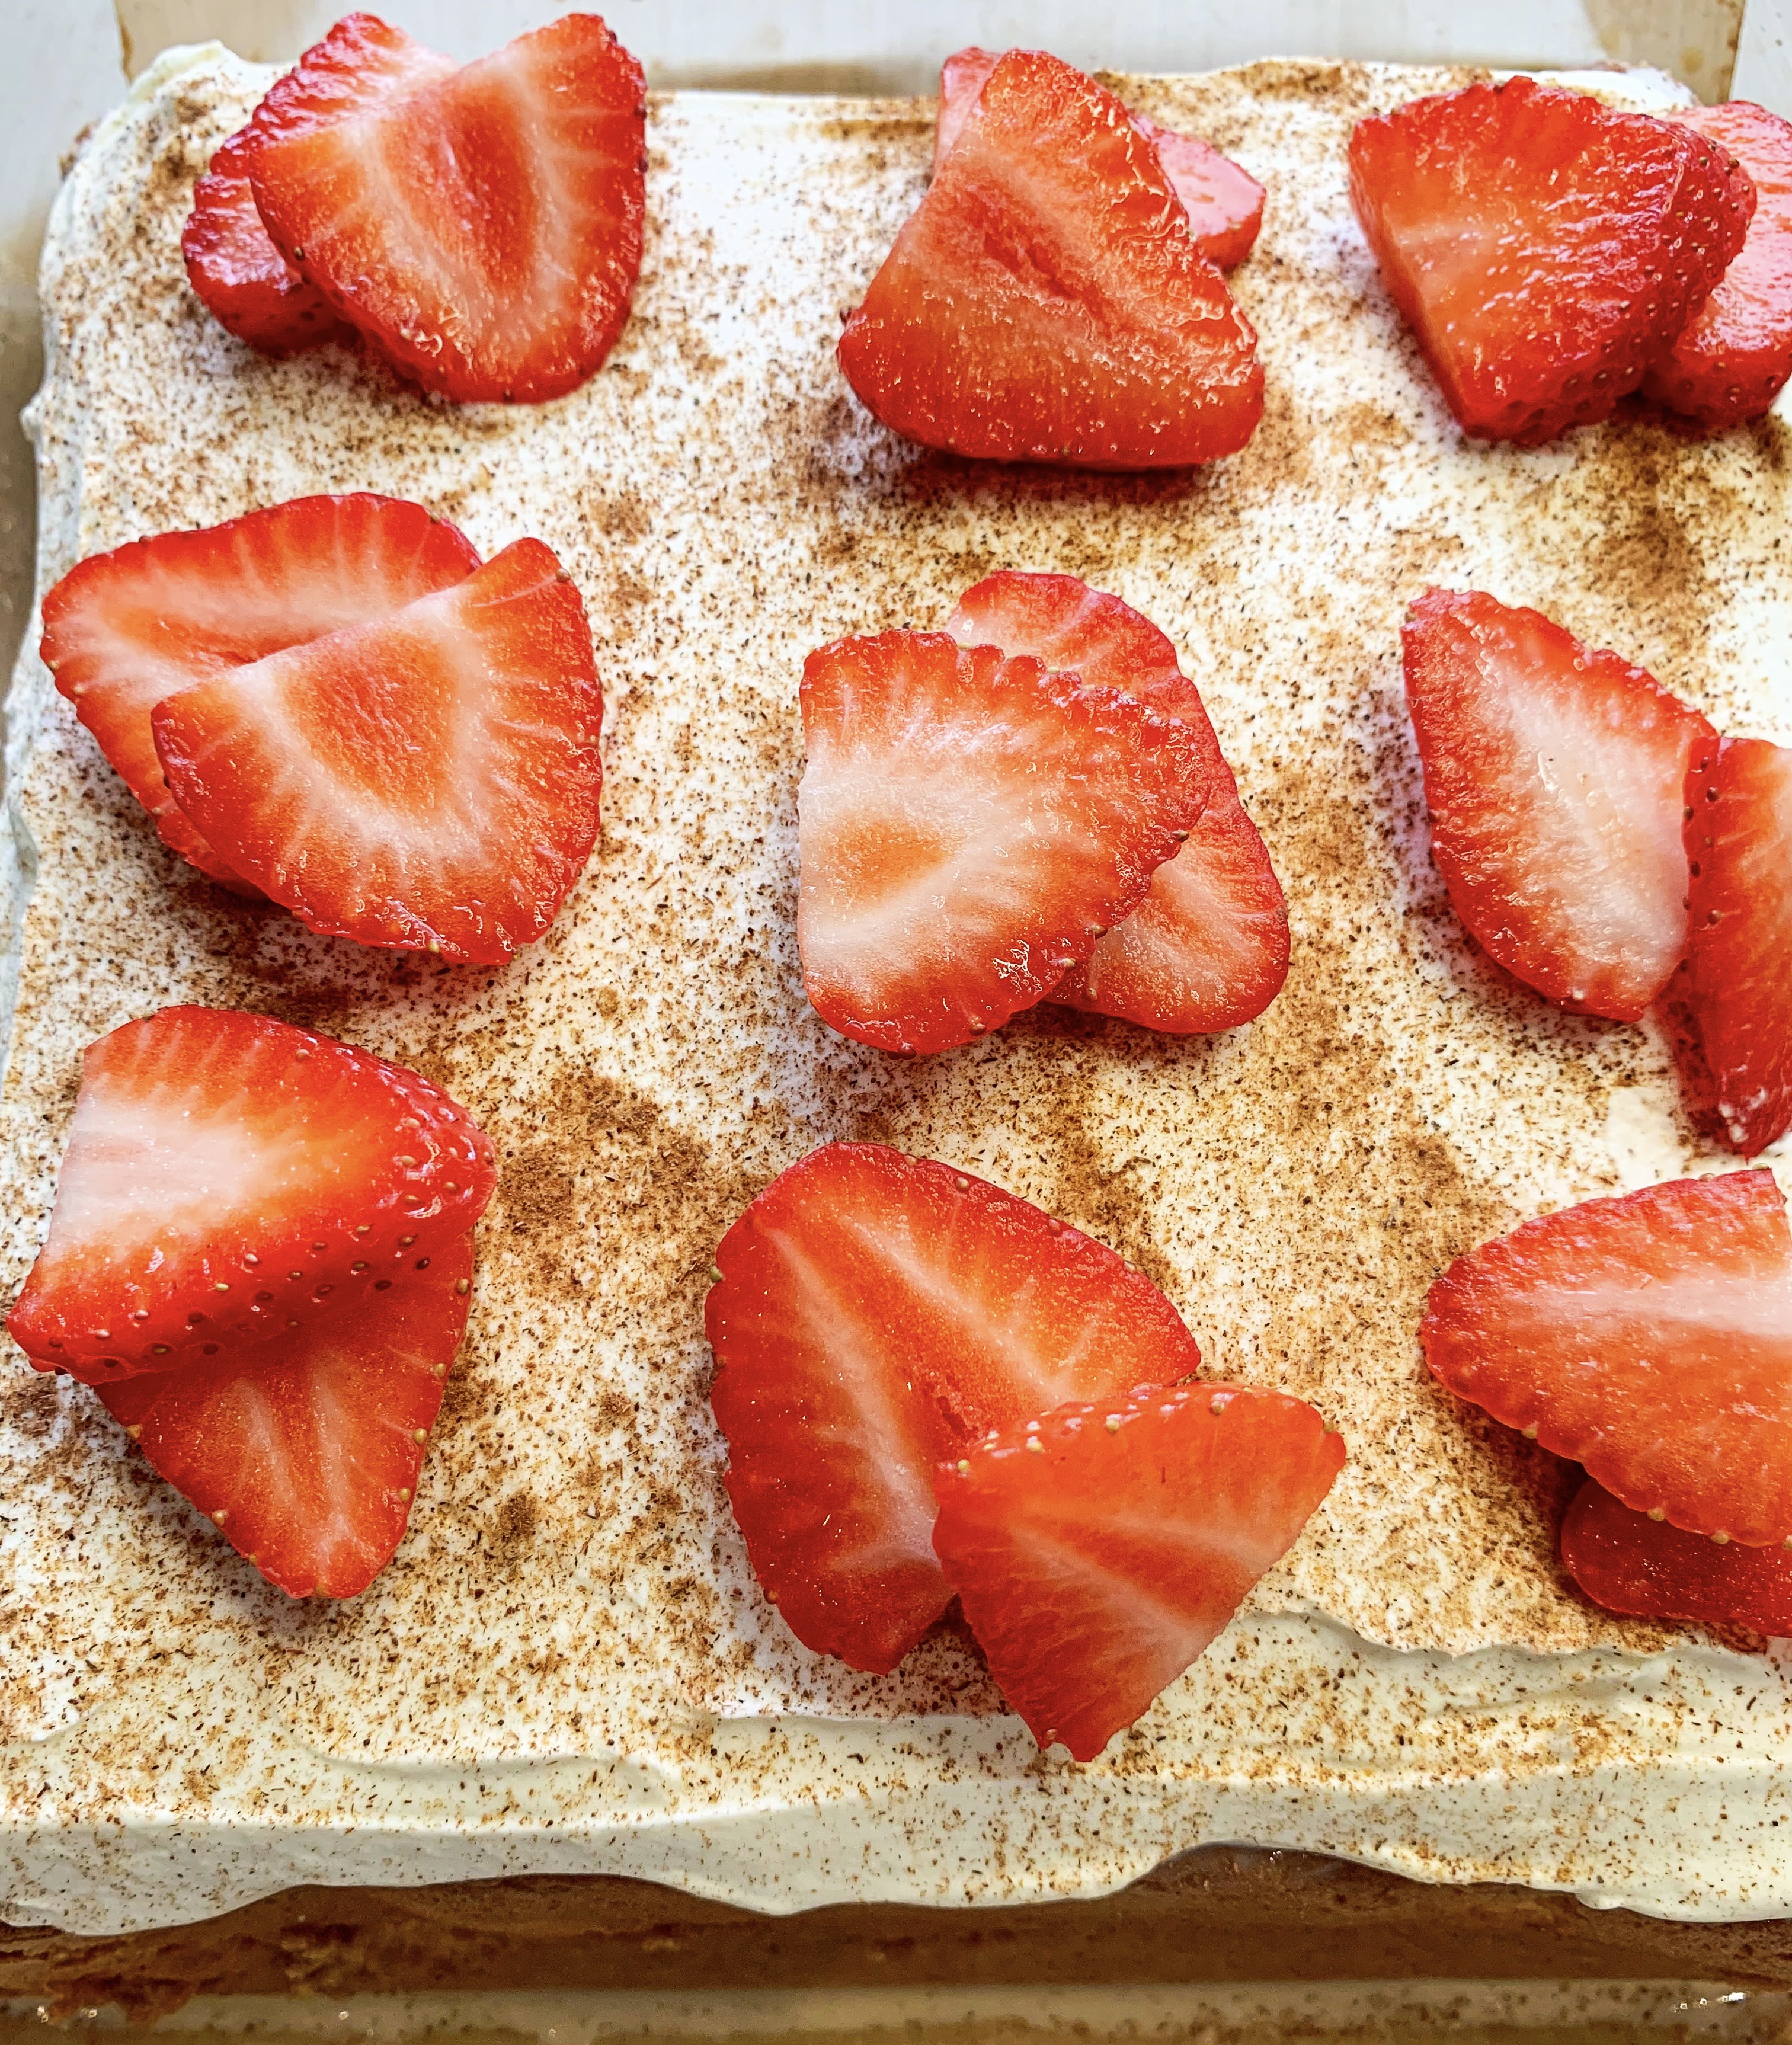

Wow, this is the most wonderful treat… a cross between a cake and a pudding! This Mexican cake is so called because the recipe uses three types of milk (tres leches). It’s incredibly light, moist and creamy. The sponge (which can be made with gluten-free flour if desired!) is soaked overnight with a mixture of evaporated, condensed and whole milk then topped with fresh whipped cream. Be warned it is very addictive – I like to serve it with strawberries to cut the creaminess!
For the Cake:
125g plain flour (gluten free if needed – I use Doves)
1½ teaspoons baking powder
¼ teaspoon salt
5 large eggs, separated
200g caster sugar – divided 150g/50g
80ml whole milk
1 teaspoon vanilla extract
For the Milk Mixture:
397ml tin condensed milk
340ml evaporated milk
60ml whole milk
For the Whipped Topping:
475ml double cream
3 tablespoons icing sugar
½ teaspoon vanilla extract
Ground cinnamon for topping
Strawberries to serve
You will need a square cake tin (20 x 20 cm), lined with baking paper
- Put the egg yolks in a bowl, add 150g caster sugar and whisk on high speed until the egg yolks are pale and creamy. Add 80g milk and 1 teaspoon of vanilla extract, stir to combine.
- In another bowl combine the flour, baking powder and salt. Now add the egg yolk mixture and stir gently until just combined.
- In a separate bowl whisk the egg whites to stiff peaks, then gradually add the remaining 50g of caster sugar and whisk until stiff and glossy.
- Gently fold the egg whites into the yolk batter until combined.
- Pour the batter into the lined cake tin and smooth over. Bake in a preheated oven, 175’c fan, for 25-35 minutes until a skewer inserted in the centre of the cake comes out clean. Remove from the oven and allow the cake to cool completely in the tin.
- Once the cake has cooled, whilst still in the tin, use a fork or skewer to pierce holes all over the cake.
- Combine the condensed milk, the evaporated milk and whole milk in a small jug. Slowly pour the milk mixture over the top of the cake, making sure you pour near to the edges and all around. Refrigerate the cake overnight to allow it to soak up the milks – don’t worry if there seems to be a lot of liquid – it will soak in eventually!
- In the meantime whip the cream together with the icing sugar and vanilla extract until stiff peaks.
- When ready to serve, smooth the whipped cream over the top of the cake. Sprinkle cinnamon on top. Cut into squares to serve (I find that it is easiest served from the tin or from the baking paper). Serve with sliced strawberries. Keep refrigerated for up to 4 days.
Rhubarb Crème Brûlêe (Serves 6)
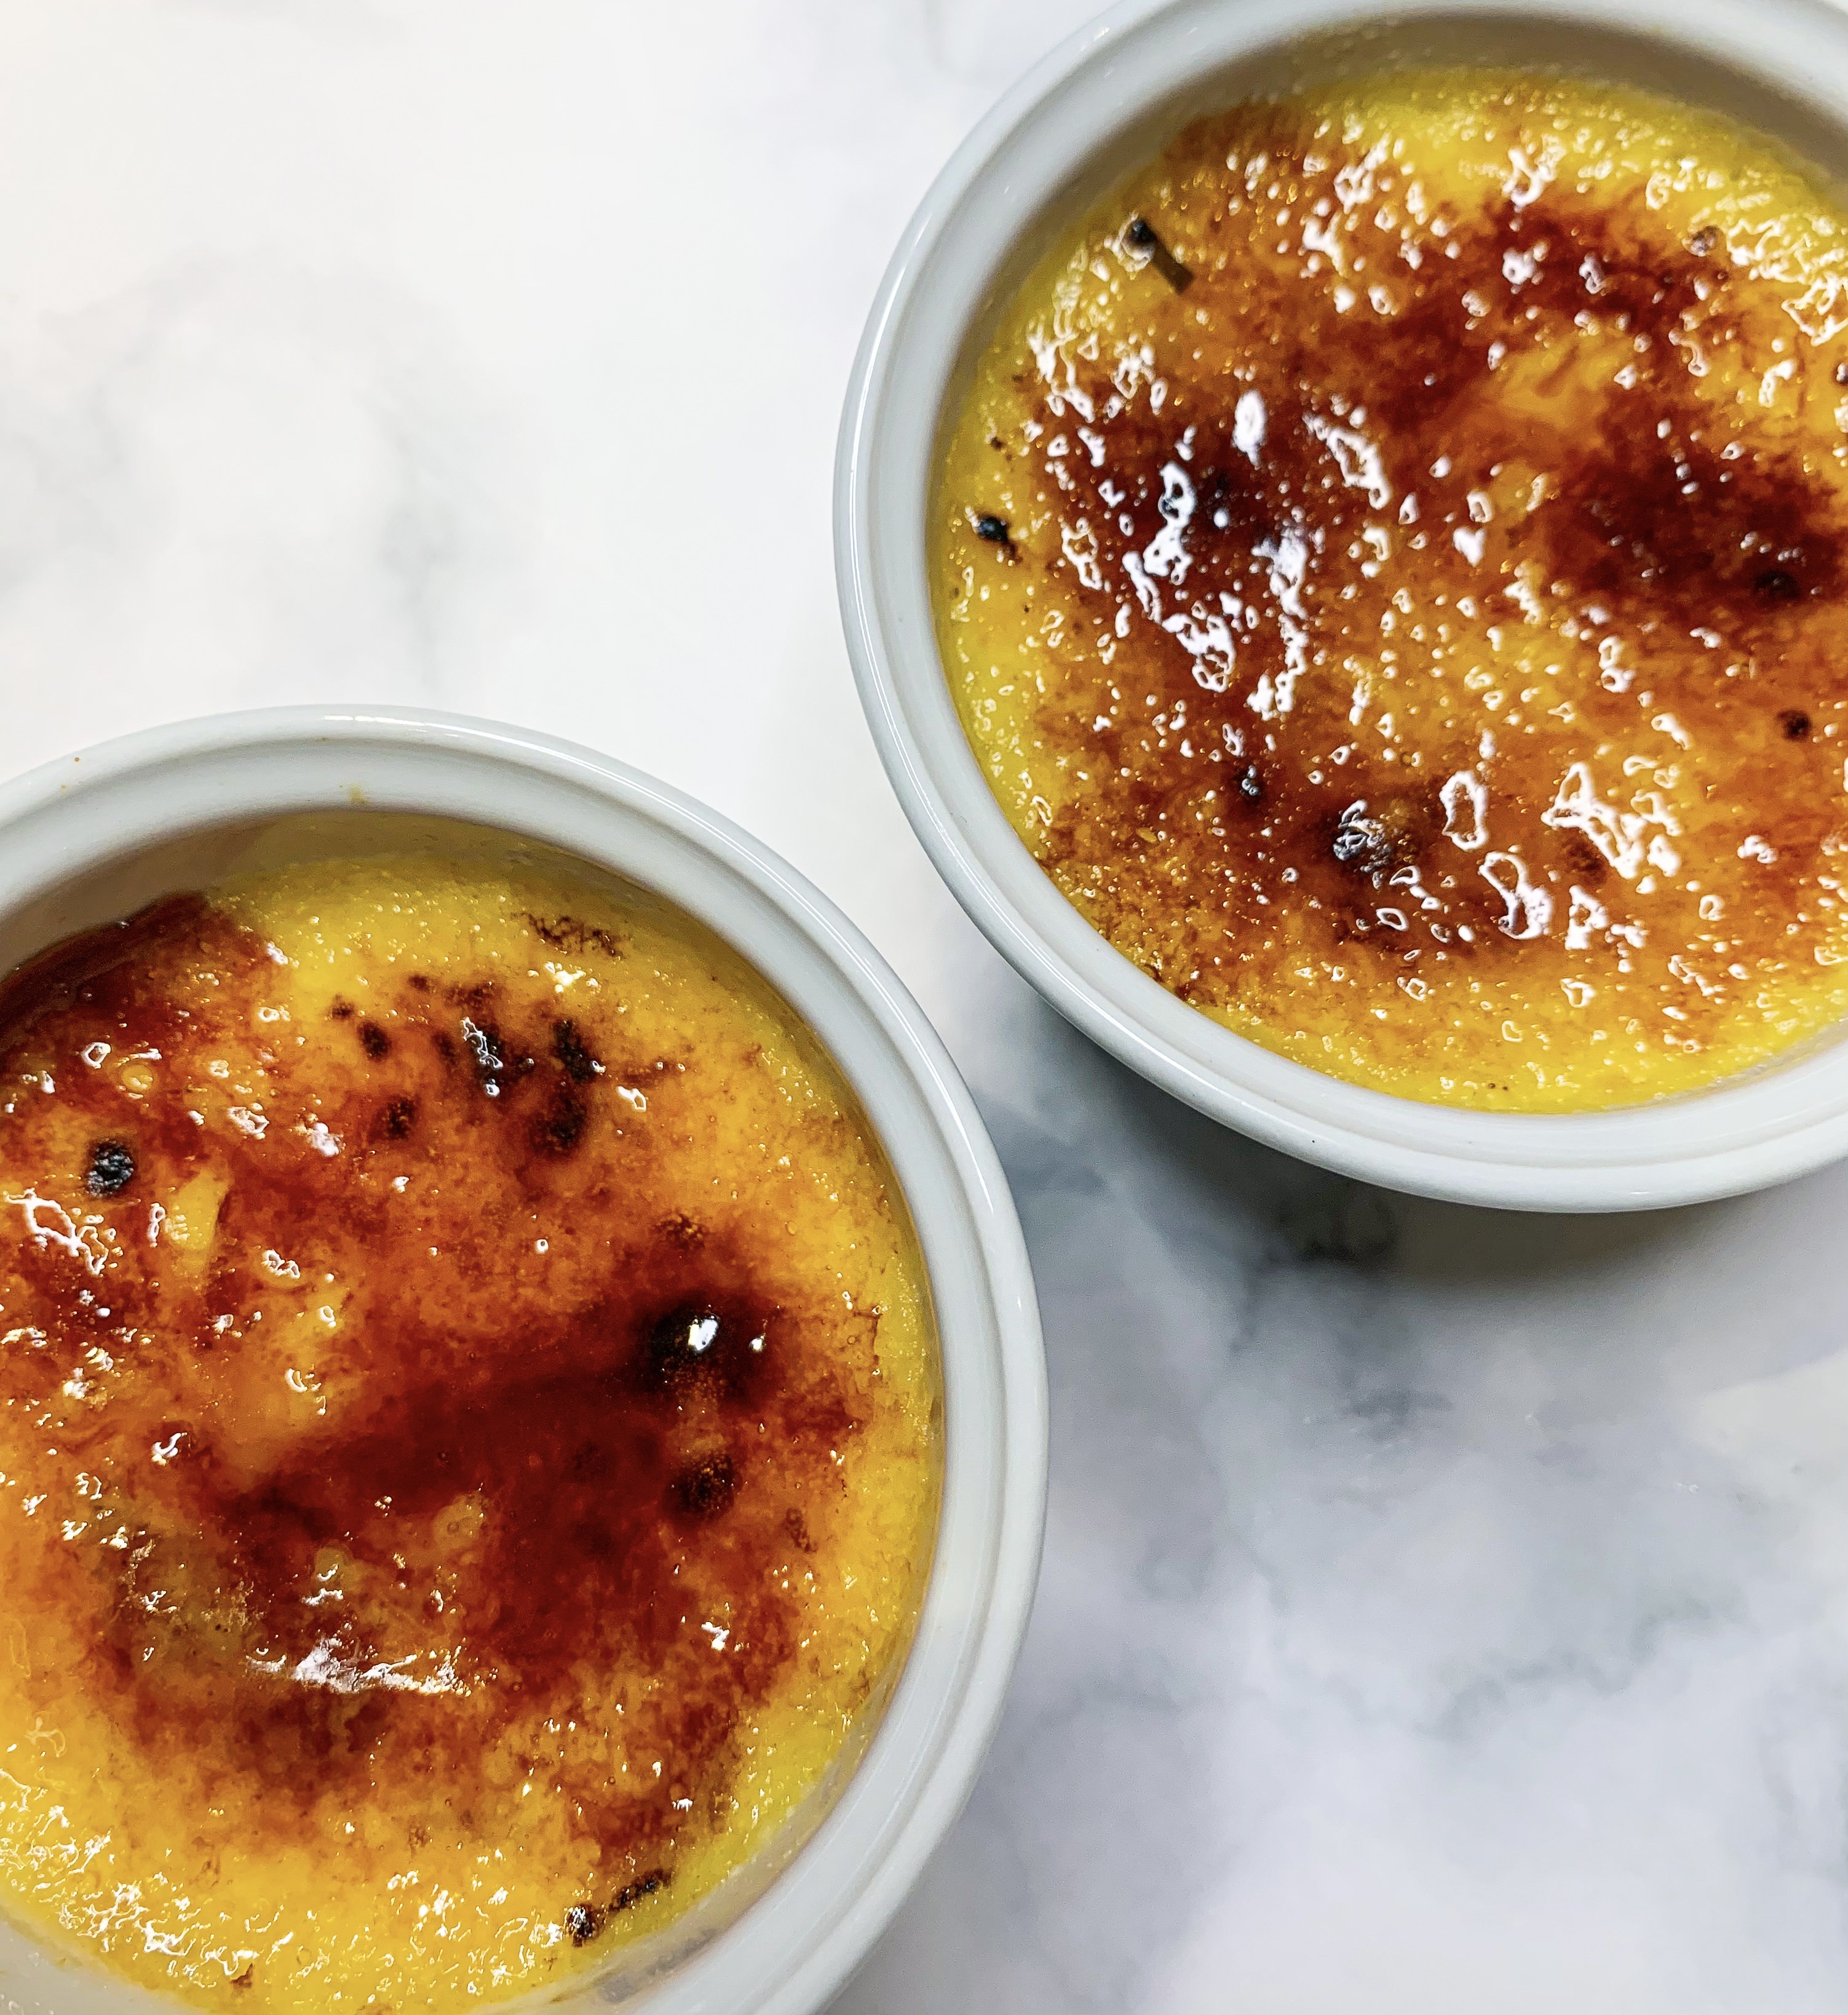
Who can resist the combination of rhubarb and custard?!… In this recipe the French classic, crème brûlée, is given an English twist with the addition of rhubarb and I must say, it’s better for it! The slightly tart rhubarb cuts the creamy richness of the brûlée beautifully.
I suggest you use a kitchen blowtorch to create the caramelised topping as it’s much easier than trying to get your grill hot enough to do it. Dare I mention the ‘Amazon’ word?…kitchen blow torches can be found there for around £12-14; they are a great addition to any kitchen and you will seriously appreciate the wonderful crunch they will give to your Brûlée!
400g rhubarb cut into 1cm slices
4 tablespoons caster sugar
330ml double cream
160ml whole milk
50g caster sugar, plus more for caramelising
Pinch of sea salt
4 large egg yolks
1 teaspoon vanilla bean paste
You will need 6 ramekins with 125ml capacity
- First of all place the rhubarb in a roasting dish and sprinkle over 4 tablespoons of caster sugar. Roast in a preheated oven, 180’c fan, for 20-30 minutes until soft. Divide into the ramekins and chill.
- In a small saucepan over a medium heat, warm the cream, milk, sugar, and salt until the sugar has melted.
- In a bowl, whisk together the egg yolks. Gradually add the warm cream mixture, stirring rather than whisking, as you don’t want to create too much froth.
- Mix in the vanilla paste then use a sieve to strain the cream mixture into large jug.
- Gently pour the mixture between 6 ramekins, over the chilled rhubarb.
- Place a tea towel over the base of a roasting tin (this will stop the ramekins from slipping), then place the ramekins in the tin. Pour enough boiling water into the roasting tin so that it comes halfway up the sides of the ramekins. Cover with foil.
- Place the roasting tin in a preheated oven, 150’c fan, cook for about 40-45 minutes until they are just about set but still a little ‘jiggly’.
- Remove the ramekins to cool on a rack. When cool, refrigerate until ready to serve.
- To serve, sprinkle with a thin, even layer of sugar (about 1½ teaspoons), then use a kitchen blow torch to caramelise the sugar – you may need to lift the ramekin to swirl the caramel evenly across the top. Serve immediately.
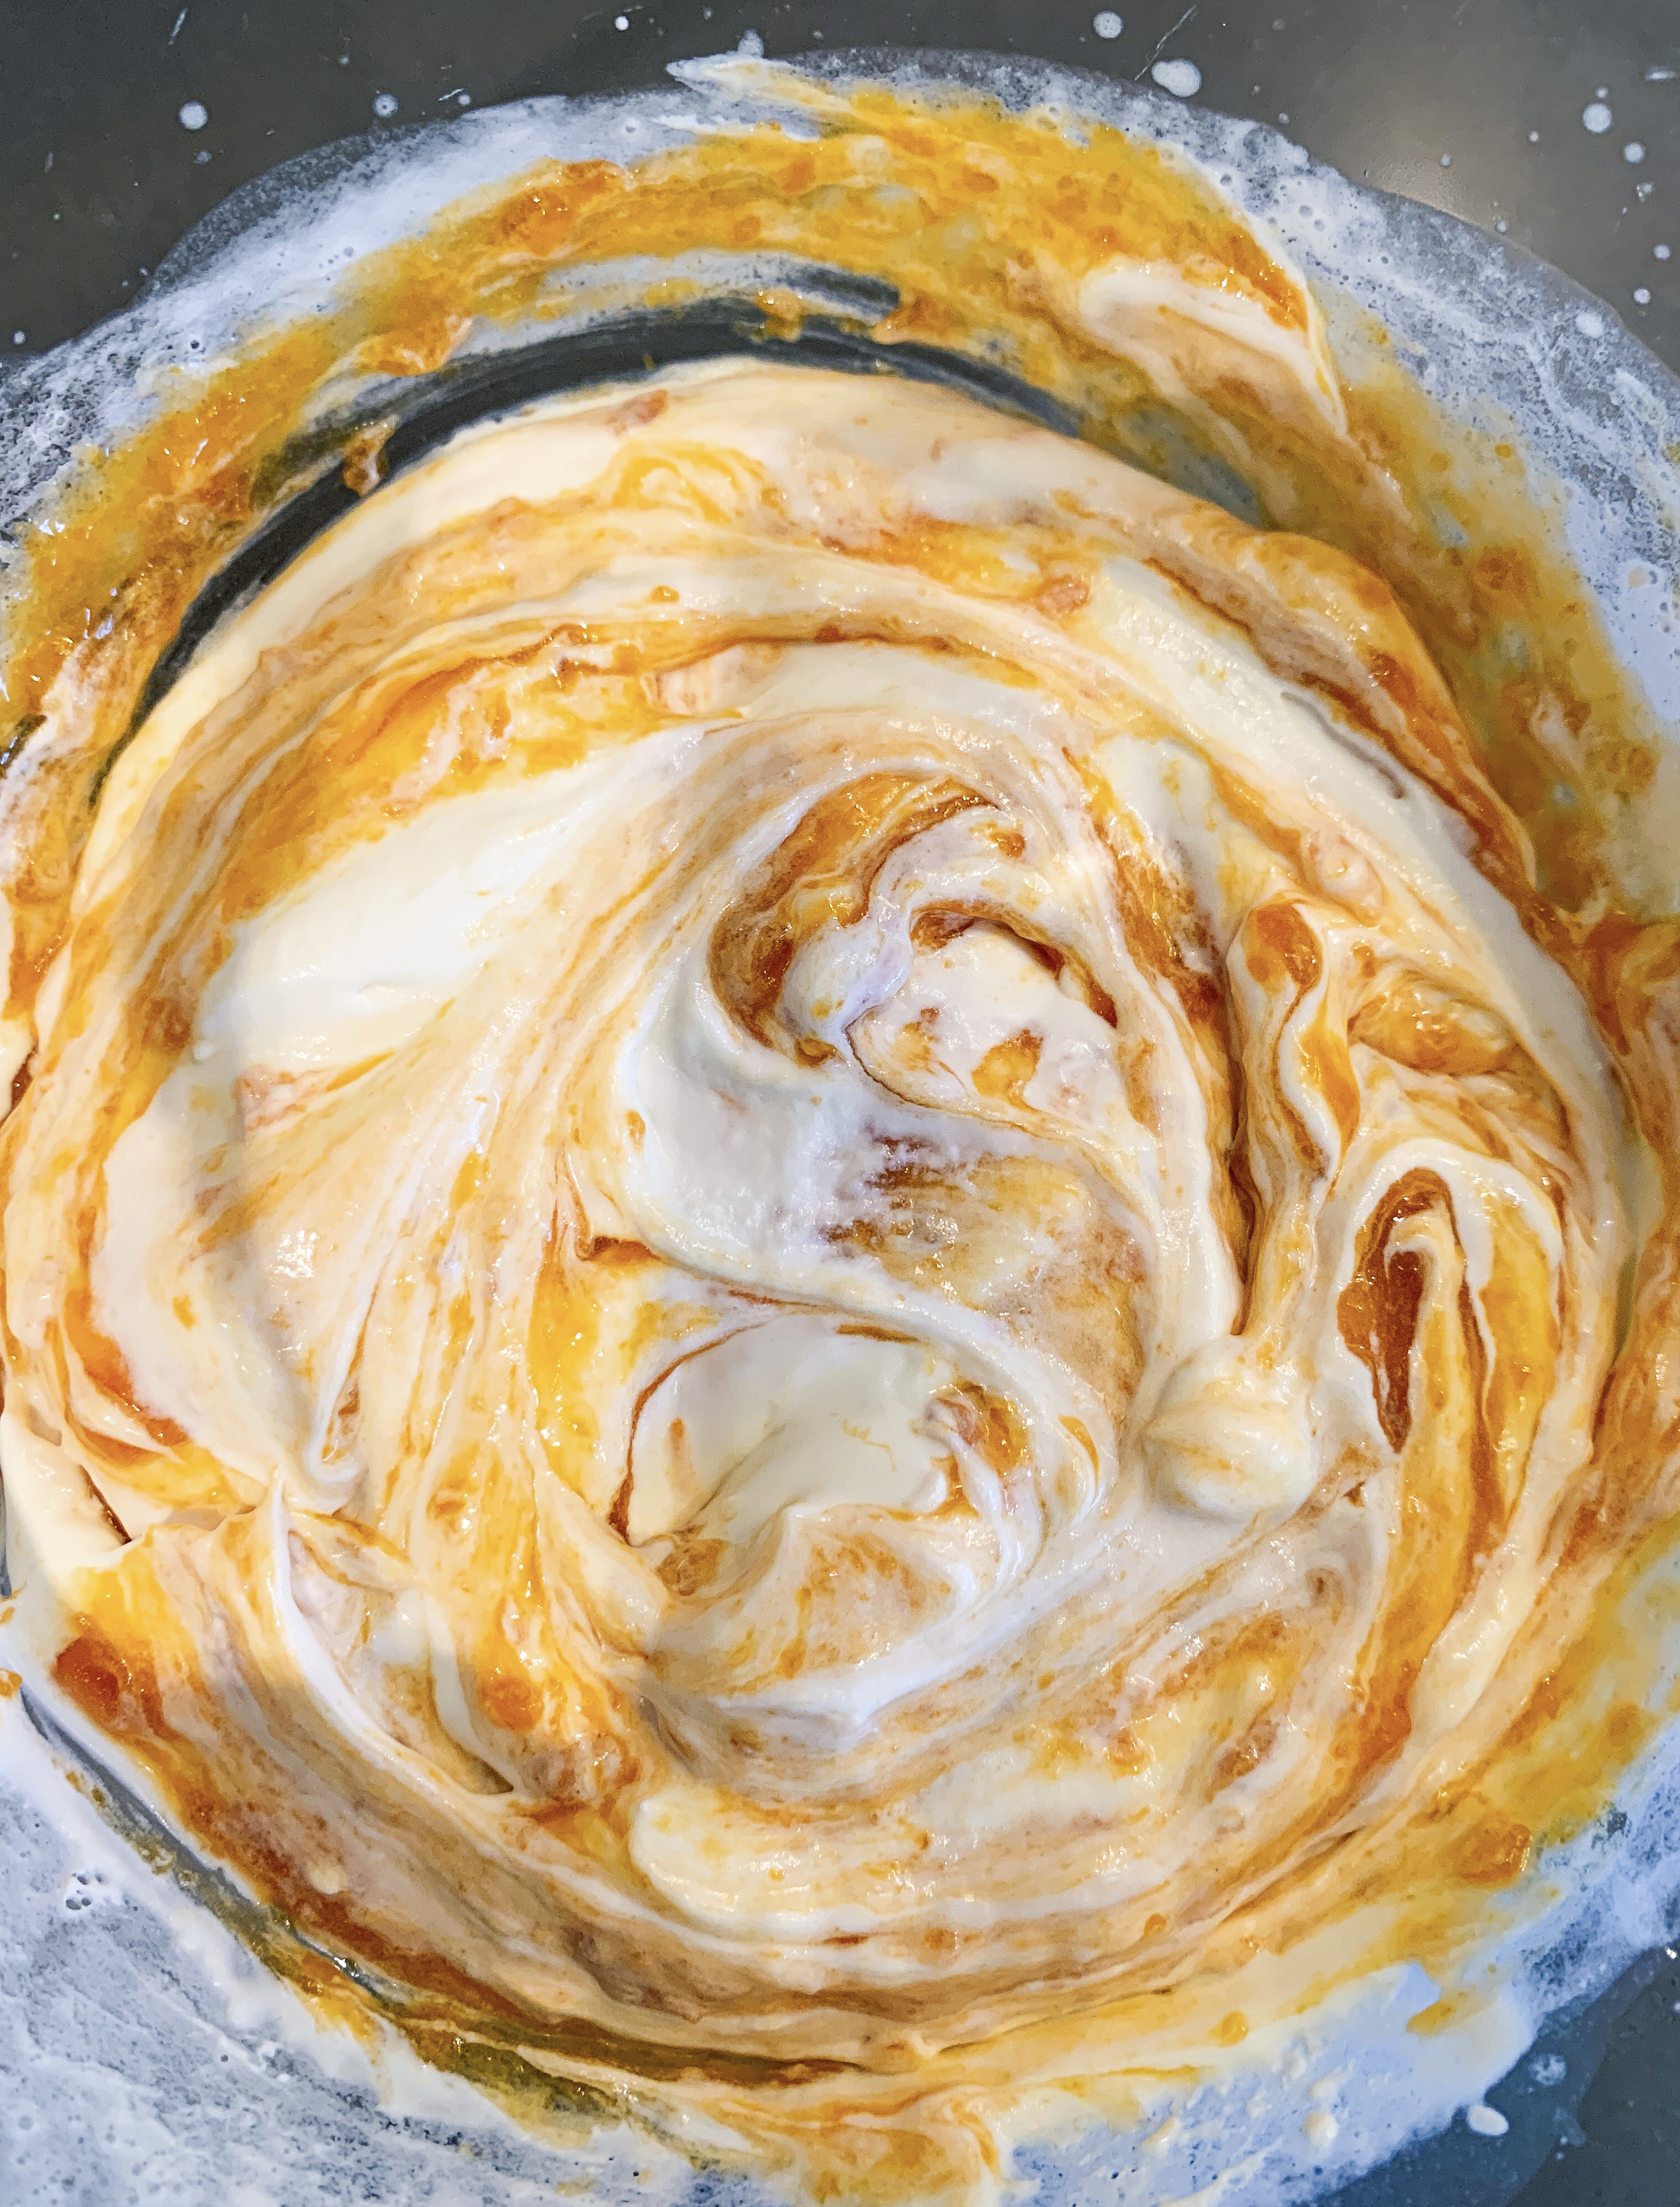
Roast Apricot & Orange Blossom Fool (Serves 8)

This is a fantastic recipe for making the most of fresh apricots. The flavours are perfectly balanced; the sweetness of roasted apricots is delicately cut by whipped cream which is combined with a little Greek yogurt, orange flower water and honey. I have taken the recipe from Diana Henry’s cookbook ‘Simple’, and yes it is simple but very impressive! (Any leftovers make a great, indulgent breakfast!!)
900g apricots, halved and pitted
75ml white wine or water
1 teaspoon vanilla extract
115g granulated sugar
300ml double cream
4 tablespoons Greek yogurt
5 tablespoons orange blossom honey, or to taste, plus more to serve
3 teaspoons orange flower water, or to taste
Toasted almond flakes, to serve
- Put the apricots in a gratin dish, cut sides up, so that they lay in a single layer. Mix the wine or water with the vanilla, then pour it over the apricots. Sprinkle evenly with the sugar and roast in a preheated oven, 190’c fan, for 30-45 minutes until completely soft. Leave until cold.
- Remove eight of the best looking apricot halves to put on top of each serving. Puree the rest of the fruit and any of its juice in a food processor.
- Whip the cream until it forms soft peaks, then stir in the yogurt, honey and orange flower water.
- Fold the purée through the cream, don’t over mix – you want it to be marbled with the bright orange colour. (You can add more flower water to taste).
- Spoon into bowls, top each with an apricot half, if you want a little more sweetness drizzle with extra honey, then sprinkle with the toasted almonds.
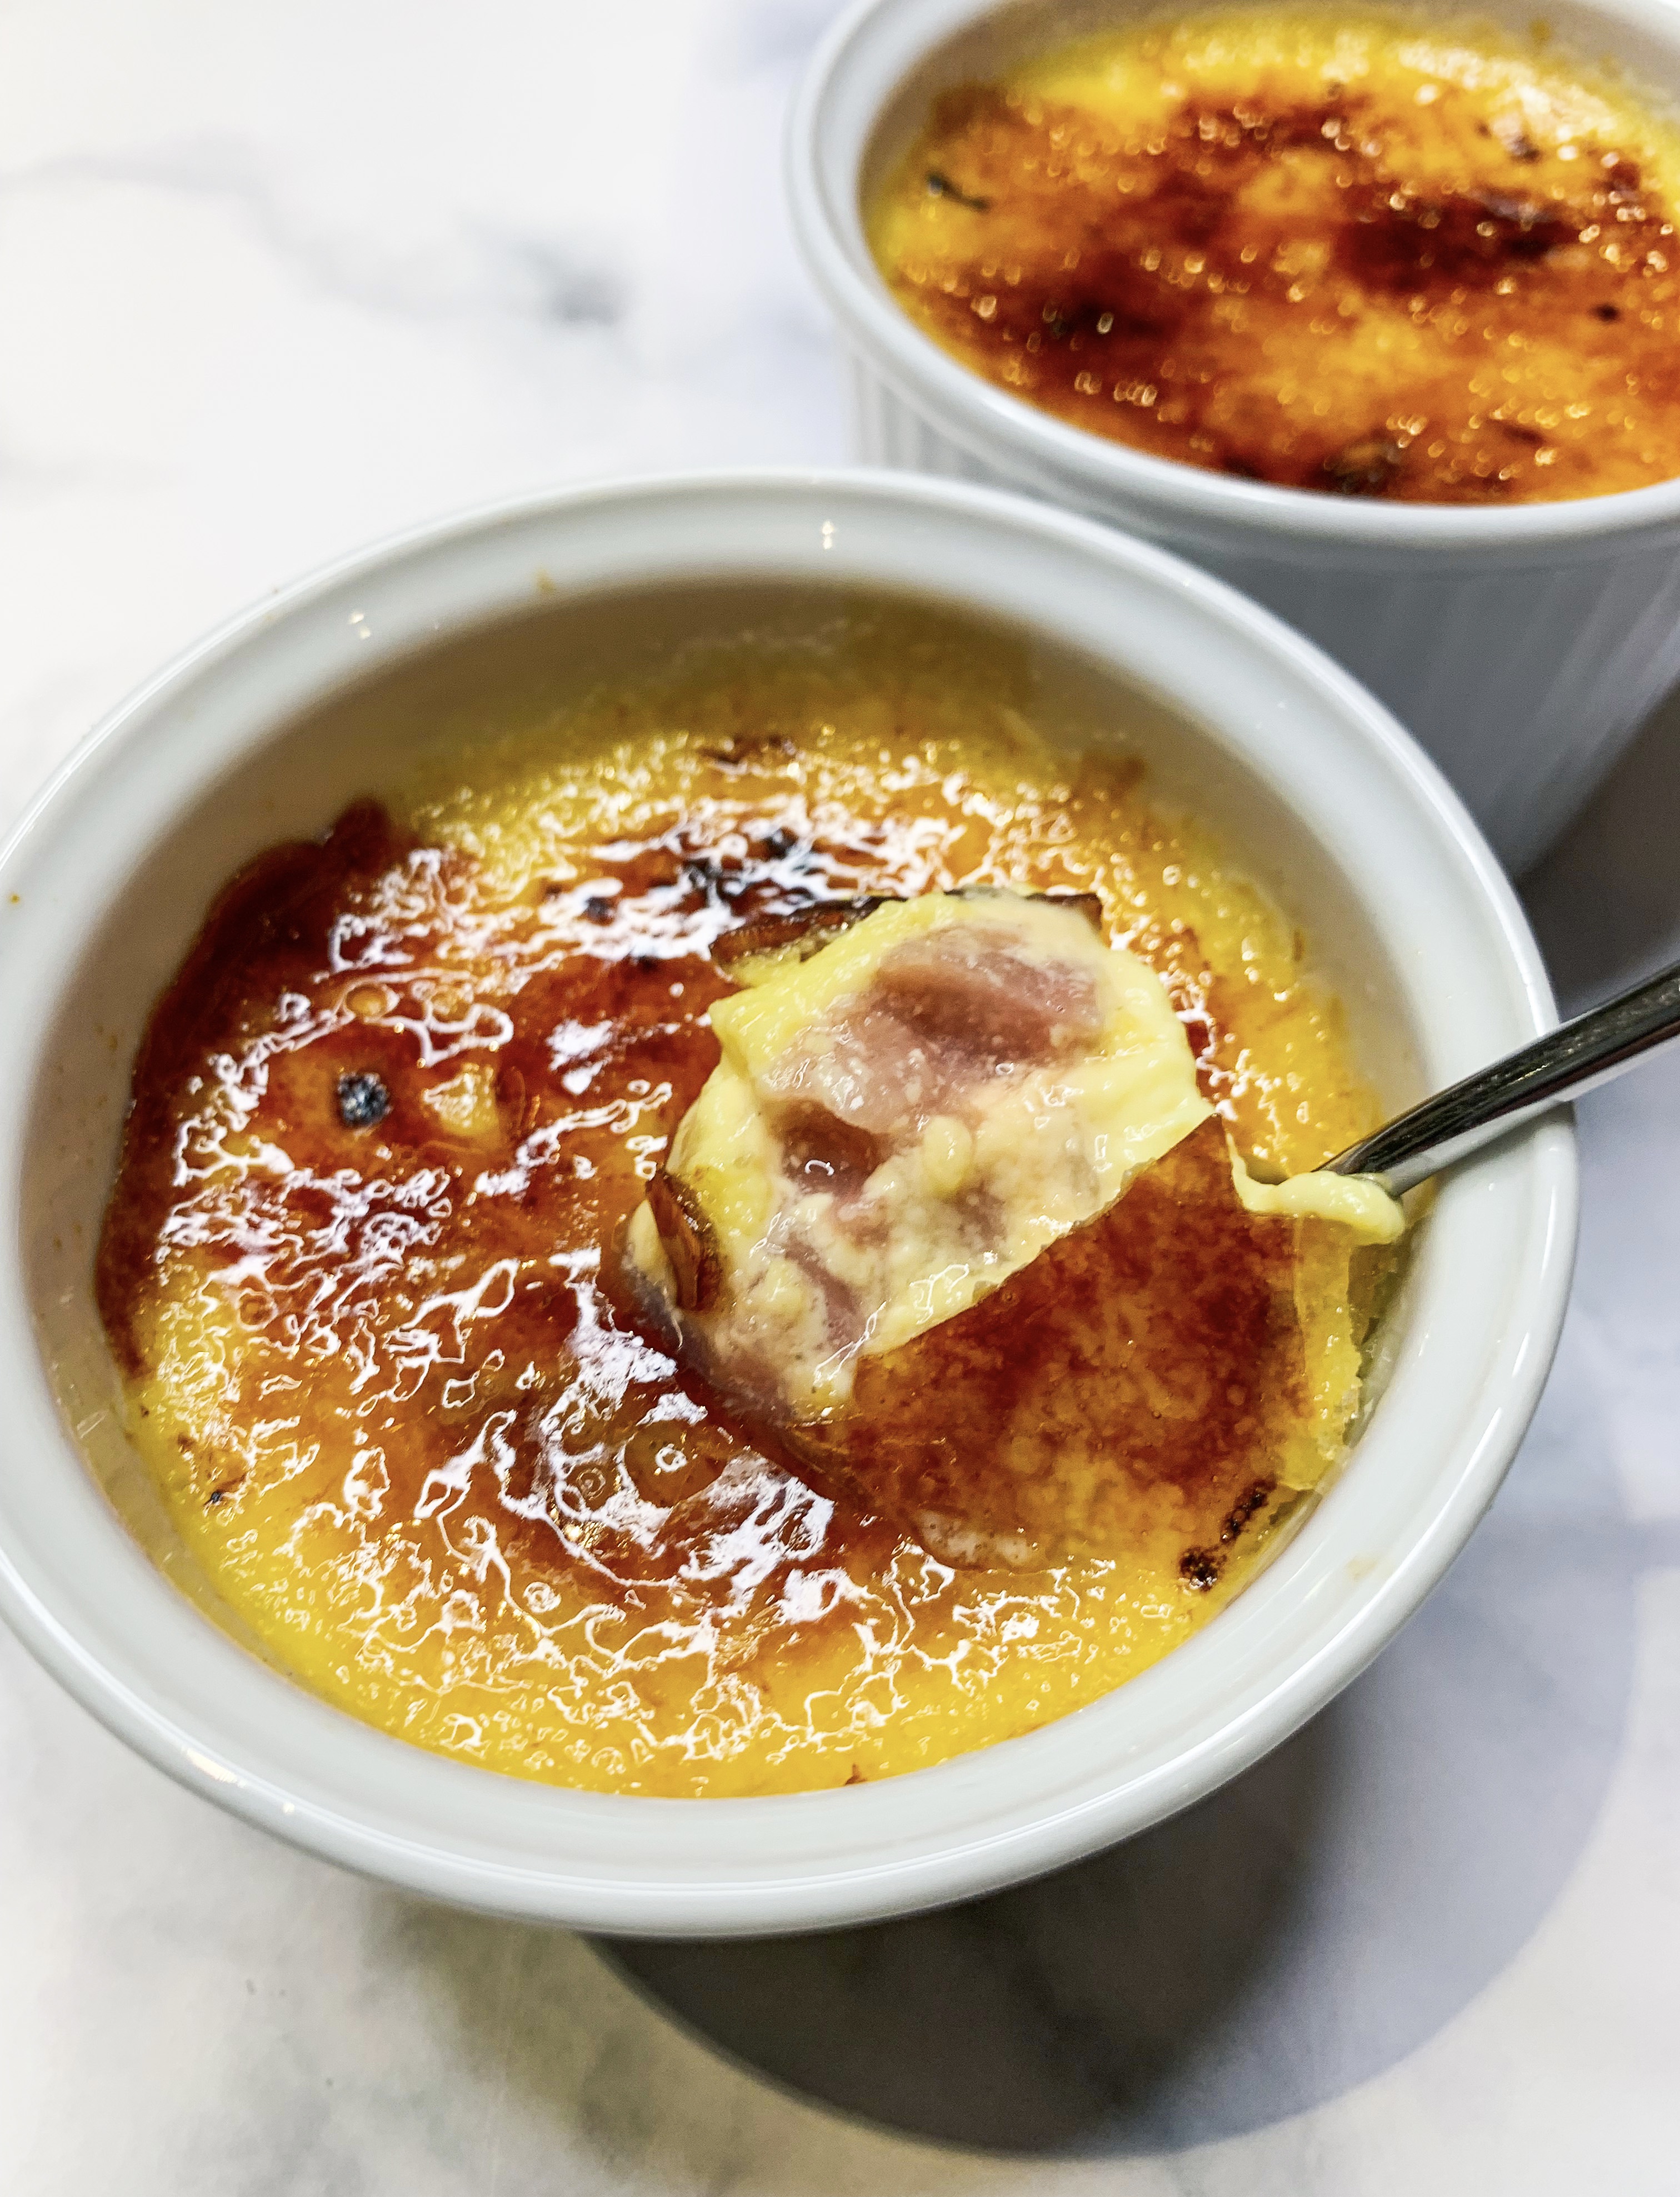
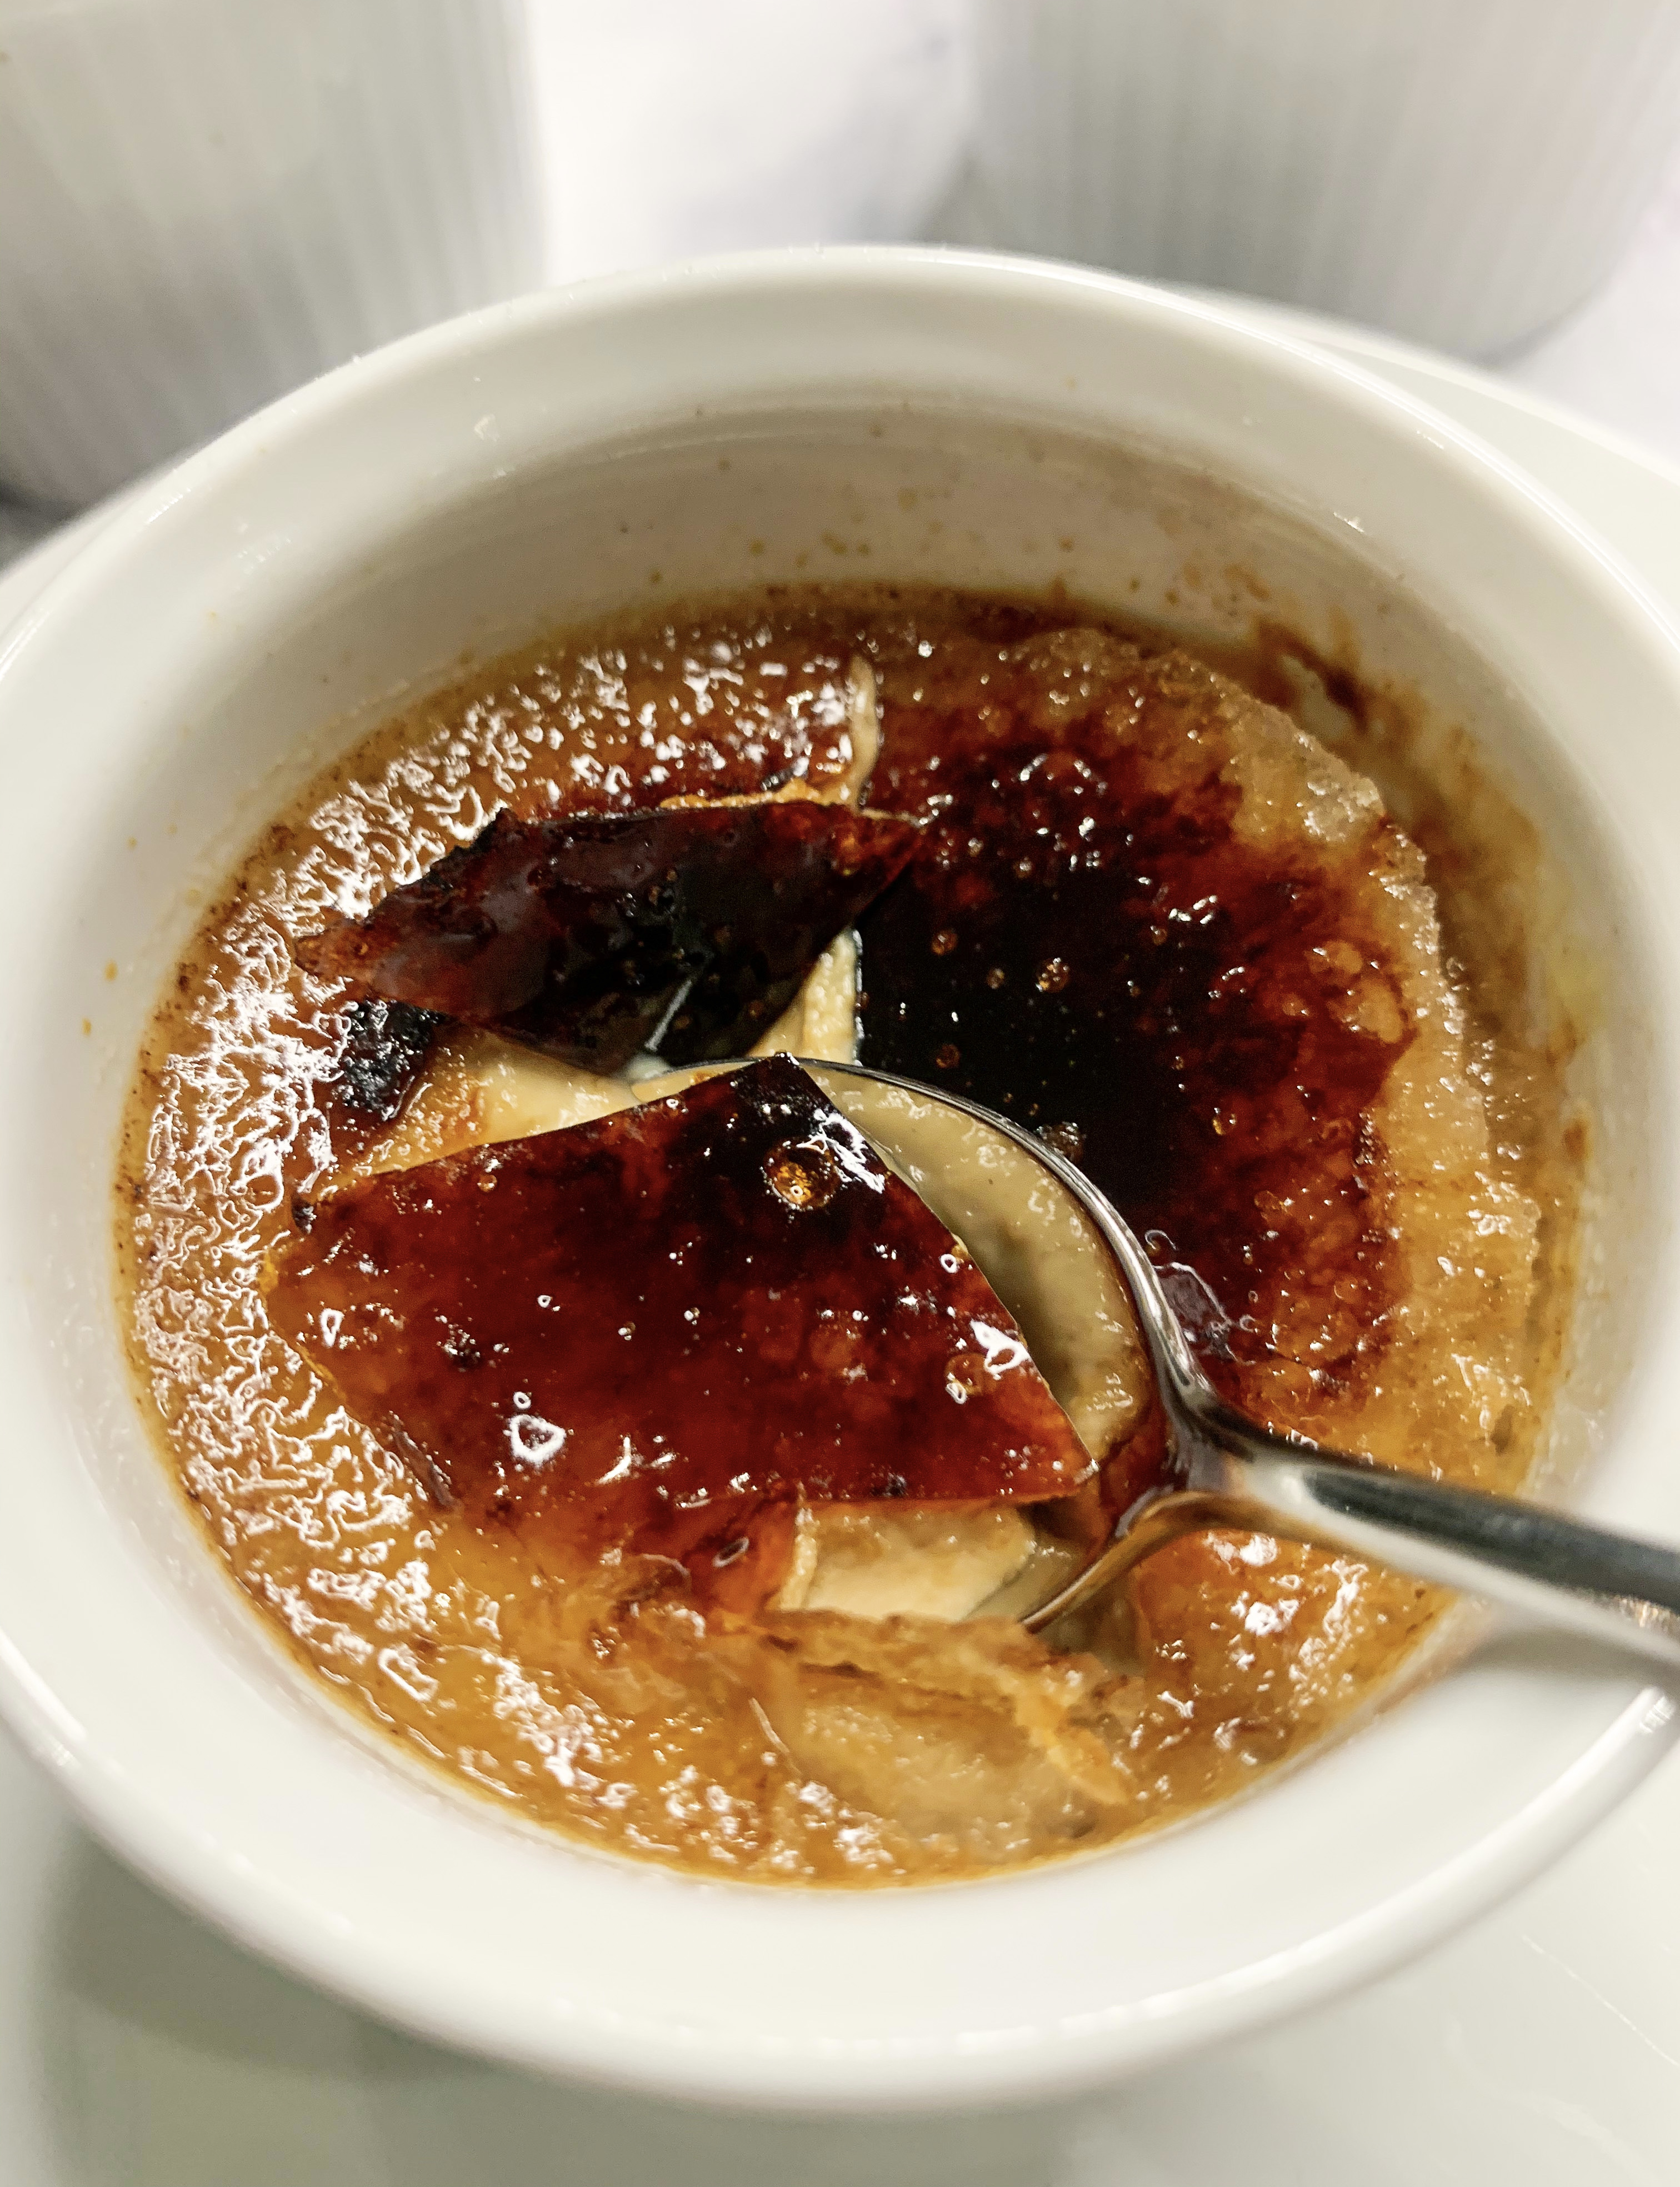
Coffee Crème Brûlée (Serves 6)
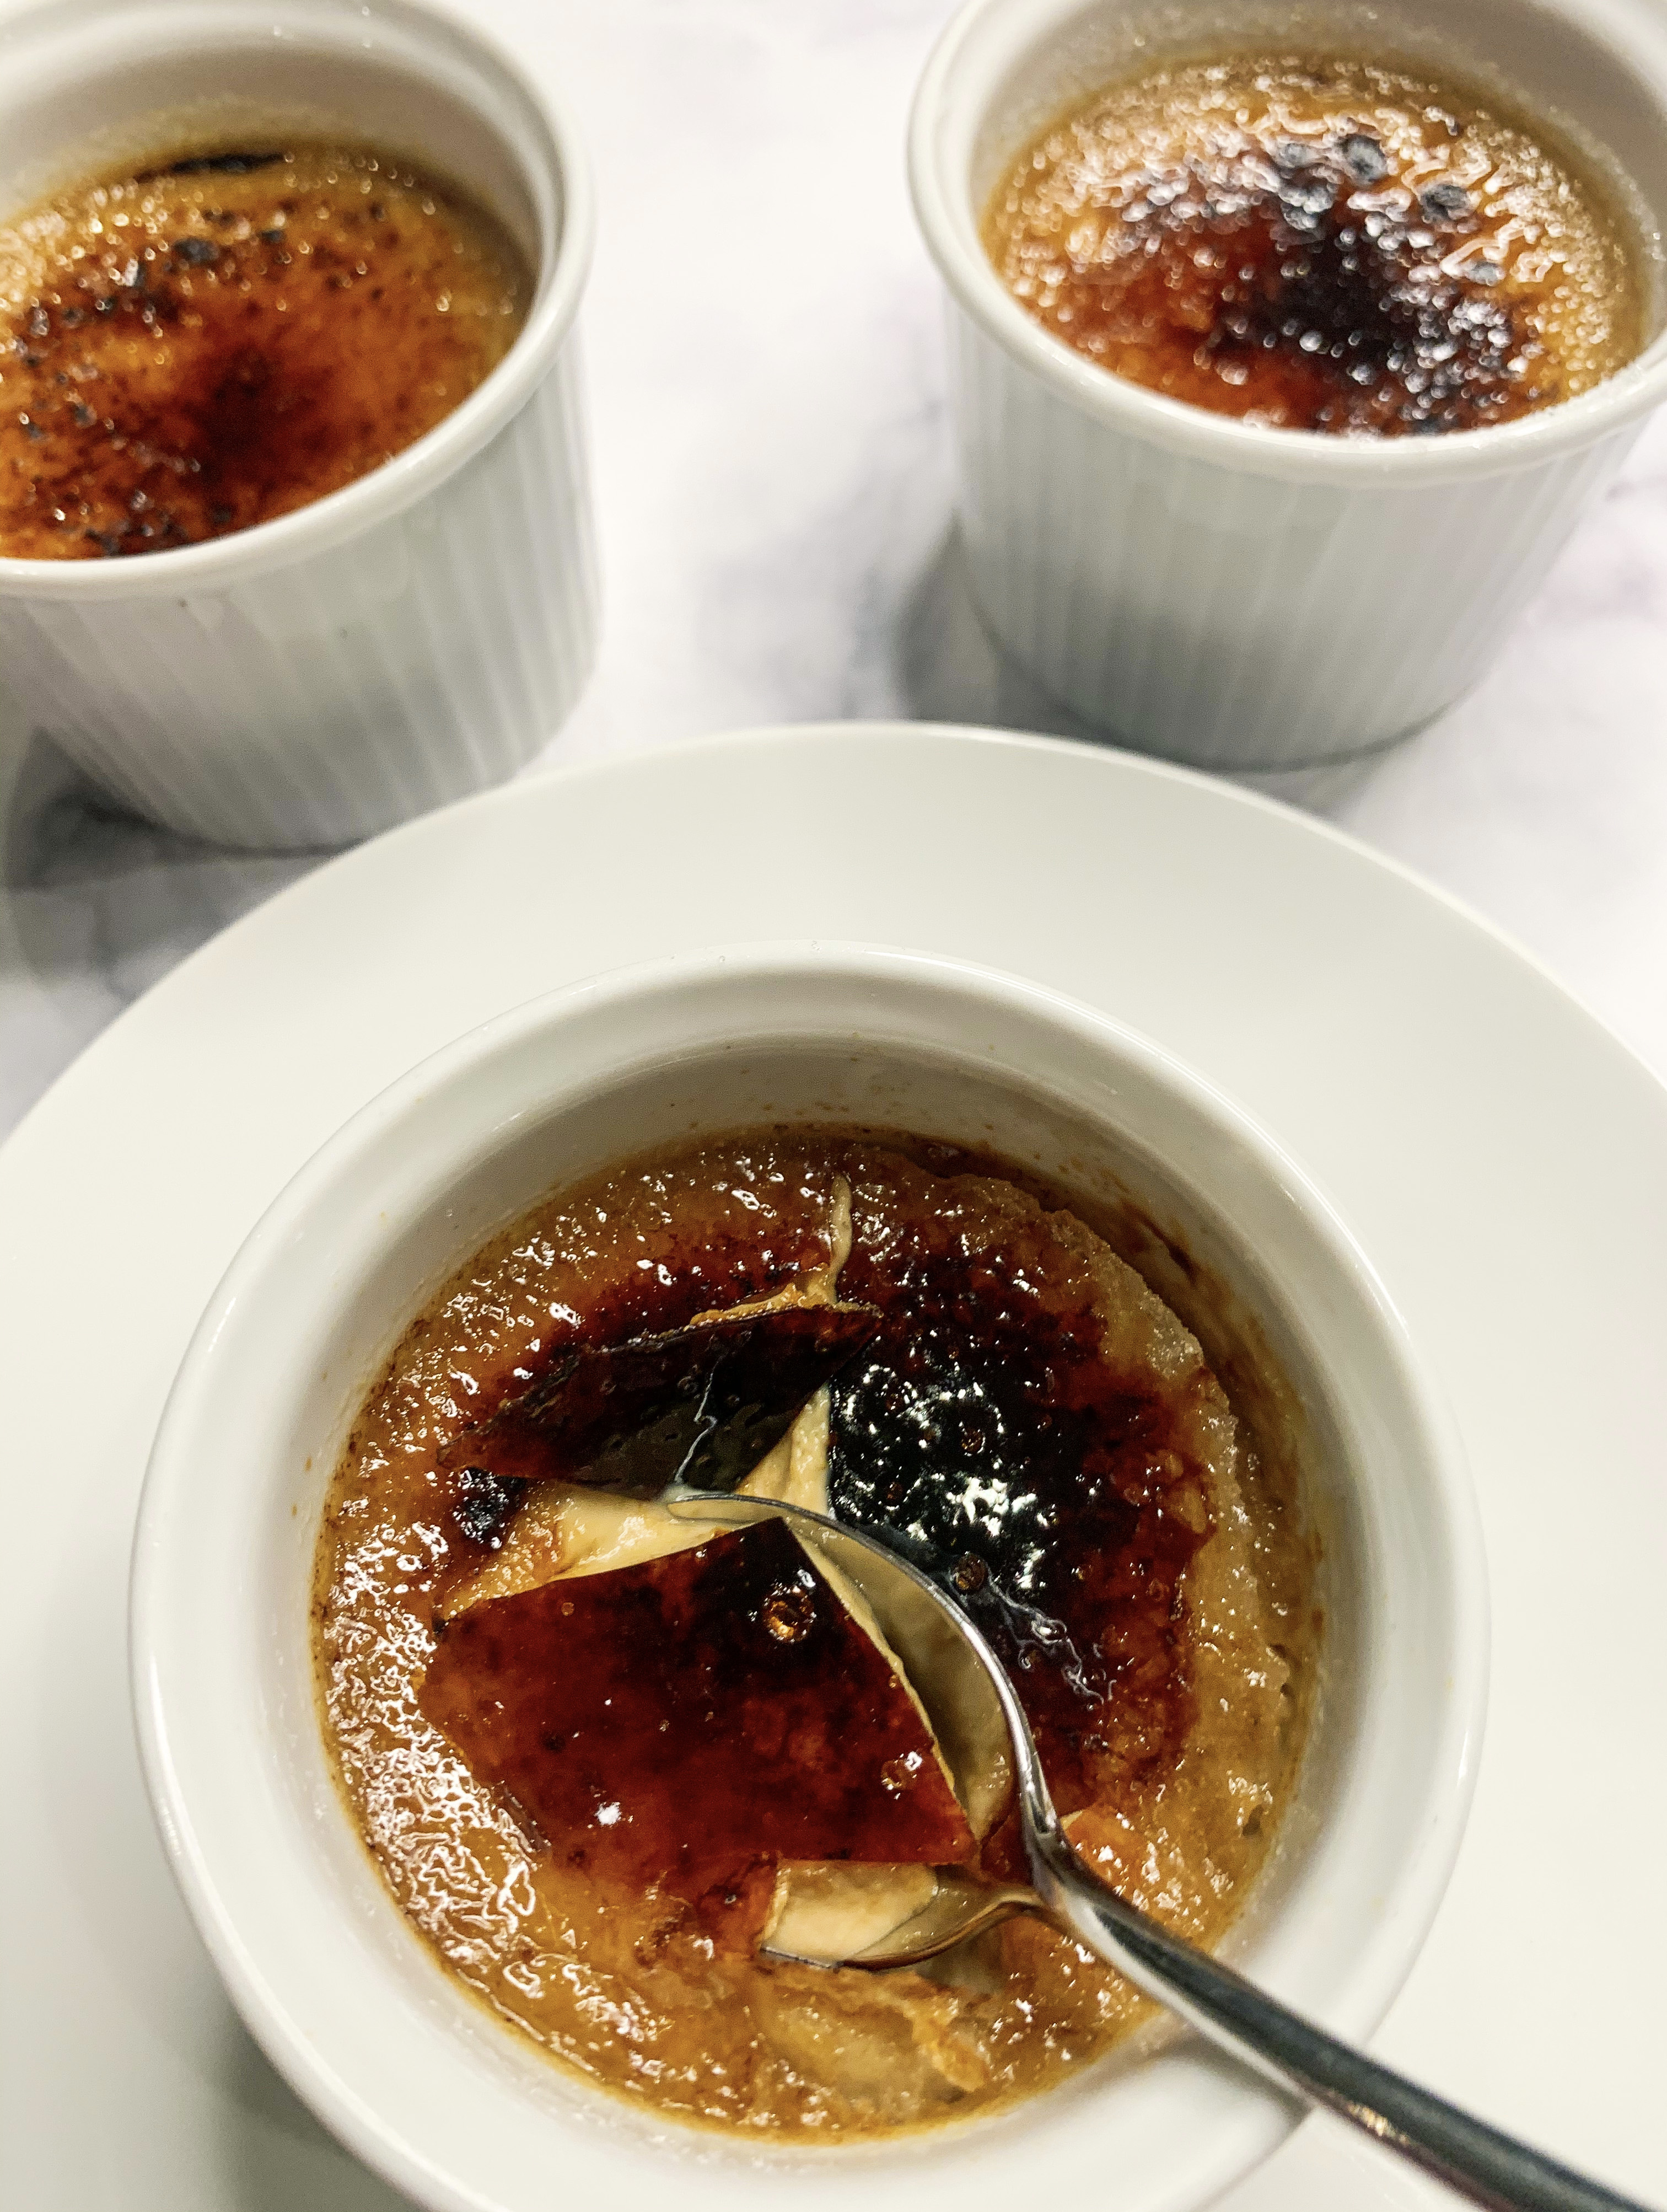
These aren’t just any old Crème Brulées, these are Coffee Crème Brulées, they are the perfect end to any meal; coffee and cream, what’s not to like?! There are quite a few recipes around for créme brûlées, but I think that this recipe from David Lebovitz’s cookbook ‘My Paris Kitchen’ (a book which is hugely entertaining not just for it’s wonderful recipes but also for the anecdotes of his life in Paris), is pretty much one of the best – it’s simple yet stylish, very Parisian!
I suggest you use a kitchen blowtorch to create the caramelised topping as it’s much easier than trying to get your grill hot enough to do it. Dare I mention the ‘Amazon’ word?…kitchen blow torches can be found there for around £12-14; they are a great addition to any kitchen and you will seriously appreciate the wonderful crunch they will give to your Brûlée!
330ml double cream
160ml whole milk
50g caster sugar, plus more for caramelising
Pinch of sea salt
4 large egg yolks
1 tablespoon instant espresso powder
2 teaspoons of Kahlua or other coffee flavoured liqueur
You will need 6 ramekins with 125ml capacity
- In a small saucepan over a medium heat, warm the cream, milk, sugar, and salt until the sugar has melted.
- In a bowl, whisk together the egg yolks. Gradually add the warm cream mixture, stirring rather than whisking, as you don’t want to create too much froth.
- Mix 3 tablespoons of the cream mixture to the espresso powder, then return it to the bowl with the rest of the cream mixture, and mix to fully incorporate (I find that by adding it in this way it is easier to dissolve).
- Use a sieve to strain the coffee and cream mixture into large jug, then stir in the Kahlua.
- Pour the mixture between 6 ramekins (125ml).
- Place a tea towel over the base of a roasting tin (this will stop the ramekins from slipping), then place the ramekins in the tin. Pour enough boiling water into the roasting tin so that it comes halfway up the sides of the ramekins. Cover with foil.
- Place the roasting tin in a preheated oven, 150’c fan, cook for about 40-45 minutes until they are just about set but still a little ‘jiggly’.
- Remove the ramekins to cool on a rack. When cool, refrigerate until ready to serve.
- To serve, sprinkle with a thin, even layer of sugar (about 1½ teaspoons), then use a kitchen blow torch to caramelise the sugar – you may need to lift the ramekin to swirl the caramel evenly across the top. Serve immediately.
Creamy Rice Pudding with Armagnac & Earl Grey Prunes (Serves 4 -6)
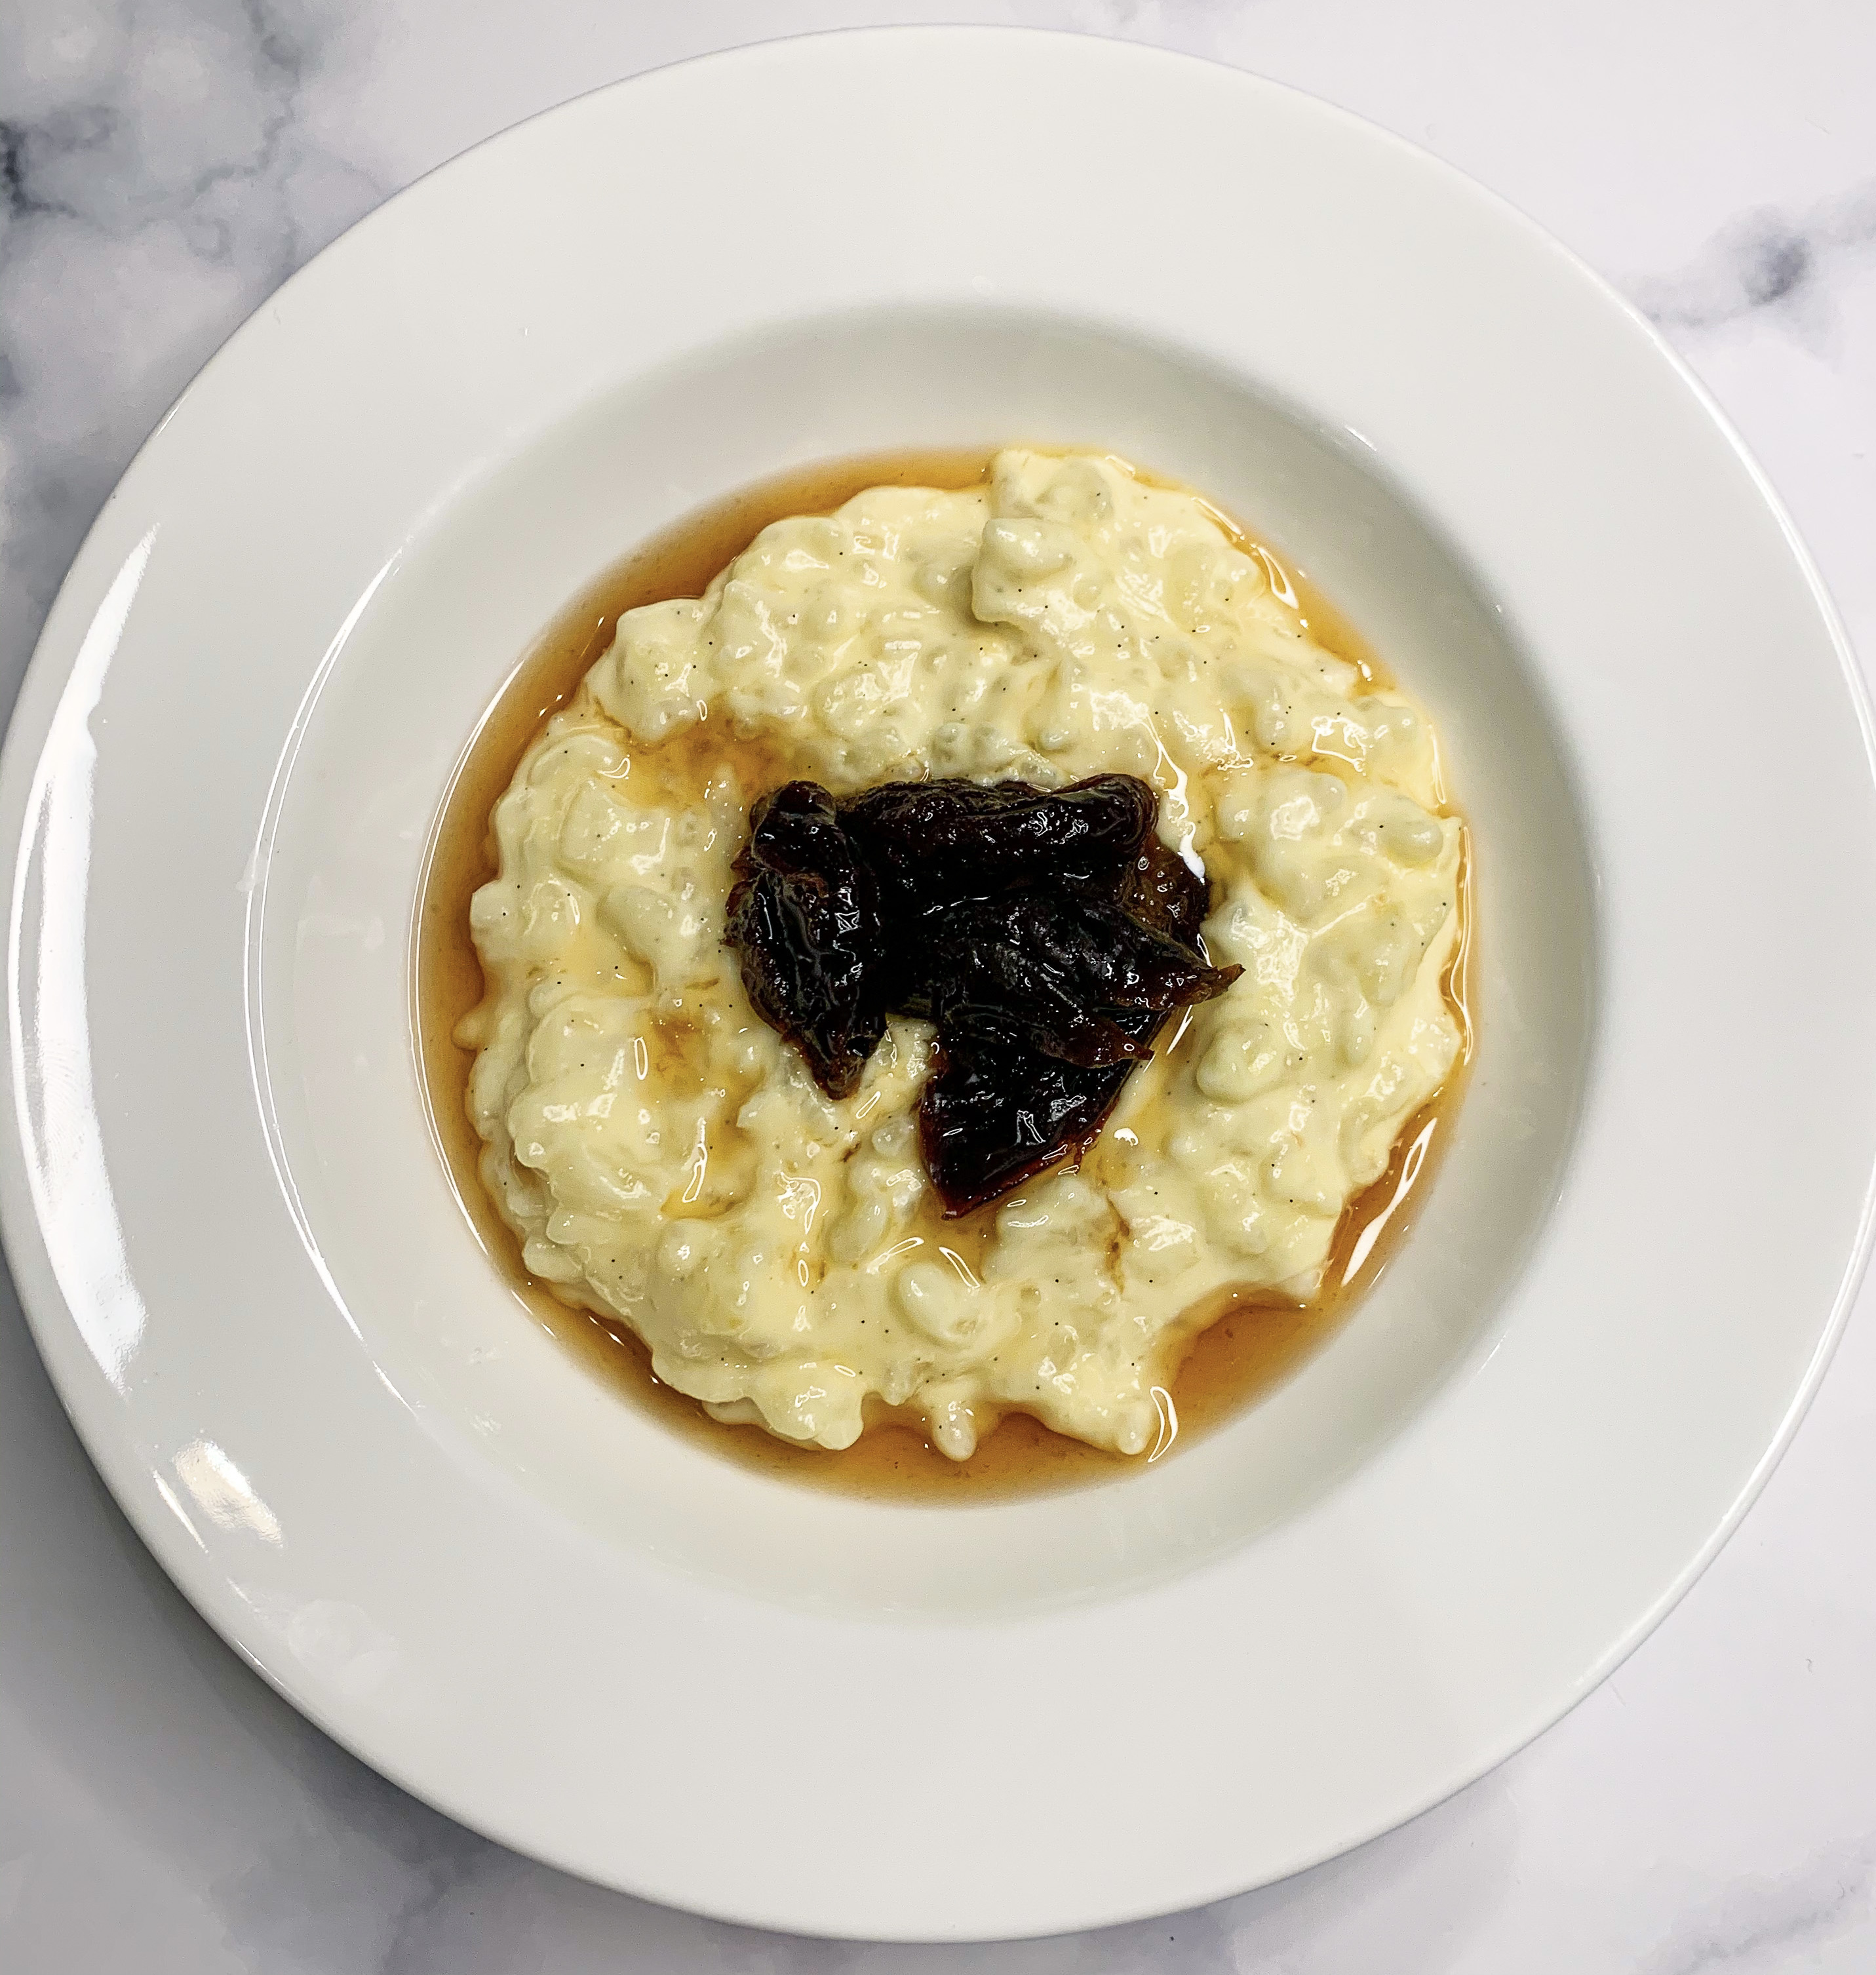
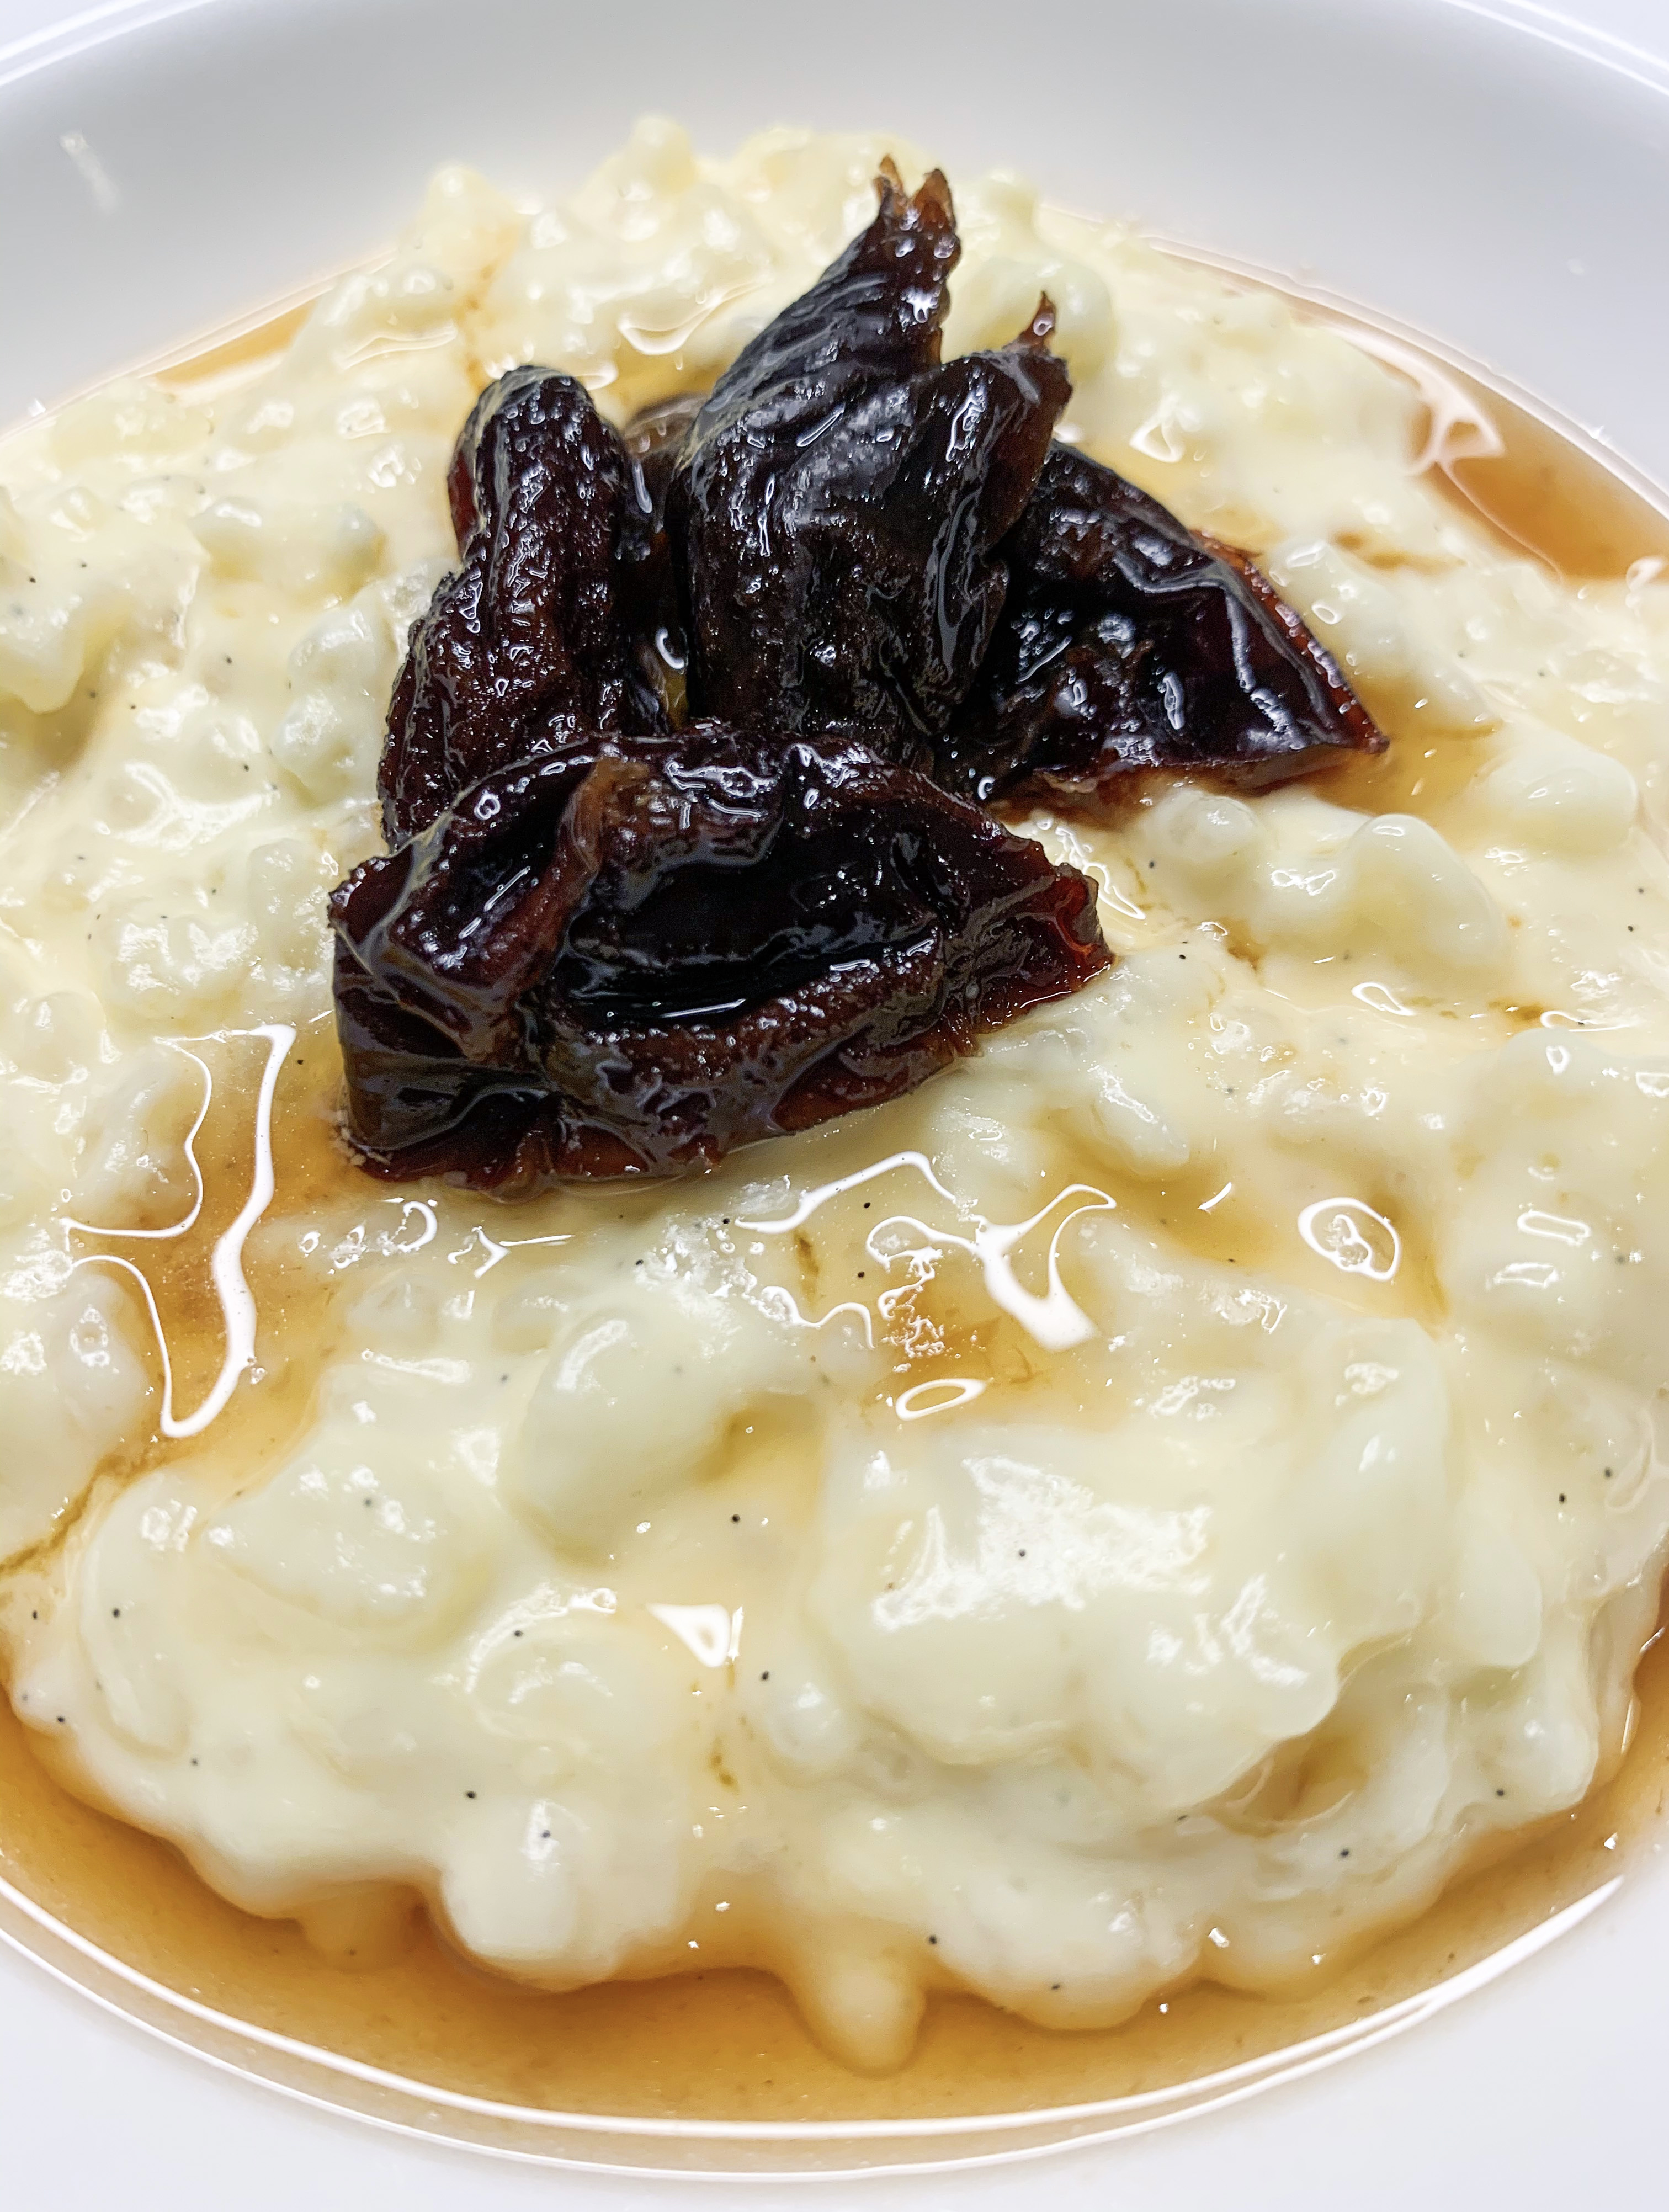
Ok, I must admit that I haven’t always been a lover of rice pudding. When I was a child I absolutely hated it; most of my memories of this pudding, probably fuelled by my school dinners, are of a tasteless, milky mush. I was only converted years later, when Nick, who loves rice pudding, urged me to try it in a restaurant – it was a revelation! Since then, I have been on a mission to find the very best, creamiest rice pudding recipe…and I think this is definitely it. The prunes in Armagnac are the ‘icing on the cake’! I hate skin on my rice pudding, so I stir it every 15 minutes whilst it is baking to stop a skin from forming, but if you prefer, you can leave it to skin over.
For the Pudding:
500ml whole milk
500ml double cream
1 vanilla pod
100g Arborio rice
75g caster sugar
For the Armagnac Prunes:
50g caster sugar
50g clear honey
1 earl grey teabag
100ml Armagnac
16 Agen prunes, pitted and cut in half
- Firstly prepare the prunes. Put 100ml water, the sugar and honey in a small saucepan and bring to the boil. Remove from the heat, add the teabag and allow to infuse for 2-3 minutes. Remove the teabag, then pour in the Armagnac and add the prunes. Set aside to marinate whilst you make the rice pudding.
- Slice the vanilla pod lengthways, scrape out the seeds, and mix in a bowl, with the milk, cream, rice and caster sugar. Put in a 1.5 litre ovenproof dish and bake in a preheated oven, 130’c fan, for 1½ hours until all the liquid has been absorbed; stir every 15 minutes to prevent a skin from forming.
- When you are ready to serve, gently warm the prunes in a small pan. Serve the rice pudding in bowls with the prunes and their delicious syrup spooned over the top!
Raspberry Clafoutis (Serves 4)
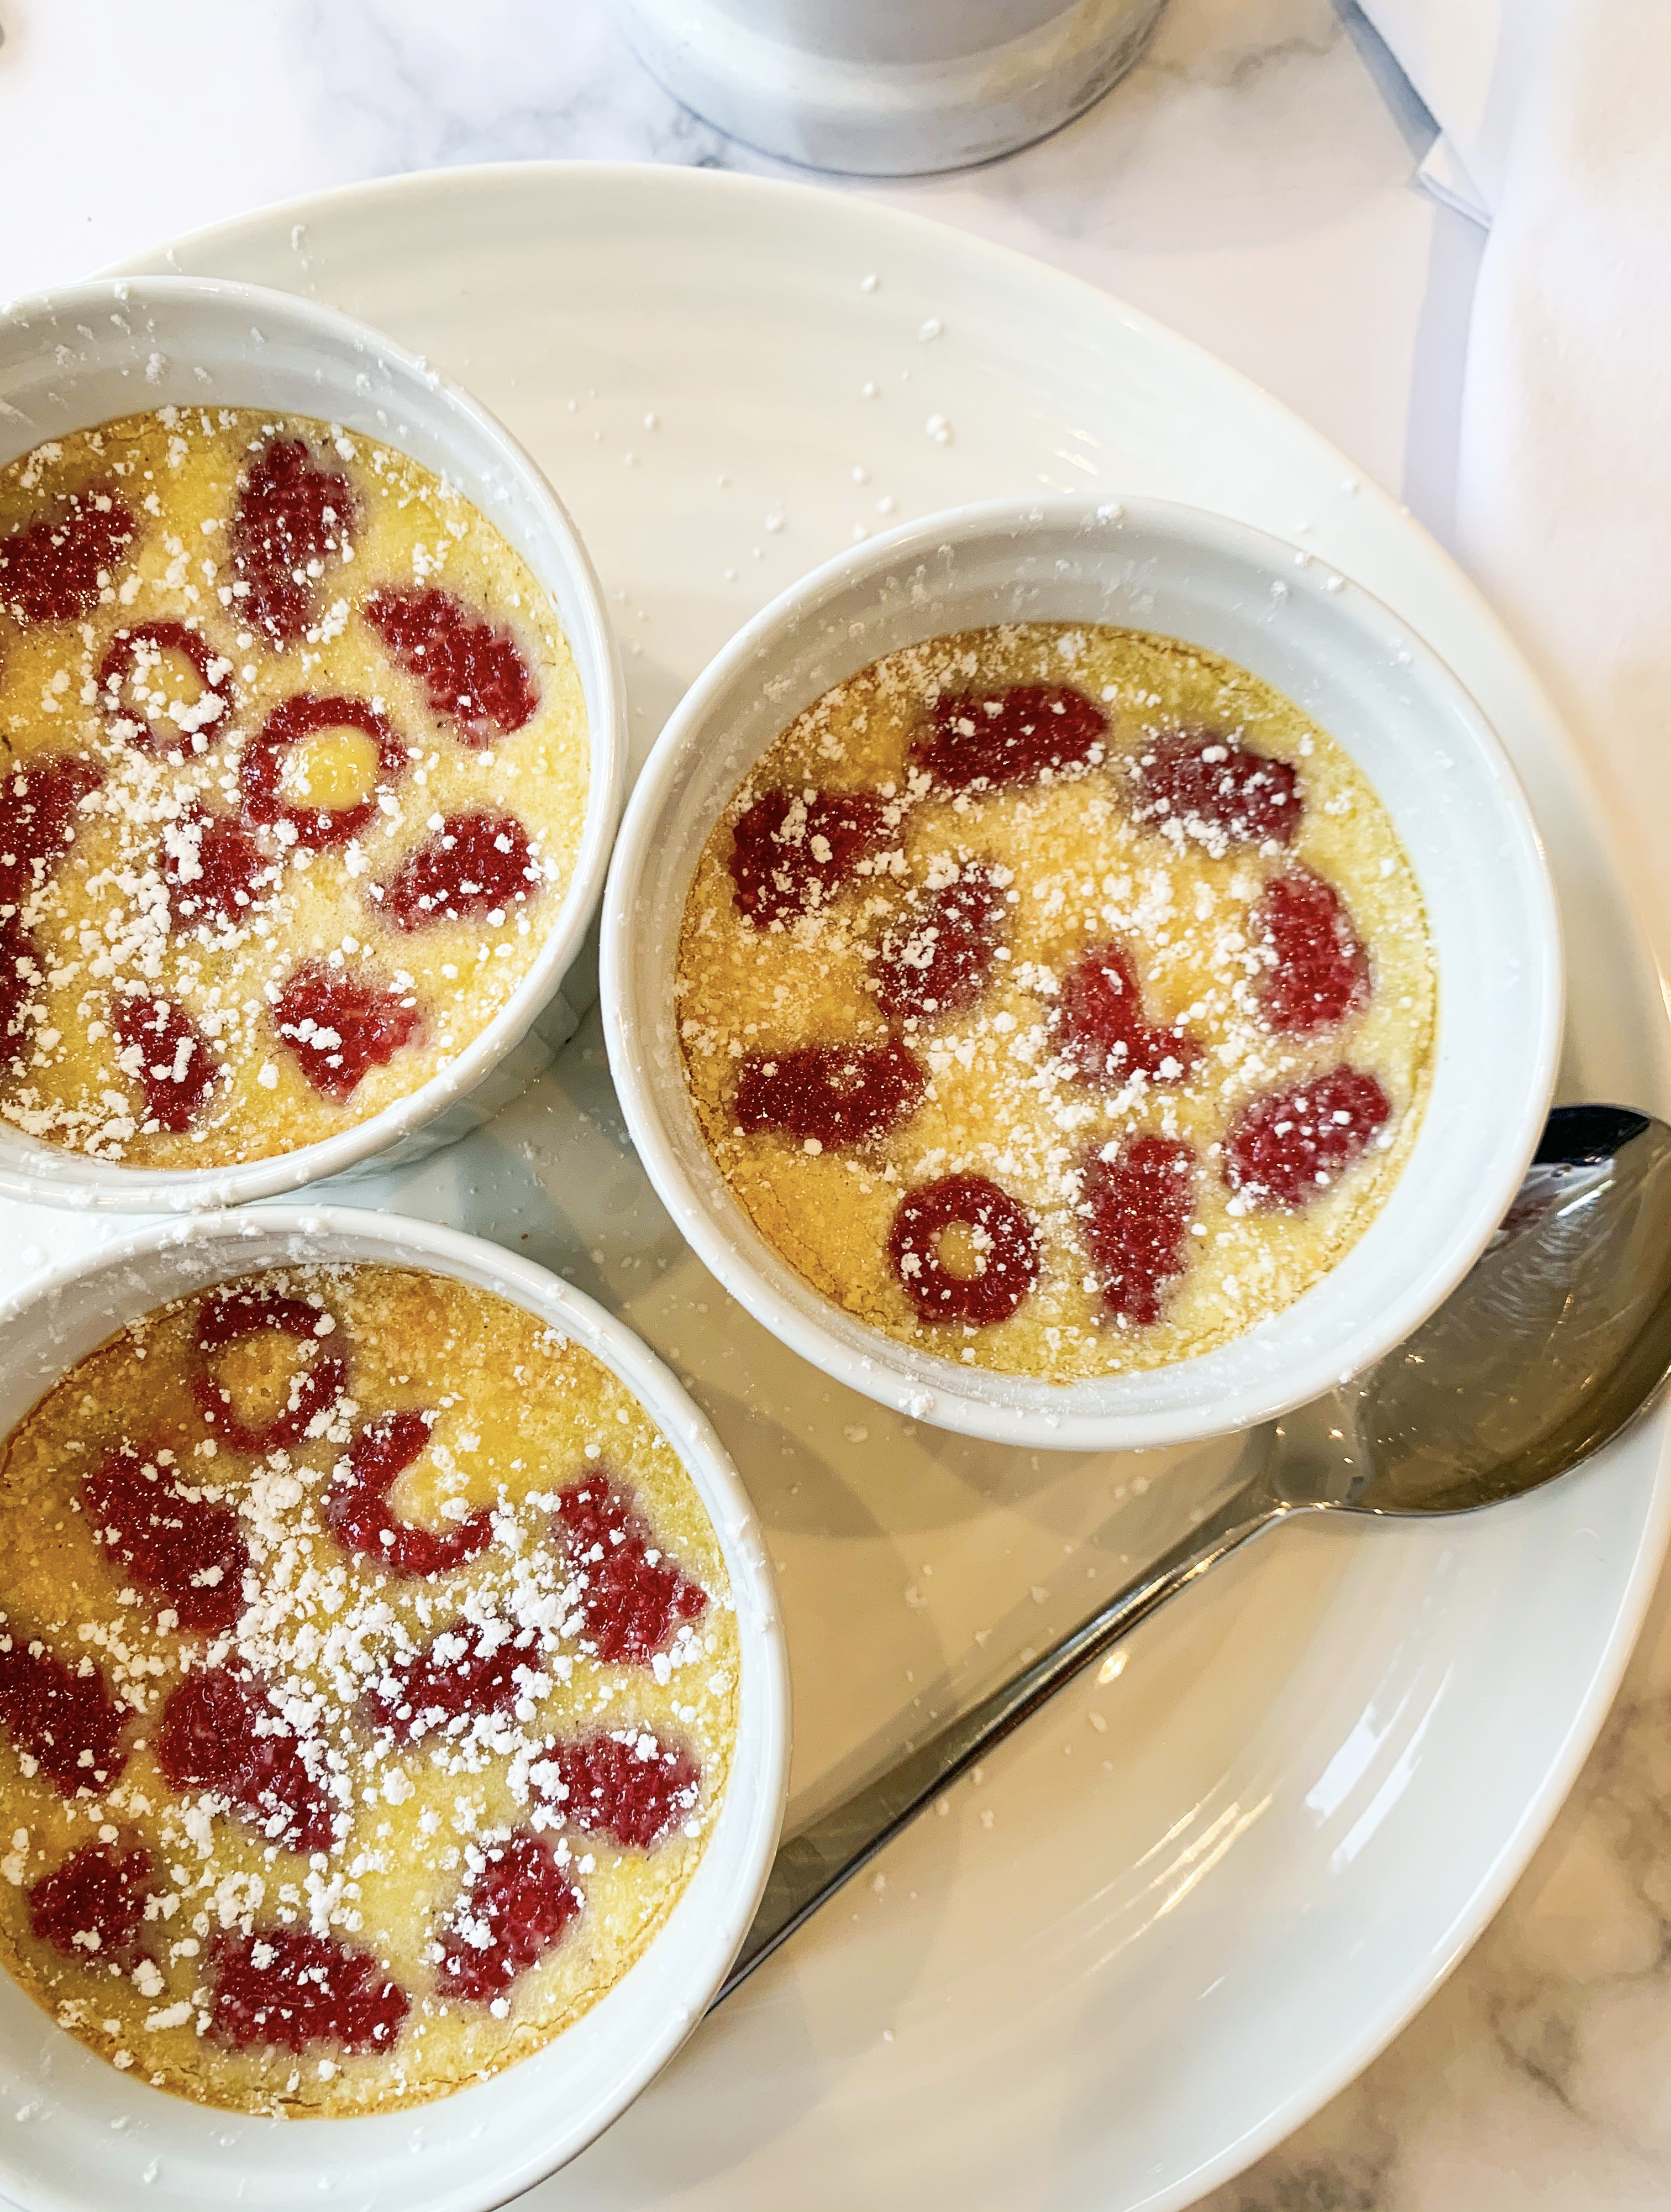
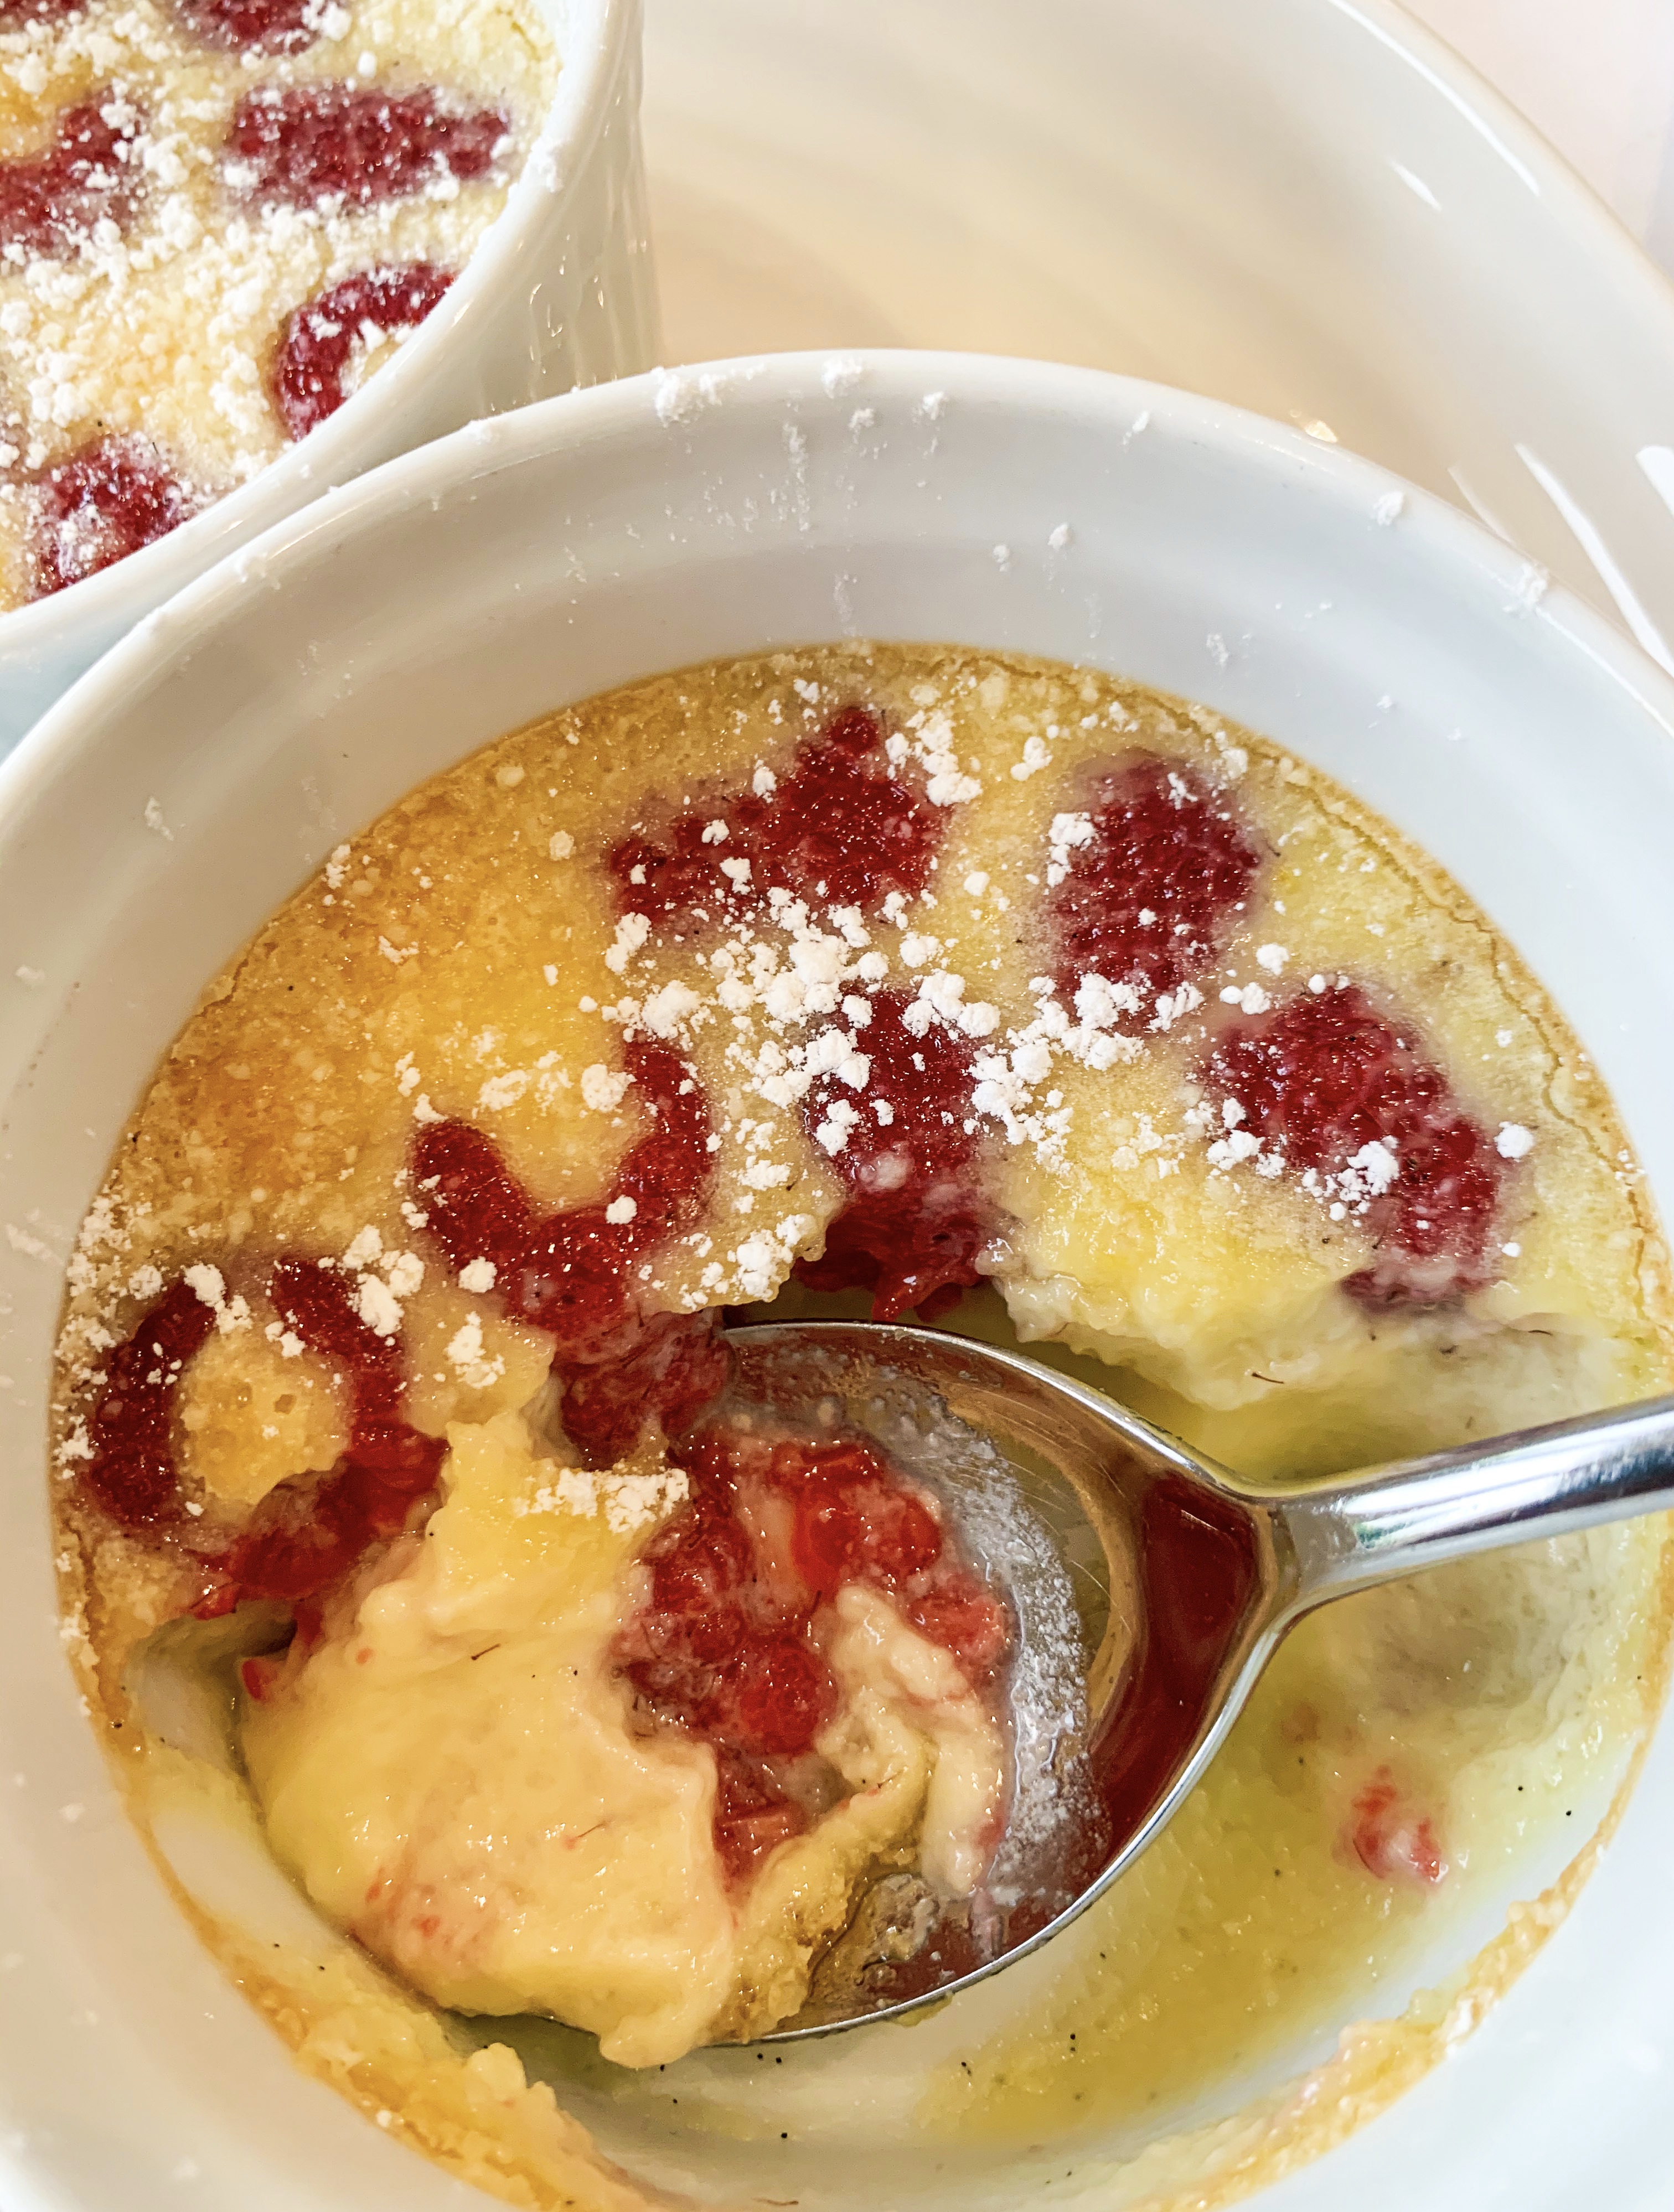
This recipe for Clafoutis is wonderfully light and rather like a baked custard, it is definitely the best clafoutis recipe I have tried. I found the recipe in Simon Hopkinson’s wonderful cookbook, ‘Roast Chicken and Other Stories’. I have been known to eat this dessert cold for breakfast!!…
(I think it is perfect served on its own, but in his cookbook, Simon Hopkinson does suggest a dollop of whipping cream if you fancy!)
1 vanilla pod, split lengthways
250ml whipping cream
A tiny pinch of salt
250g raspberries
1 egg
2 egg yolks
100g caster sugar
1 teaspoon potato flour (fécule de pommes de terre)
A little sifted icing sugar
Softened butter to grease dishes
Whipping cream to serve (optional)
- Put the vanilla pod in a small pan with the whipping cream and salt. When just coming to the boil remove from the heat and whisk carefully to dislodge the vanilla seeds from the pod into the cream. Cover and leave to infuse for 30 minutes or so.
- Take four ovenproof dishes – I use small individual soufflé dishes – or you could use one large dish if you like, either way butter the dish(es) and arrange the raspberries evenly in them.
- Beat together the egg and egg yolks, caster sugar and potato flour, then incorporate the cream and whisk together.
- Carefully pour over the raspberries, so as not to dislodge them. Then place the dishes in a roasting tin. Fill the tin with water so that it comes at least halfway up the sides of the dishes then sift a little icing sugar over their surface.
- Carefully place in a preheated oven, 180’c fan, for 25-30 minutes until slightly puffed and a little wobbly – if using a larger dish you may need to increase the cooking time by 10 minutes or so.
- Switch off the oven and open the door. Leave them like this, in the oven for a further 5 minutes before removing. Take the dishes out of the roasting dish and allow to cool to lukewarm before serving with a little more icing sugar sifted over (and with some whipped cream if you fancy!).
Lemon Posset with Raspberries (Serves 4-6)
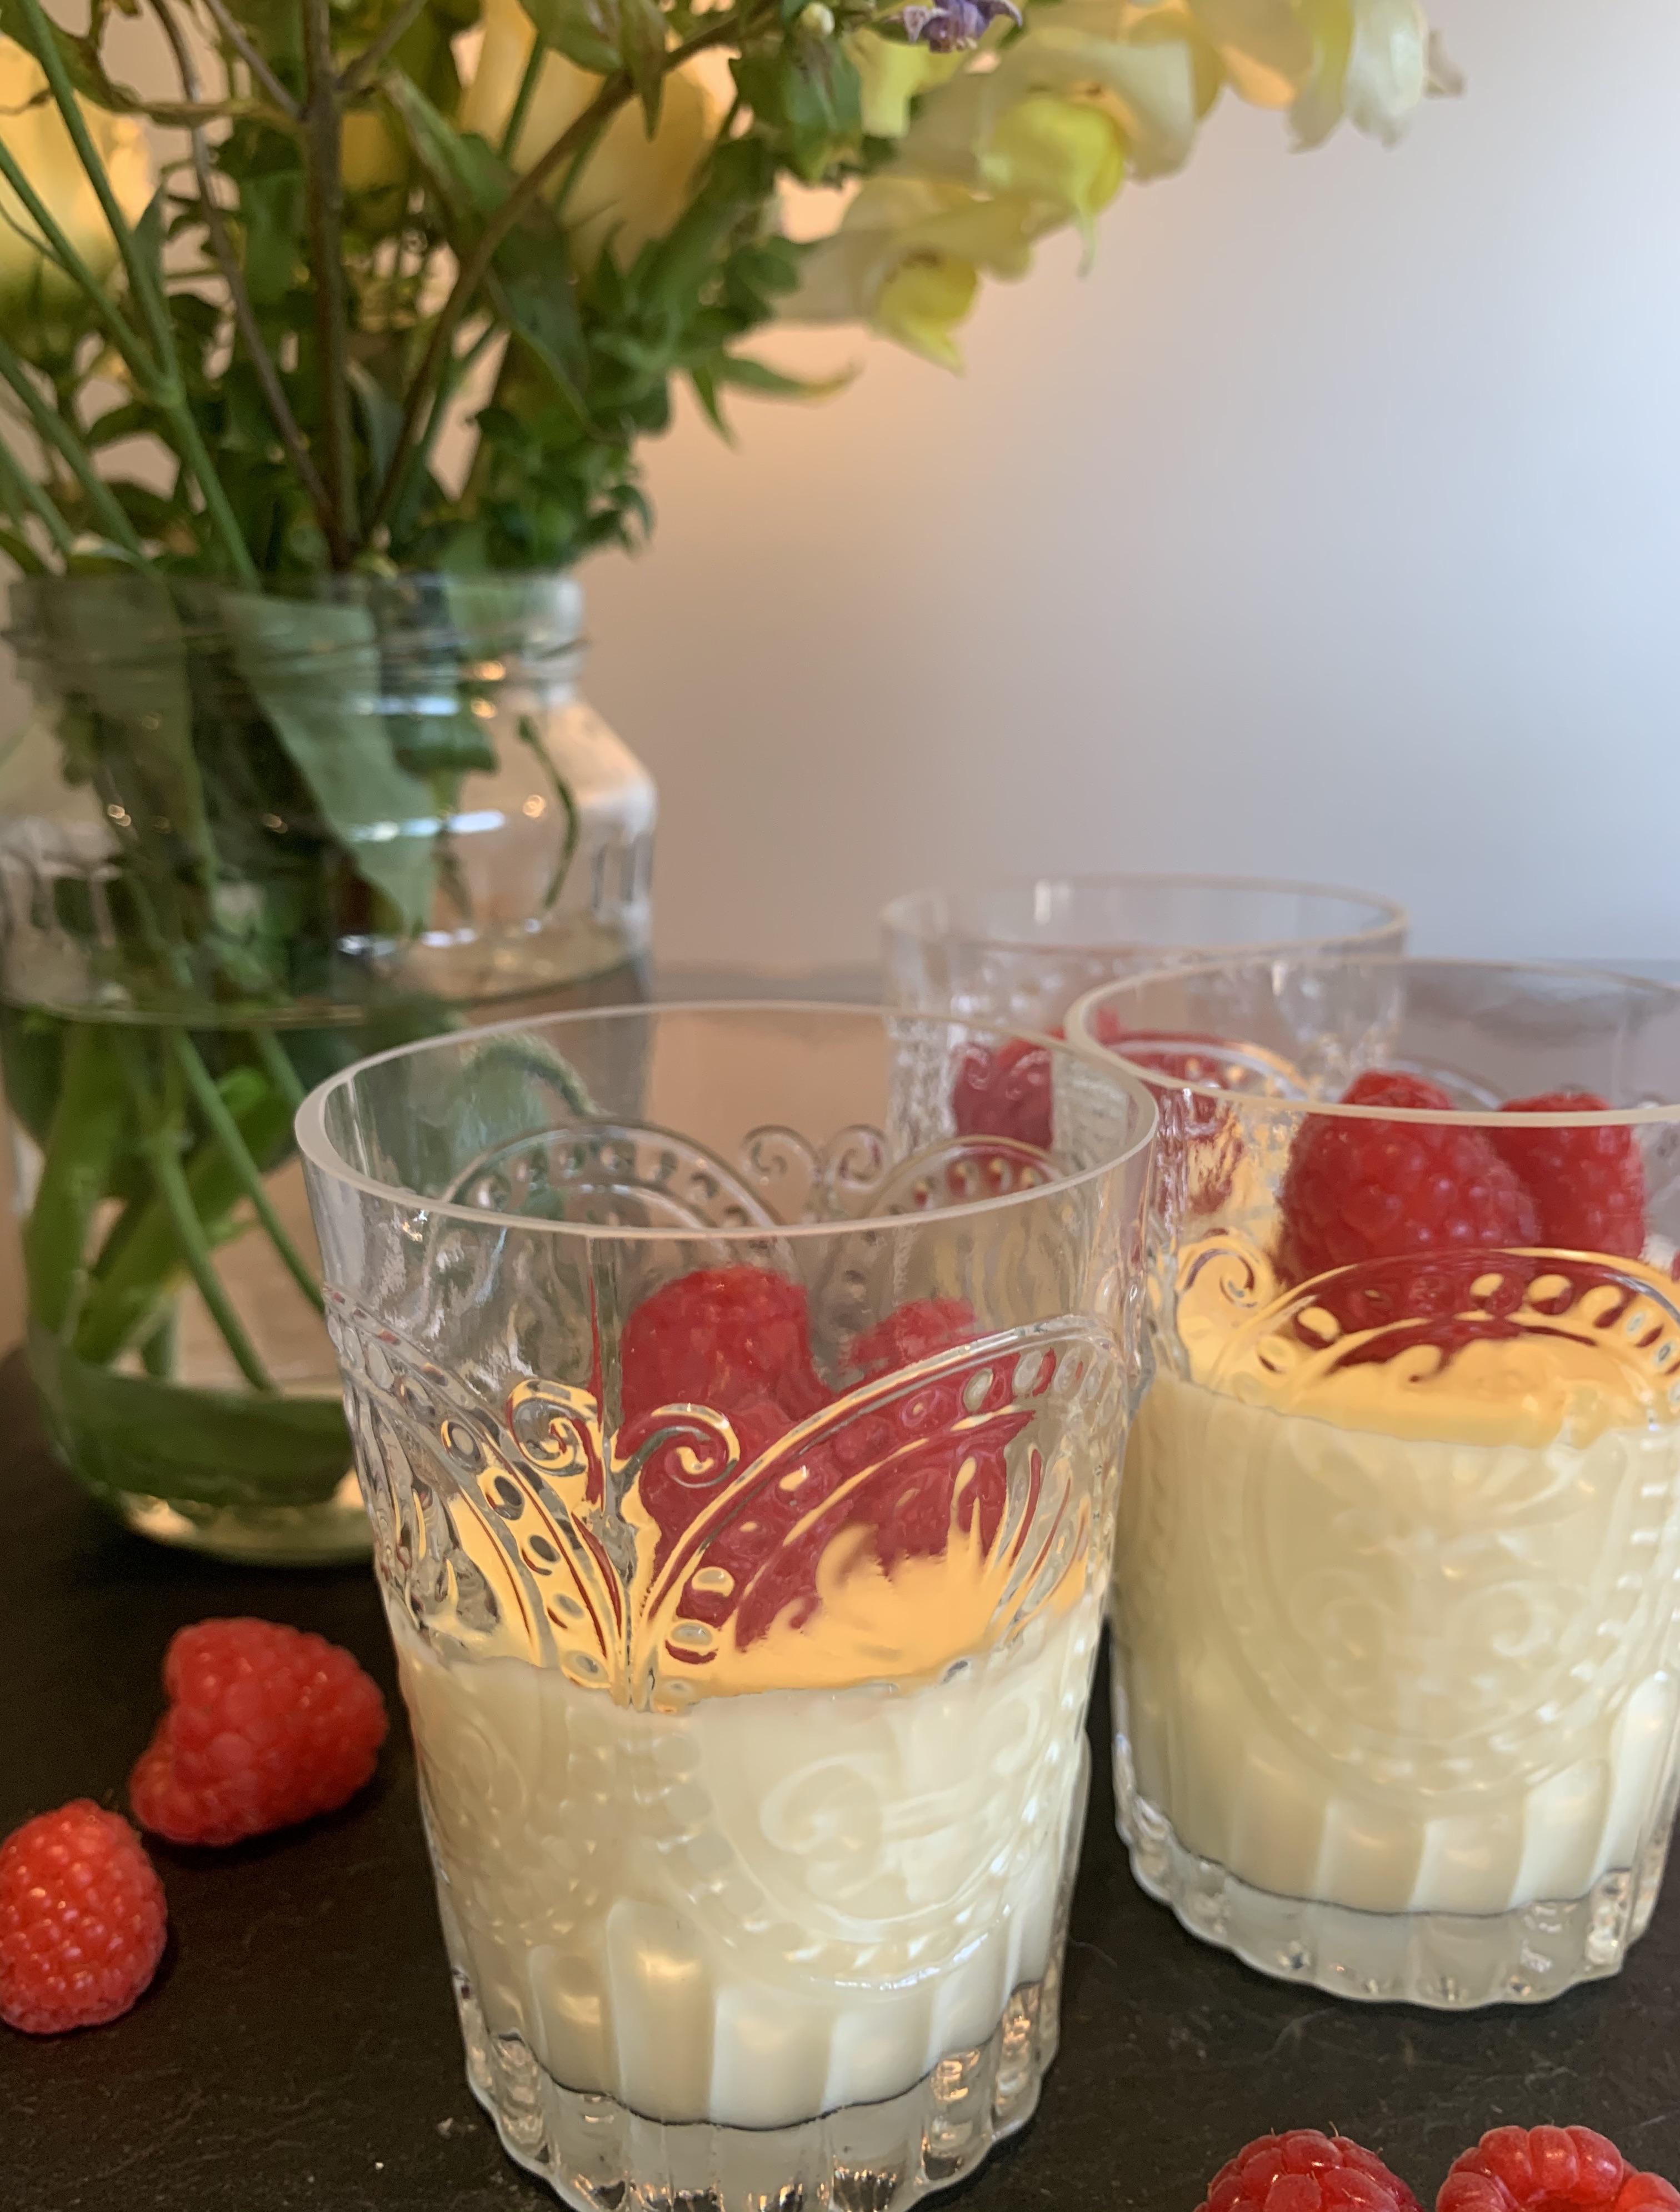
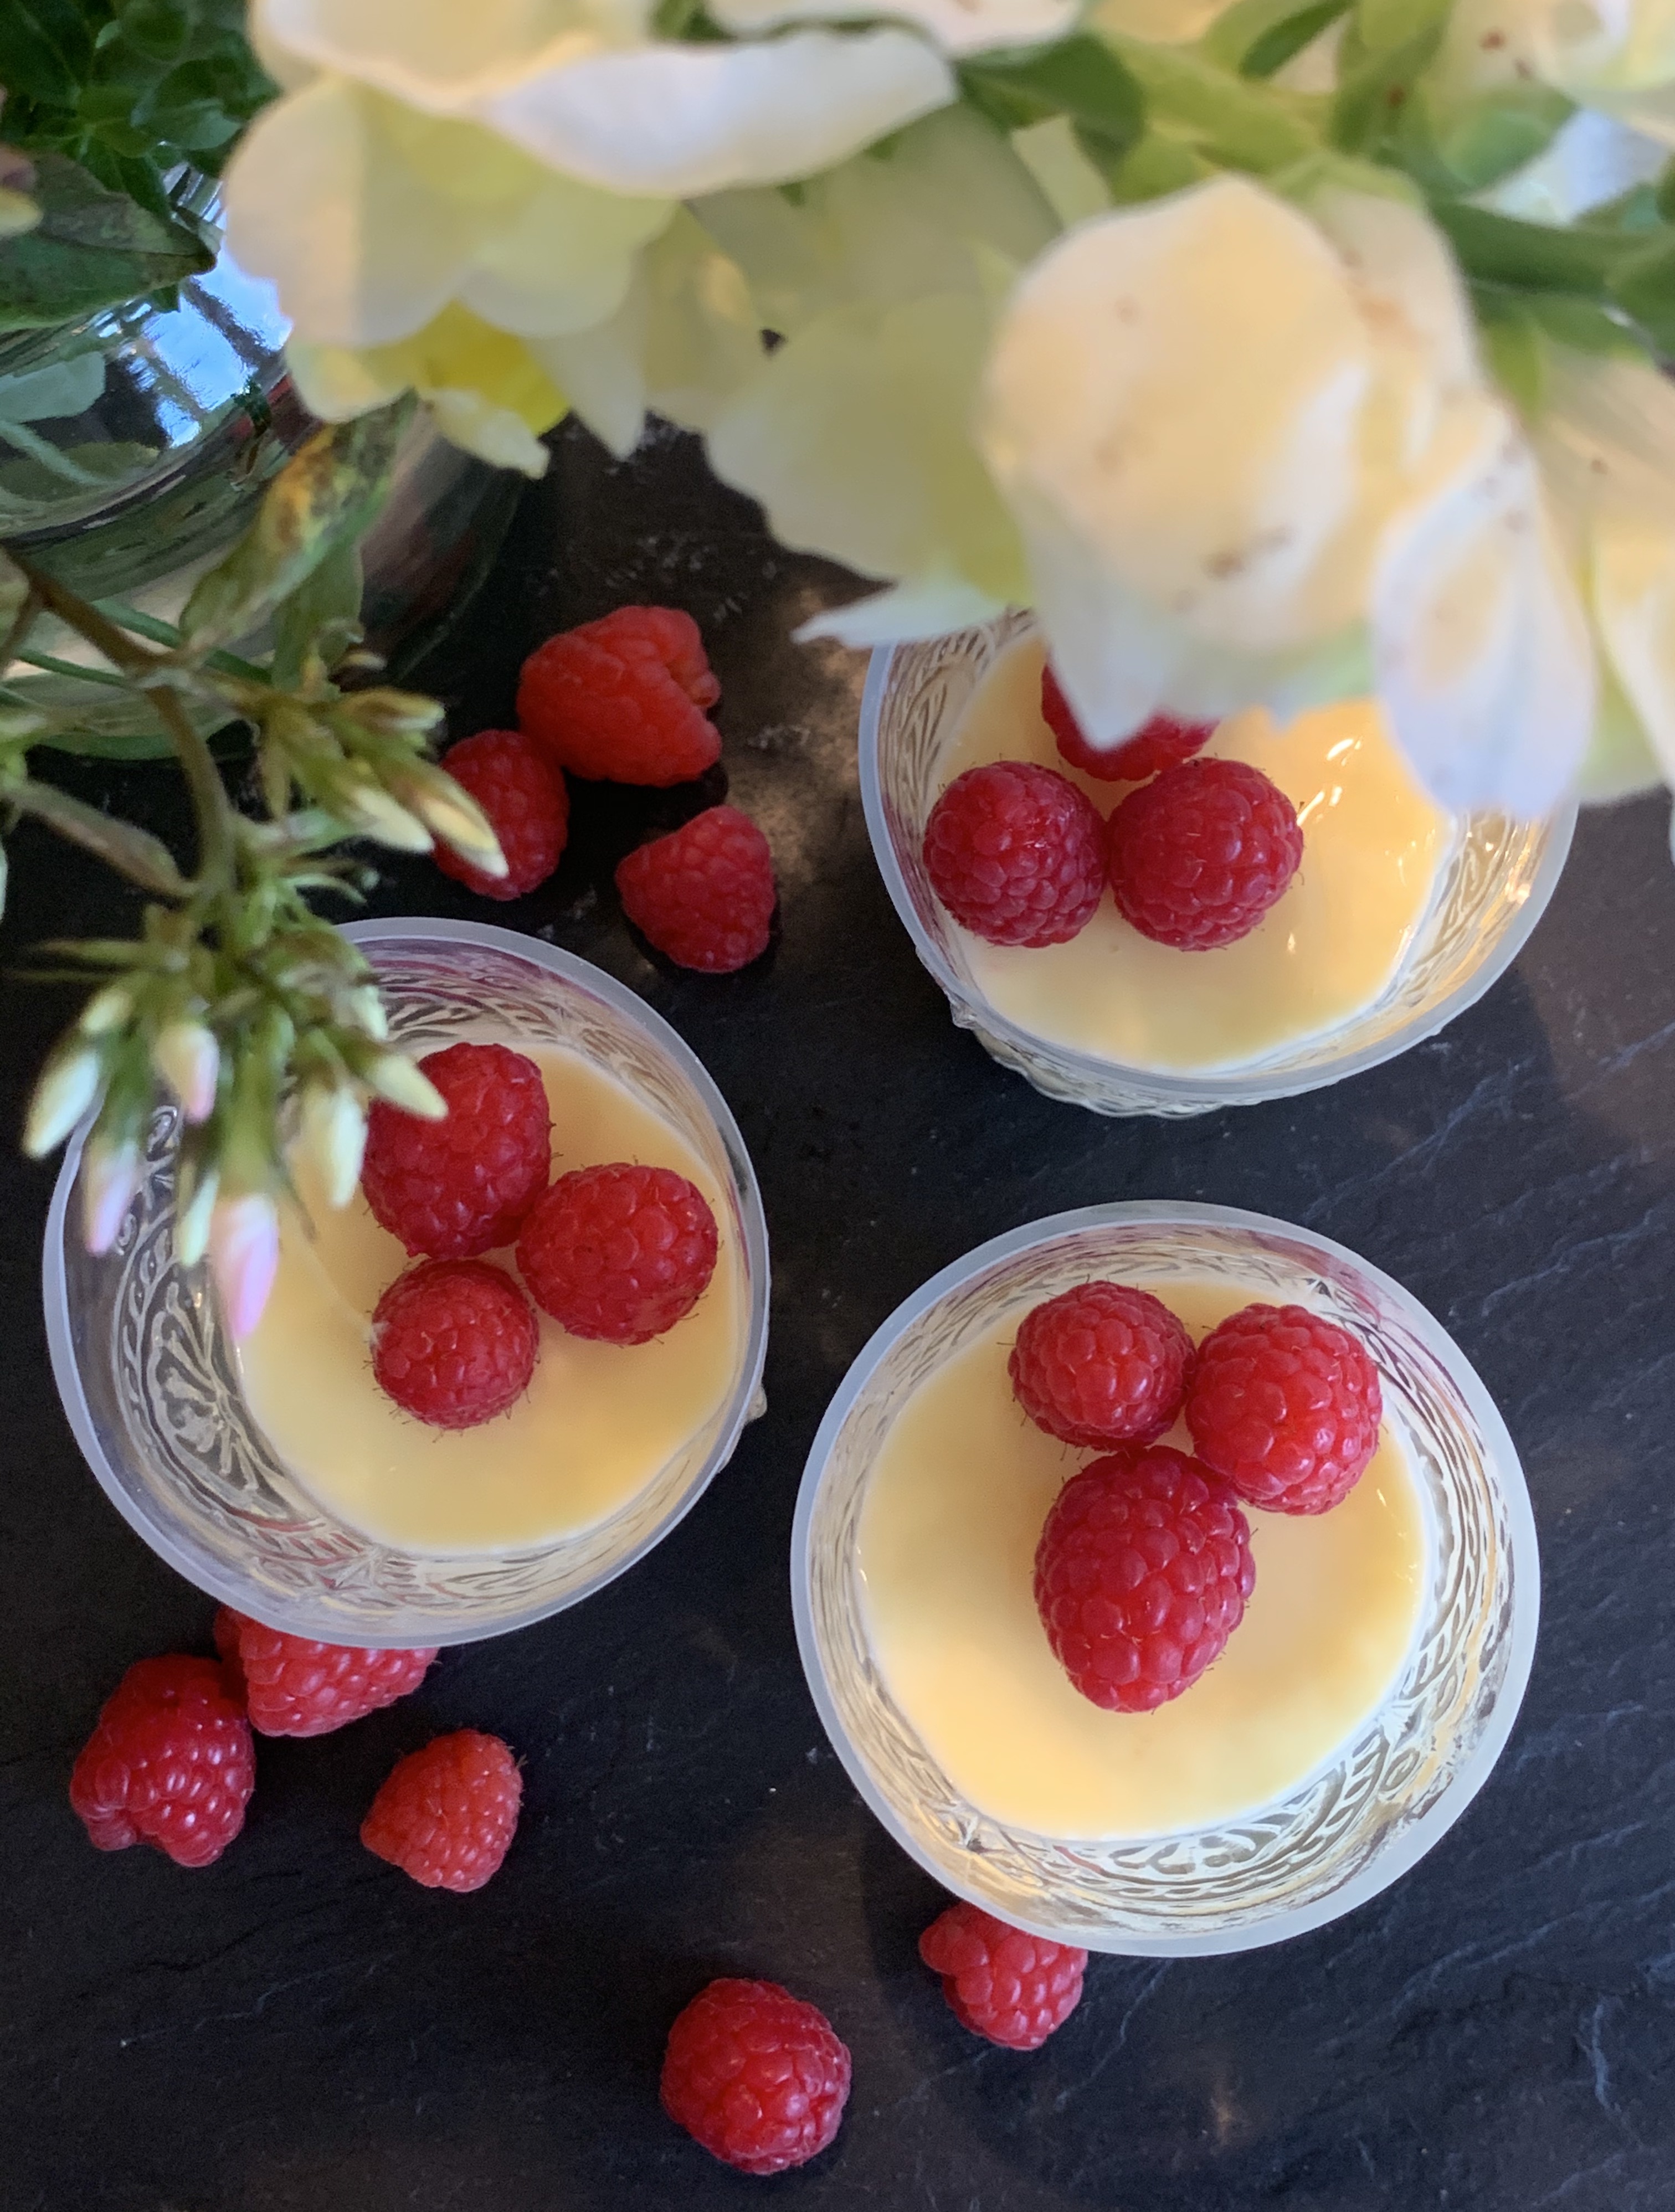
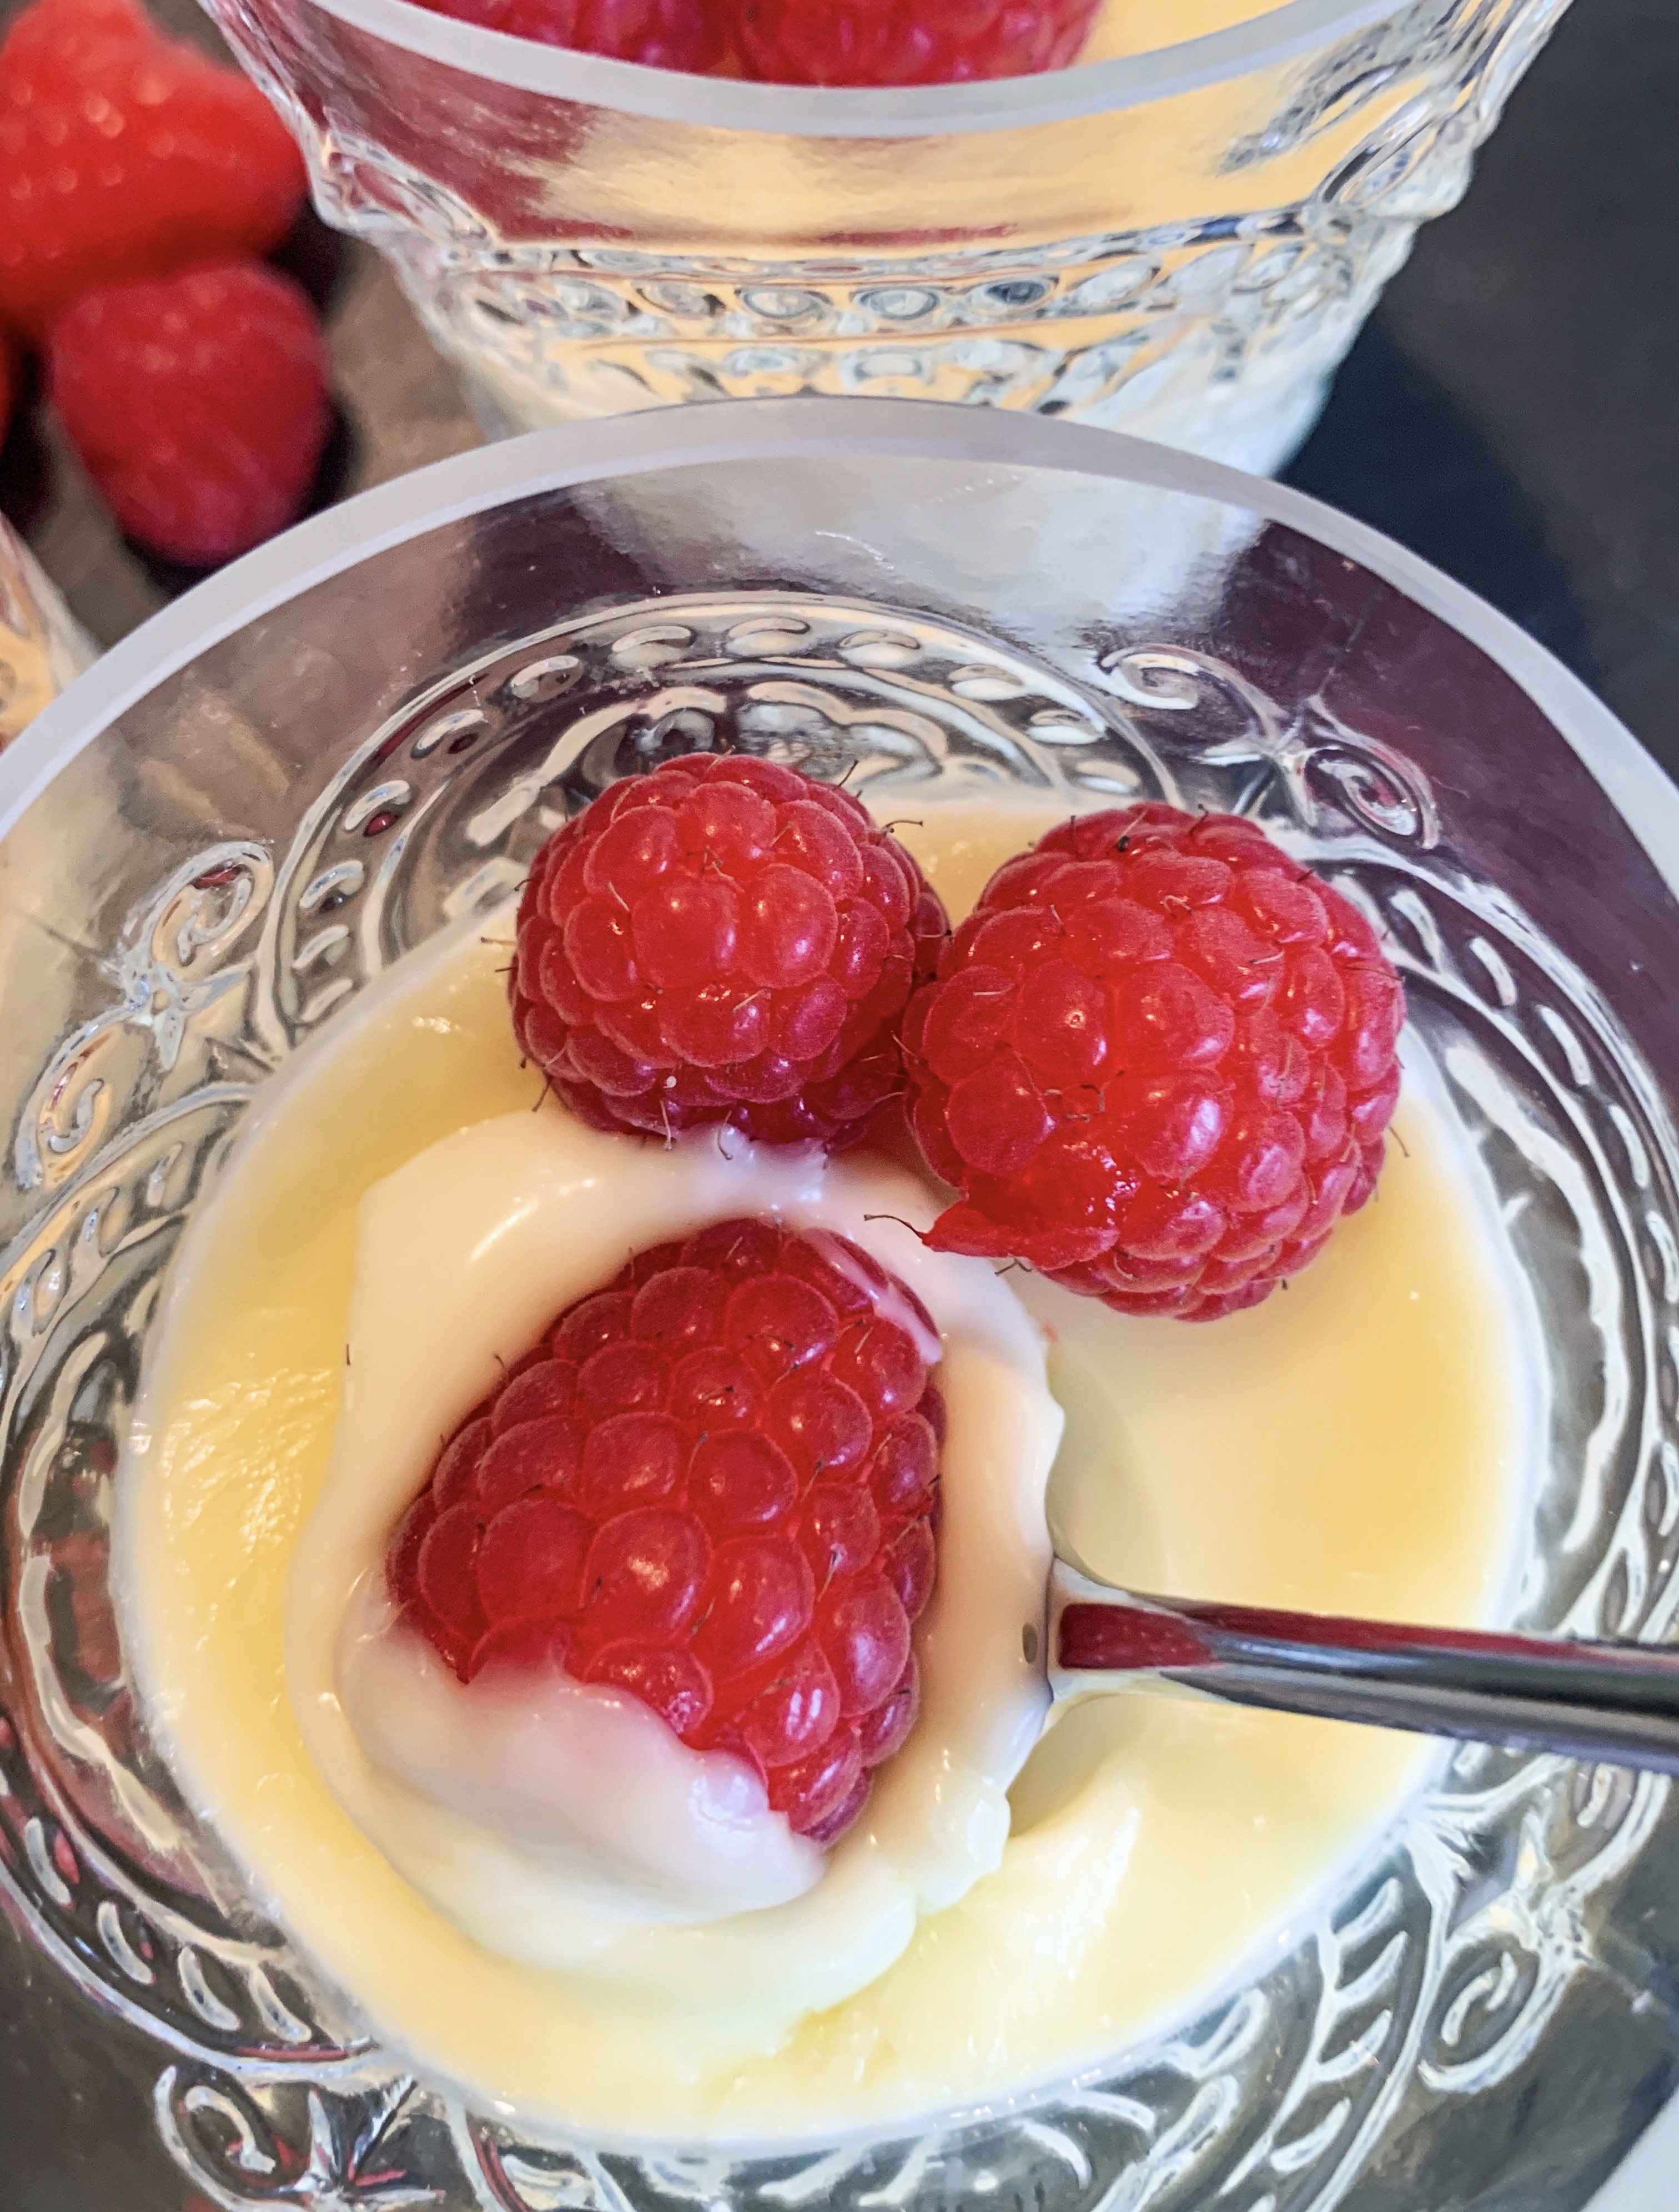
There are lots of slightly different variations of this simple, summer dessert; over the years I have tried a few and this is my favourite…
600ml double cream
150g caster sugar
Finely grated zest of 2 lemons
4 tablespoons of lemon juice (from above lemons)
Raspberries to serve
- Combine the cream, sugar and lemon zest in a small pan over a low heat. Stir constantly until the sugar is completely dissolved, when bubbles start to appear around the edges of the mixture continue to cook without stirring for 2 minutes – Do Not let the mixture come to a rolling boil!
- Remove the pan from the heat, stir in the lemon juice, then strain through a sieve into a jug.
- Pour into small dishes or glasses to serve. This is a rich dessert, so I would keep the portions on the small side.
- Cover each dish with cling film and refrigerate for at least two hours until set.
- Serve with raspberries.
