
(All Recipes have Gluten-Free Options)
Espresso, Chocolate & Chilli Cake with Coffee Cream
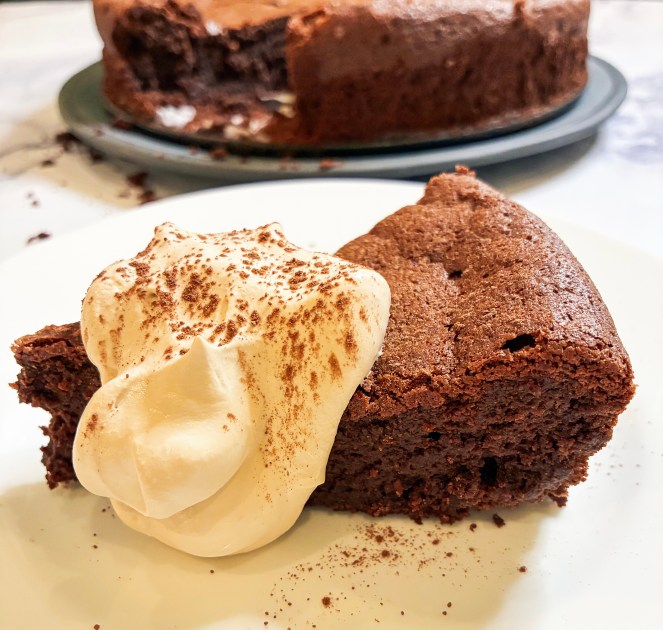
Chocolate and coffee – say no more!.. Yes, this is a recipe for keeps. The cake is wonderfully moist; it will sink a little as it cools, so don’t expect a pretty-looking cake, however, all is forgiven with your first, delicious bite! Don’t be put off by the mention of chilli, it’s not a spicy cake, the chilli just gives the chocolate flavour more depth. The addition of the coffee cream makes this cake exceptional (you may want to double the quantity of the cream!). Have I sold it to you?!..
3 tablespoons plain flour (gluten-free if required), plus extra for the tin
250g dark chocolate (I use Lindt Excellence 70% Cocoa Dark Chocolate)
250g salted butter, softened and chopped, plus extra for greasing
1 tablespoon instant espresso powder
2 red birds-eye chillies, deseeded and finely chopped
¼ teaspoon chilli powder
6 medium eggs
4 tablespoons brown sugar
175g caster sugar
½ teaspoon cream of tartar
4 tablespoons ground almonds
Cocoa powder to serve
For the Coffee Cream:
300ml double cream
1 tablespoon instant espresso powder
- Grease a 22cm springform cake tin with soft butter and line the bottom with baking parchment. Shake a little flour around the buttered edges.
- Melt the chocolate and butter together over a pan of simmering water. Once melted, whisk together until smooth and add the espresso powder, chillies and chilli powder.
- Whisk the egg yolks with the brown sugar and caster sugar, either in an electric mixer or with an electric hand whisk, for 5-10 mins until thick and pale.
- In a separate bowl, using a clean whisk, beat the egg whites and cream of tartar until soft rounded peaks form.
- Pour the chocolate mixture onto the beaten yolks and sugar, and gently mix until smooth. Add the almonds and flour and mix again. Spoon the egg whites into the chocolate mixture and gently fold together. Pour the batter into the prepared tin and bake in a preheated oven, 160’c fan, for 40-45 mins until the cake is set but with a slight jiggle in the centre. (If the cake is starting to brown too quickly, cover with a piece of baking parchment.
- Leave to cool in the tin – it will sink a little as it cools.
- Meanwhile, whisk the cream and espresso powder until soft peaks form.
- Remove the cake from the tin, slice and serve with a generous dollop of coffee cream and a dusting of cocoa powder.
Chocolate, Sour Cherry & Hazelnut Brownies
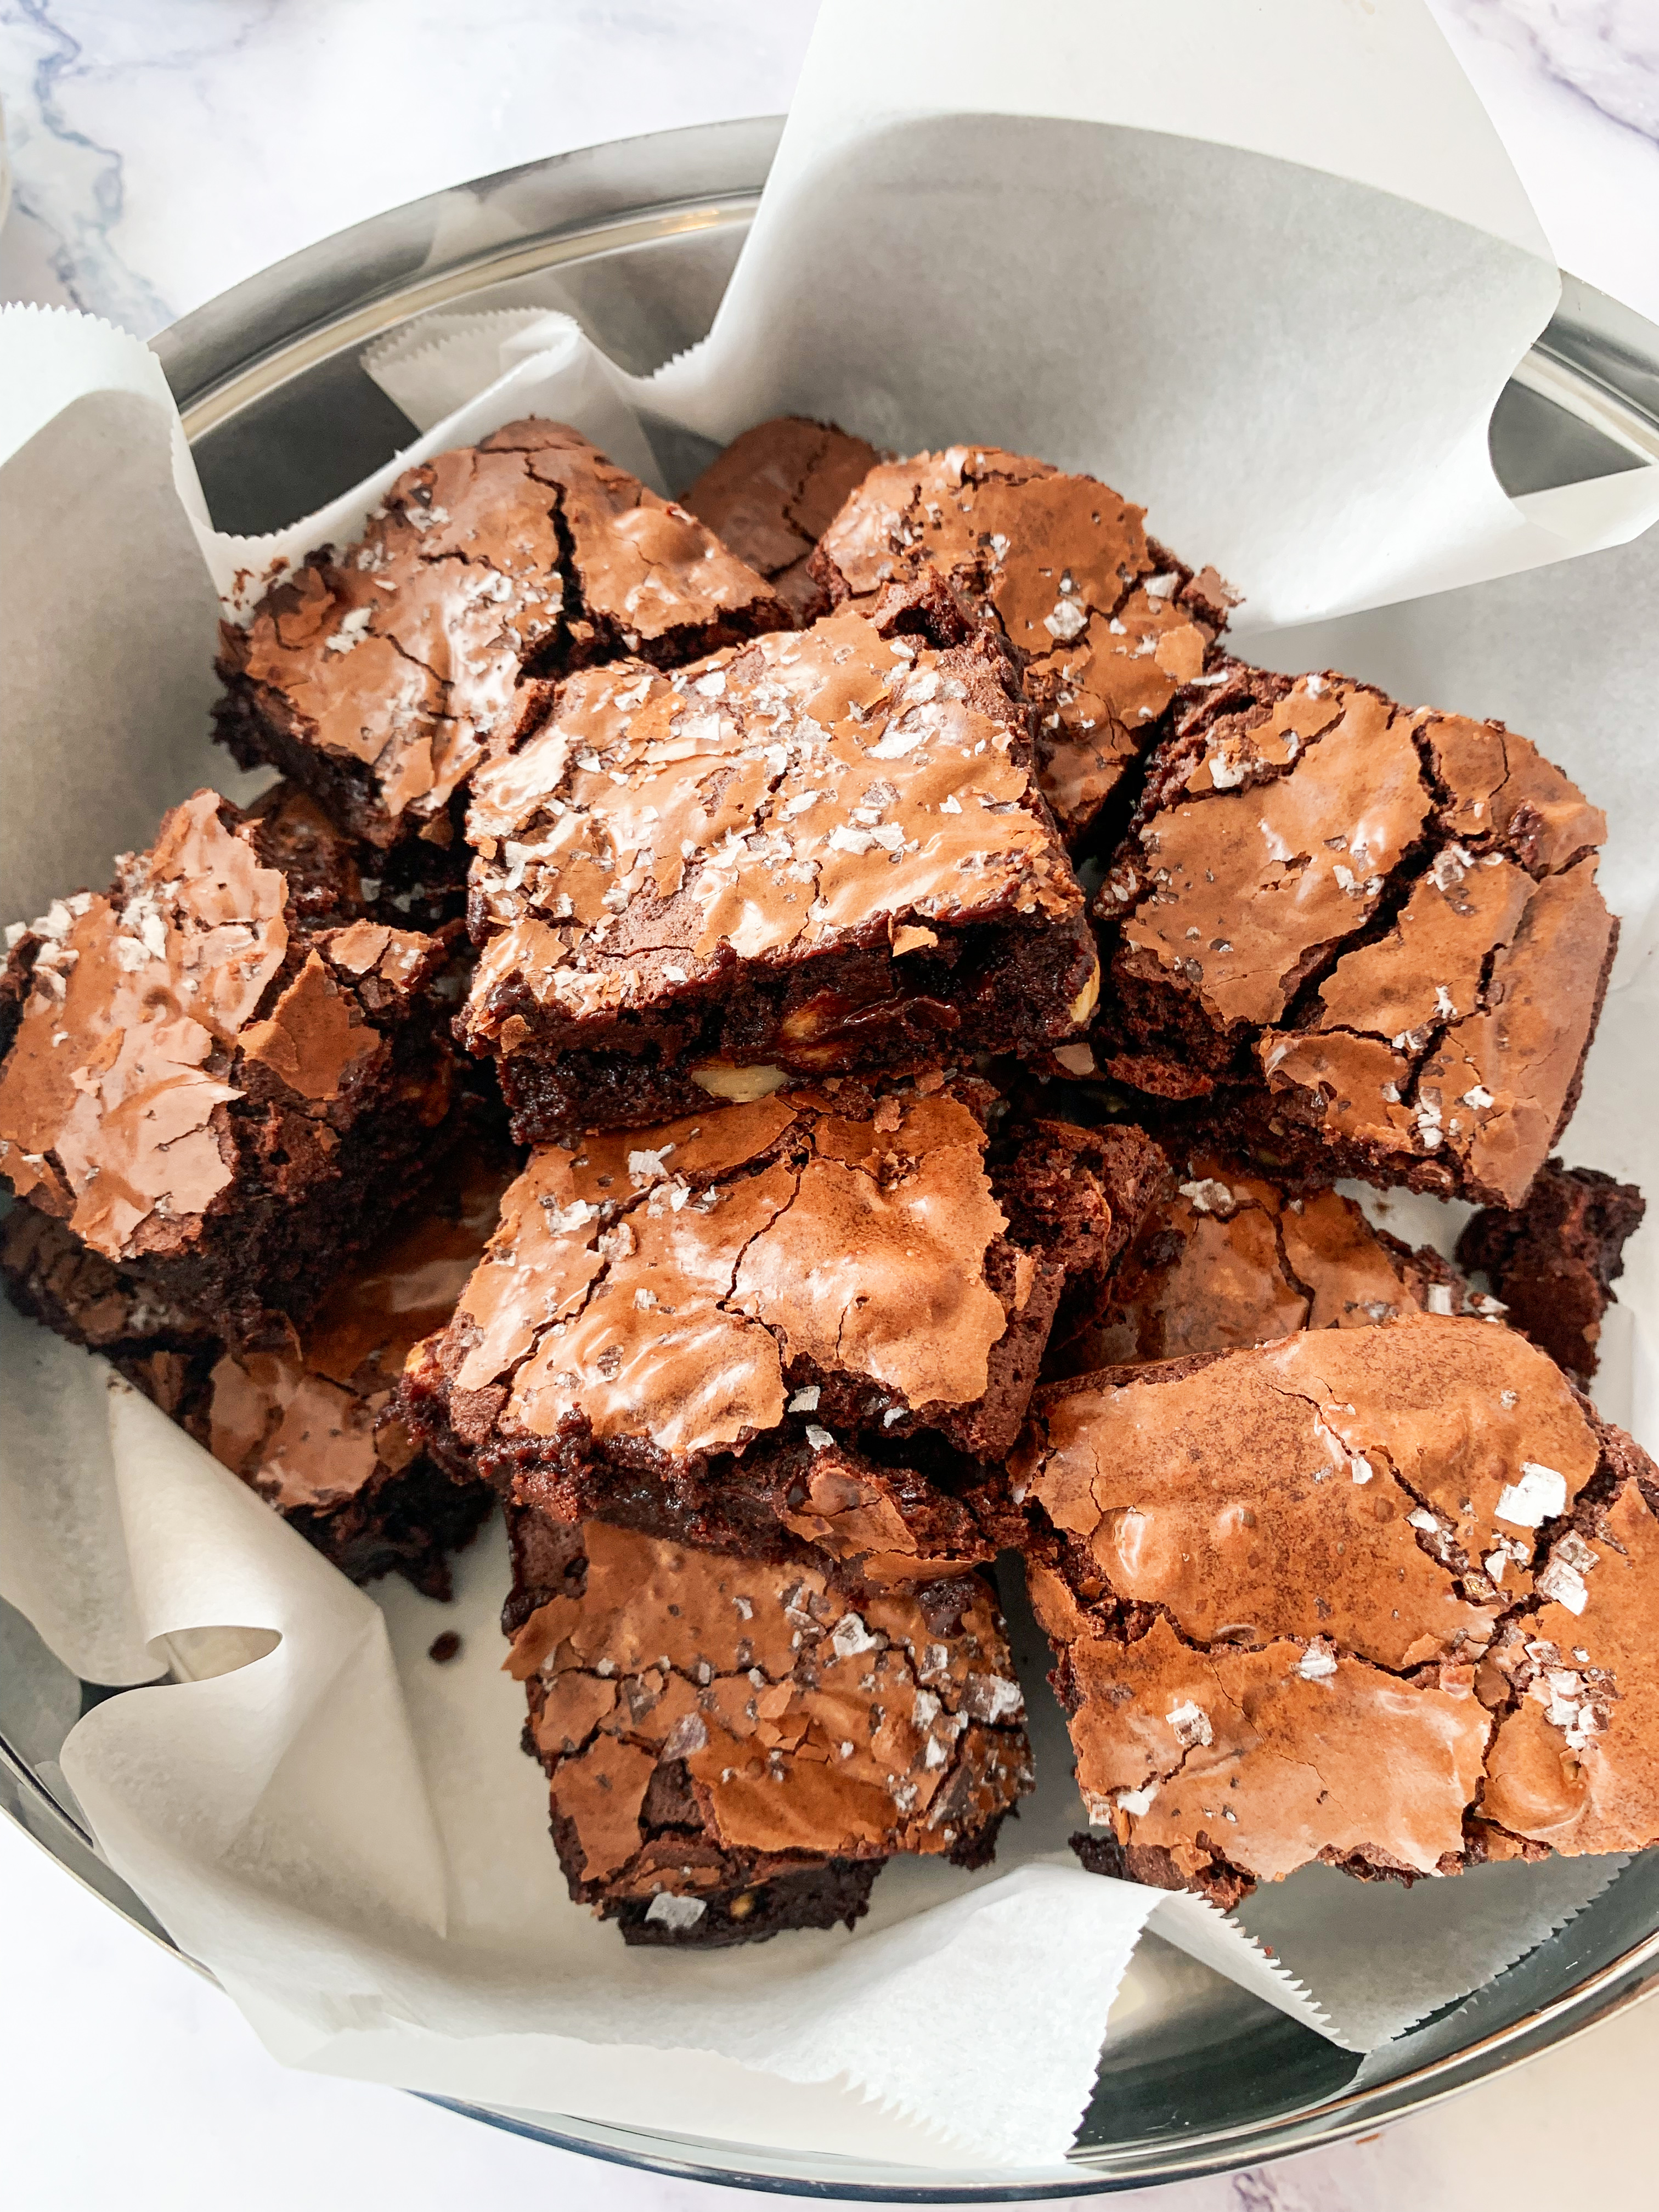
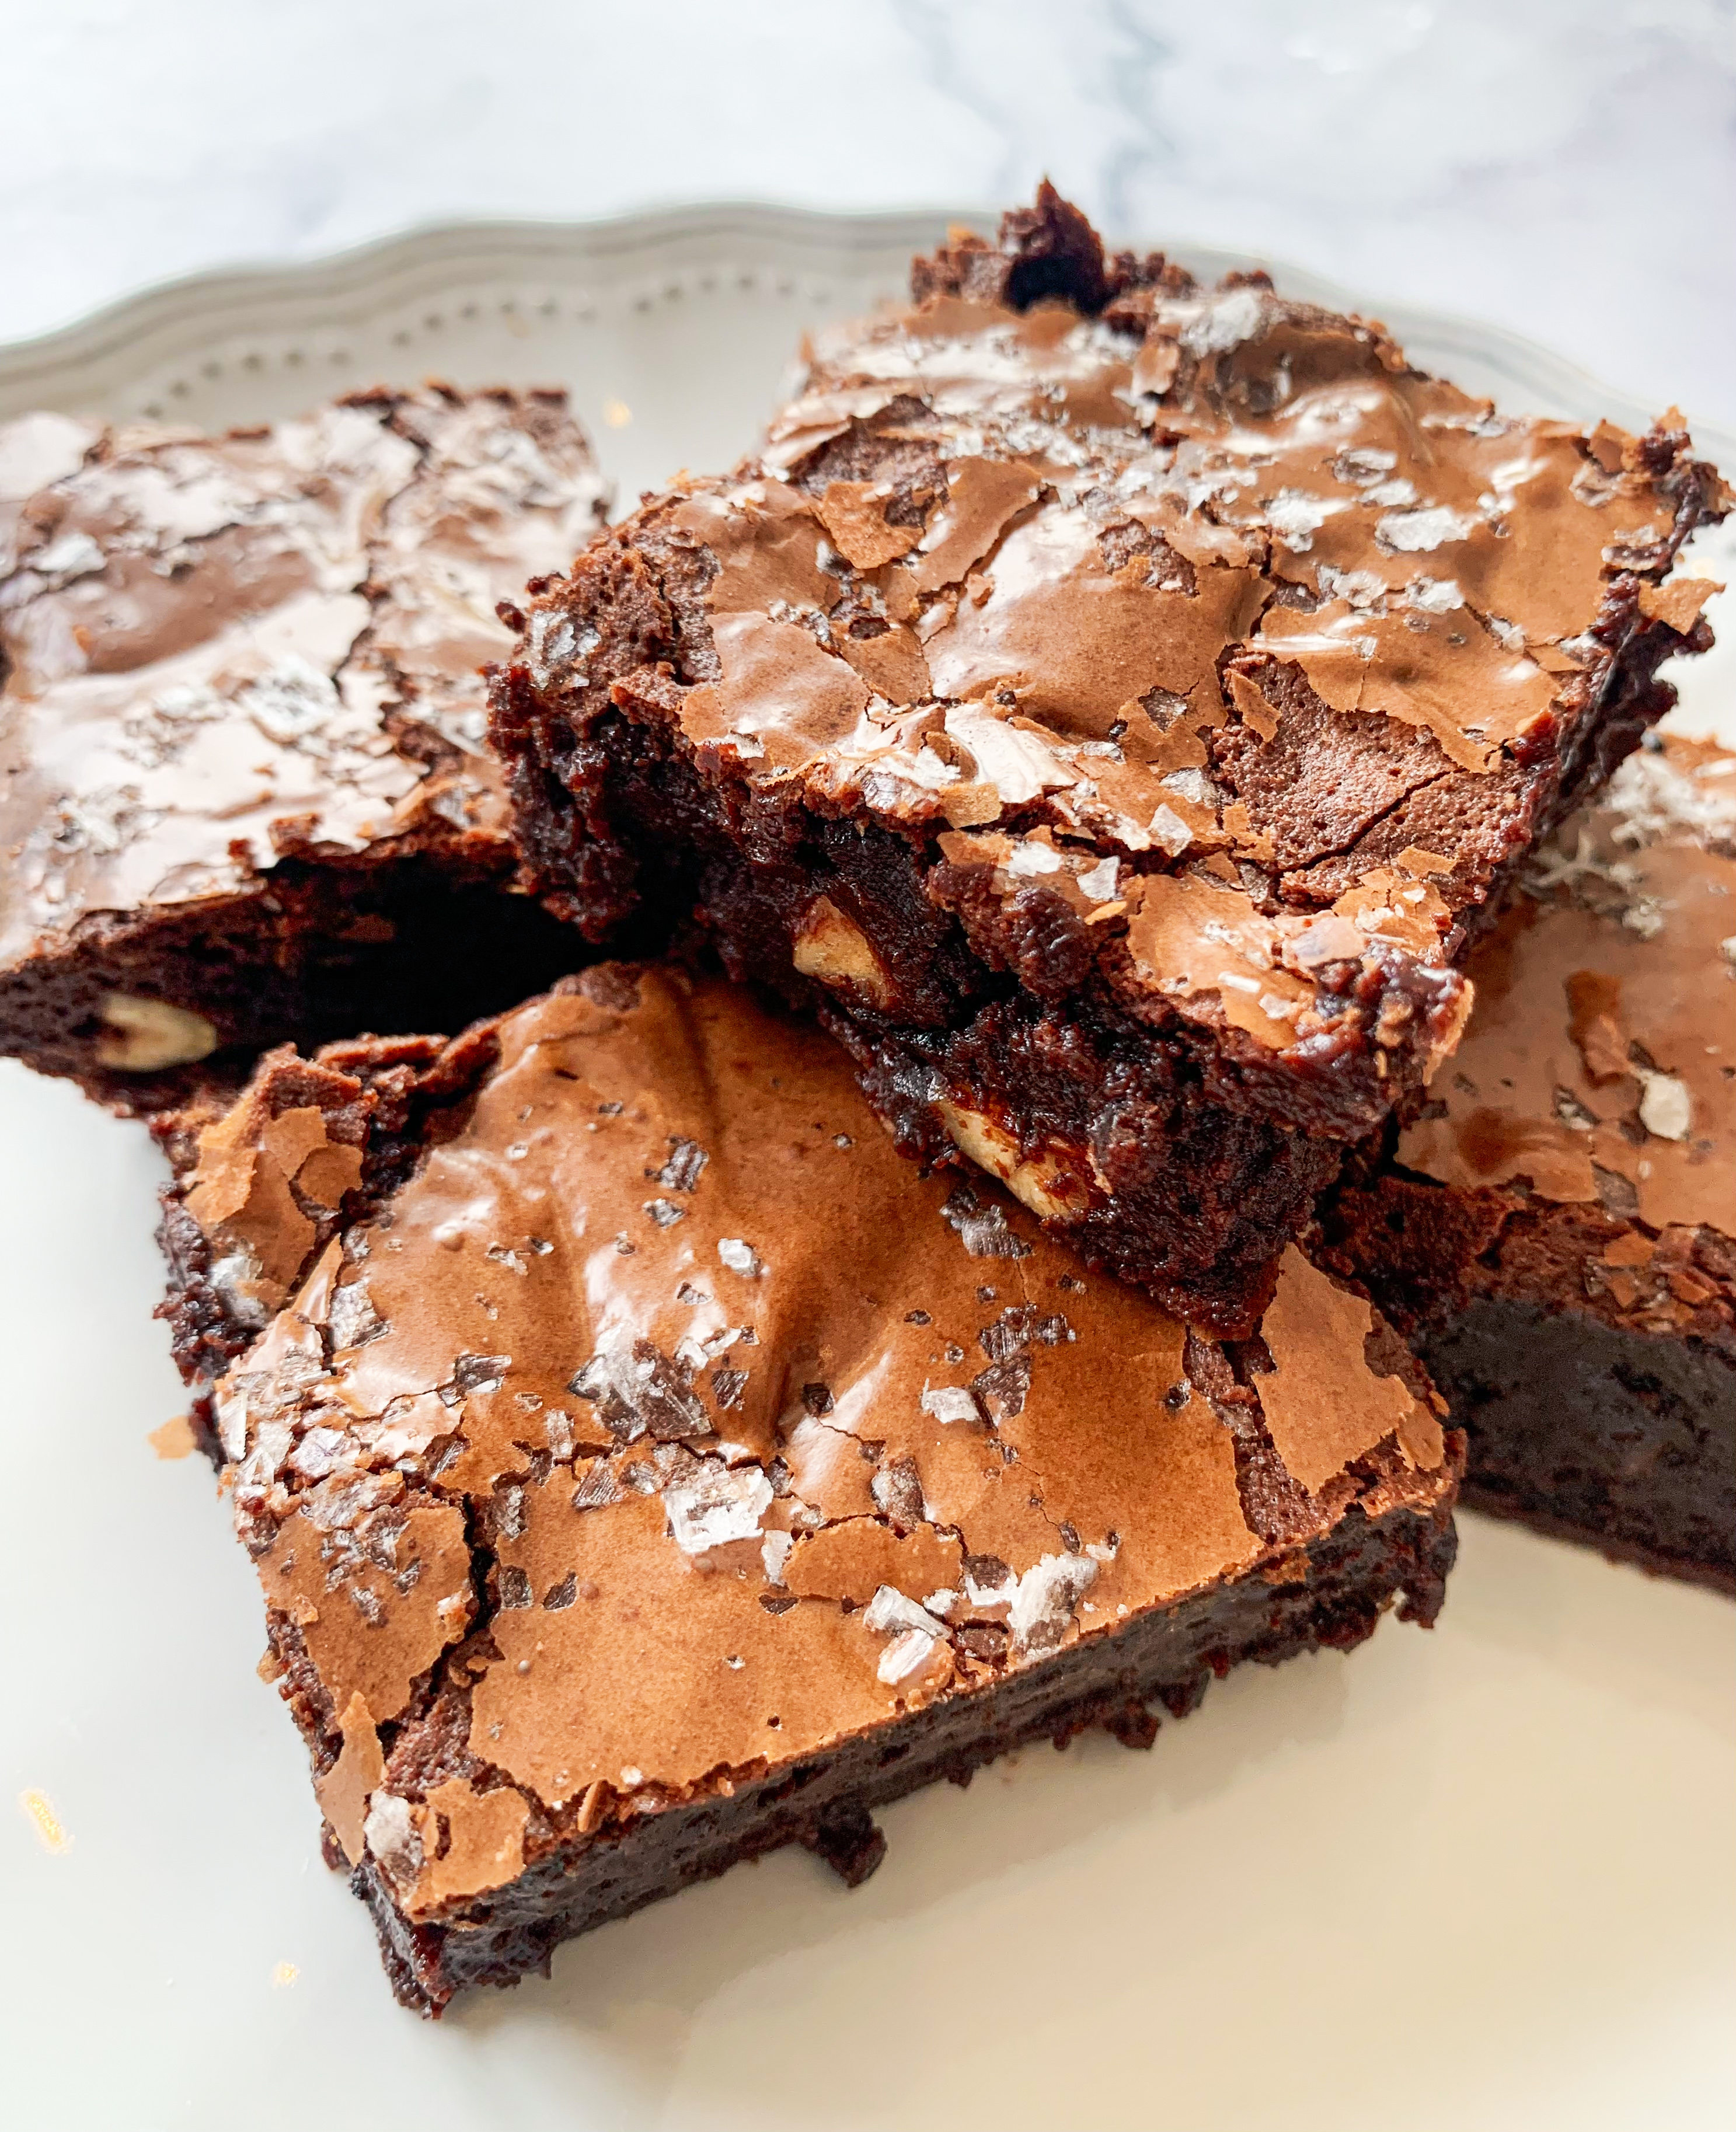
These are by no means your ‘bog-standard’ brownie – the sour cherries take them to an altogether higher level. They’re seriously good! The recipe is from Anna Hedworth’s wonderful cookbook, Service. You can serve them at room temperature, or they’re also delicious cold and fudgy from the fridge.
*You will need a 20x30cm baking tray lined with baking paper
360g dark chocolate (I use Lindt Excellence 70% Cocoa Dark Chocolate), snapped into small pieces
200g salted butter
3 eggs
300g caster sugar
65g plain flour (gluten-free if required)
60g hazelnuts
60g sour cherries, stoned and chopped
Sea salt flakes
- First of all, lay the hazelnuts on a baking tray and place in a preheated oven, 200’c fan, for 5 minutes. Then immediately wrap in a clean tea towel and allow to steam for a minute or two, then vigorously rub in the towel to remove their skin. Discard the skins and chop the nuts. Set aside.
- Weigh off 60g of the chocolate pieces, roughly chop and set aside.
- Gently melt the remaining chocolate with the butter in a heavy-bottomed pan over a very low heat – stir frequently until melted. Remove from heat and allow to cool for a couple of minutes
- Meanwhile, whisk together the eggs and sugar in a large bowl. Then fold in the chocolate mixture followed by the flour, a pinch of salt, the chopped hazelnuts, cherries and reserved chocolate pieces.
- Pour the brownie mixture into the lined tray and scatter the sea salt flakes over the top. Bake in a preheated oven, 170’c fan, for 35minutes. The top will have cracked, and it should still have a slight wobble. Leave to cool in the tin before cutting into 12 slices. Serve at room temperature or chilled from the fridge.
Flourless Sour Cherry and Chocolate Cake
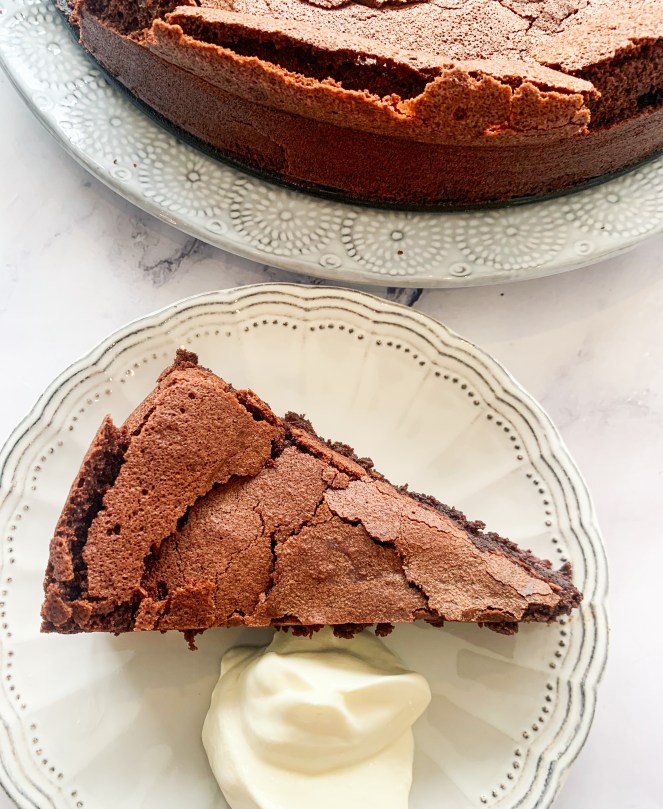
Growing up in the seventies the ‘Black Forest Gateaux’ was my dream dessert. So when I came across this recipe I couldn’t resist! It’s a modern take on my childhood dream and all the better for it; it’s rich with a gooey middle and there’s a hint of sourness from the cherries. However, because it doesn’t contain flour it has a lightness. You can choose to serve it with crème fraiche or in true ‘Black Forest’ style with a good dollop of whipped cream. Thanks to cookbook writer, Ravneet Gill, for this wonderful recipe.
300g 70% dark chocolate (I use Lindt), broken up
225g unsalted butter
5 eggs, plus 1 yolk
4g sea salt
200g golden caster sugar
200g pitted sour cherries, frozen or jarred
Crème Fraiche or whipped cream to serve
*You will need a 25cm round cake tine, greased and base lined with greaseproof paper.
- Melt the chocolate and butter in a bowl set over a pan of simmering water – make sure that the water doesn’t touch the bowl. Once melted take off the heat.
- In a bowl, beat the eggs (and extra yolk), salt and sugar until the mixture has tripled in volume, then carefully fold in the chocolate mixture, followed by the cherries.
- Pour the cake mixture into the prepared tin and bake in a preheated oven, 160’c fan, for 45 minutes or until it has started to set on top.
- Leave to cool, then turn out, slice and serve with crème fraiche or a dollop of whipped cream.
‘Italian’ Christmas Chocolate Cake
With Christmas on the horizon I thought that I’d share this recipe… These days no festive table can be without an Italian-inspired sweet treat; from Panettone to chocolate figs there is something for all taste buds! My personal favourite is the Tuscan treat, Panforte. Last year when I came upon this recipe from Diana Henry, which is inspired by the flavours of Panforte, I couldn’t resist trying it. It’s wonderful. With nuts, spices, dried fruit and citrus it shouts ‘Christmas!’ and should definitely be on your ‘seasonal to-do list’… (it’s fantastic with an espresso).
100g mixed dried vine fruits
75ml Marsala, sweet or dry
75g unsalted butter
175g golden caster sugar
325g good-quality dark chocolate, broken into pieces
75g walnut halves
75g blanched hazelnuts
50g blanched almonds
5 large eggs, separated
finely grated zest of 1 large orange
½ tsp ground cinnamon
generous grating of nutmeg
small pinch of ground cloves
25g chopped candied peel
50g ground almonds
icing sugar or cocoa powder for dusting
- Put the dried fruit into a small saucepan with the Marsala. Bring to the boil and then immediately remove from the heat. Leave the fruit to plump up for at least 30 minutes, by which time almost all of the liquid will have been absorbed.
- Melt the butter and sugar in a bowl set over a pan of barely simmering water (the bowl should not touch the water). Add the chocolate, stirring to help it melt. Remove the bowl and allow it to cool a little.
- Toast the nuts in a dry pan over a medium heat, then chop very roughly (you want some good big bits in the cake).
- Add the egg yolks to the chocolate along with the orange zest, spices, candied peel, dried fruit (and any soaking liquid) and chopped nuts,
- Whisk the egg whites until stiff but not dry. Add a big tablespoon to the chocolate mixture to loosen it, then fold in the rest along with the ground almonds. Mix lightly so that you don’t knock all the air out of the egg whites.
- Pour into a buttered and base-lined 23cm springform cake tin and bake in a preheated oven, 160’c fan, for 45 minutes. The cake will feel set in the middle but the skewer test doesn’t really work because it stays very moist in the centre until it has cooled.
- Remove from the oven and leave to cool in the tin for about 20 minutes before carefully removing the surround. When it has cooled completely remove the base from the cake – it will be fragile in the middle so be careful. Finally, dust with cocoa powder.
Chocolate & Amaretto Cake
This is no ordinary chocolate cake, it’s particularly indulgent; heaven for chocoholics! It is, needless to say, absolutely delicious – it has a fudgy consistency with Amaretti and chunks of chocolate running through it. The recipe is from Florence Knight’s cookbook ‘One’. Although it’s easy to make, it does require some time as it’s actually baked twice, but believe me it’s worth the wait… you’ll need a dollop of crème fraiche on the side to cut it’s richness!
270g dark chocolate, plus 100g
240g butter
290g Muscovado sugar
5 tablespoons water
5 eggs
115g Amaretti biscuits (gluten-free if required)
A pinch of salt
75ml Amaretto liqueur
Cocoa powder, to dust
Crème Fraiche to serve
*A 23cm round cake tin buttered and base lined with greaseproof paper
- Break up 270g of the chocolate and melt together with the butter in a heatproof bowl over a pan of barely simmering water.
- Meanwhile pour the sugar and water into a small pan over a low heat. Dissolve the sugar and bring the mixture to the boil for a couple of minutes.
- Remove the chocolate and butter from the heat and pour in the sugar syrup. Give it a good stir and leave to one side to cool for 10-15 minutes (you don’t want it so hot that it scrambles the eggs).
- While the mixture is cooling, separate the eggs and bash the Amaretti biscuits.
- Once the mixture has cooled, pour in the egg yolks, adding a pinch of salt and stir to combine.
- Whip the egg whites until they hold soft peaks. Carefully fold them through the chocolate mixture.
- Pour half of the batter into the prepared tin and bake in a preheated oven, 180’c fan, for 30 minutes. Leave the remaining half of the batter in the bowl, cover with cling film and keep in the fridge until needed.
- While the cake is baking pour the Amaretto over the crushed Amaretti and leave them to soften and absorb the liqueur. Smash up the 100g of chocolate into chunks and set aside.
- Remove the cake from the oven and allow to cool in the tin for 10 minutes.
- Scatter the Amaretti and chocolate chunks over the cooled base and spoon over the remaining cake batter. Place back in the oven for 20-30 minutes until a cocktail stick or knife tip comes out almost clean (there will be some melted chocolate over it). Remove from the oven and leave to cool in the tin.
- When the cake is completely cool, dust with cocoa powder, slice and serve with crème fraiche.
‘The Worlds Best Chocolate Cake’
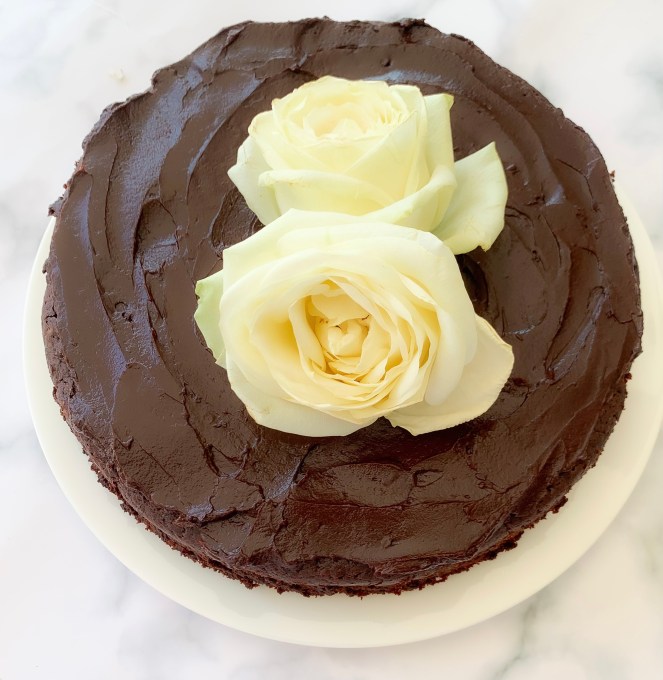
This recipe is from Ottolenghi’s cookbook ‘Sweet’. Originally when I bought this book I somehow overlooked it (he calls it his ‘Take-Home Chocolate Cake’); it only came to my attention when a friend told me that it’s also known as ‘The Worlds Best Chocolate Cake’. Well how could I not try it?… And yes, it is very, very good; depending on my mood it’s my ‘new’ favourite chocolate cake – there are so many! It’s great as a celebratory cake (topped with a rose as in the photo!); in fact I made it just recently for my Dad’s 90th birthday. It’s extremely easy to make, it’s a melt and mix recipe, you don’t even need a food processor and, if required, it works beautifully with gluten-free flour (I use Doves).
For the cake:
250g unsalted butter, at room temperature and cut into 2cm cubes, plus extra for greasing
200g dark chocolate, chopped into 2cm pieces (I use Lindt Excellence 70% Cocoa Dark Chocolate)
1½ tsp instant coffee granules, dissolved in 350ml boiling water
250g caster sugar
2 large eggs, lightly beaten
2 tsp vanilla extract
240g self-rising flour (gluten-free if required)
30g Dutch-processed cocoa powder, plus 1½ teaspoons, for dusting
1/4 tsp salt
For the chocolate ganache:
200g dark chocolate, broken or chopped roughly into 2cm pieces (I use Lindt Excellence 70% Cocoa Dark Chocolate)
200ml double cream
1 tbsp golden syrup
1 tbsp unsalted butter, softened
(*23cm round cake tin, greased and base lined with greaseproof paper)
- Place the butter, chocolate and hot coffee in a large heatproof bowl and mix well until everything is melted, combined and smooth. Whisk in the sugar by hand until dissolved. Add the eggs and vanilla extract, and whisk again until thoroughly combined and smooth. Sift the flour, cocoa powder and salt together into a bowl and then whisk this into the melted chocolate mixture. The batter here is liquid, don’t worry this is how it should be!
- Pour the batter into the prepared tin and bake in a preheated oven, 150’c fan, for 1 hour, or until the cake is cooked and a skewer inserted into the centre comes out clean or with just a few dry crumbs attached. The top will form a crust and crack a little, but don’t worry, this is expected and it will be covered by the ganache! Leave the cake to cool for 20 minutes before removing from the pan, then set aside until completely cool.
- To make the chocolate ganache, place the chocolate pieces in a food processor, process until fine and set aside. Combine the cream and golden syrup in a small pan and place over medium-high heat. As soon as bubbles begin to appear (just before it comes to a boil), remove from the heat. Get the food processor running again, with the chocolate still inside, and pour in the hot cream in a steady stream. Process for 10 seconds, then add the butter. Continue to process until mixture is shiny and smooth. (You can also make the ganache by hand; just make sure the chocolate is chopped fairly finely before adding the cream mixture. Stir with a wooden spoon until almost melted, then add the butter. Stir again until the ganache is smooth.)
- Use a rubber spatula to scrape the ganache into a bowl and cover with plastic wrap, with the plastic actually touching the top of the ganache. Set aside until it has set to the consistency you want. If you want a thin layer to spread over the cake, it can be poured over while liquid so that you get an even, light and shiny coating. For a thicker ganache with a spreading consistency, leave it for about 2 hours at room temperature.
- Finally, peel the parchment from the cake and discard. Transfer to a serving platter and spread the ganache over the top of the cake. (This cake will keep well for 4 to 5 days in an airtight container, if refrigerated bring the slices to room temperature before tucking in!)
Chocolate Mousse Roulade
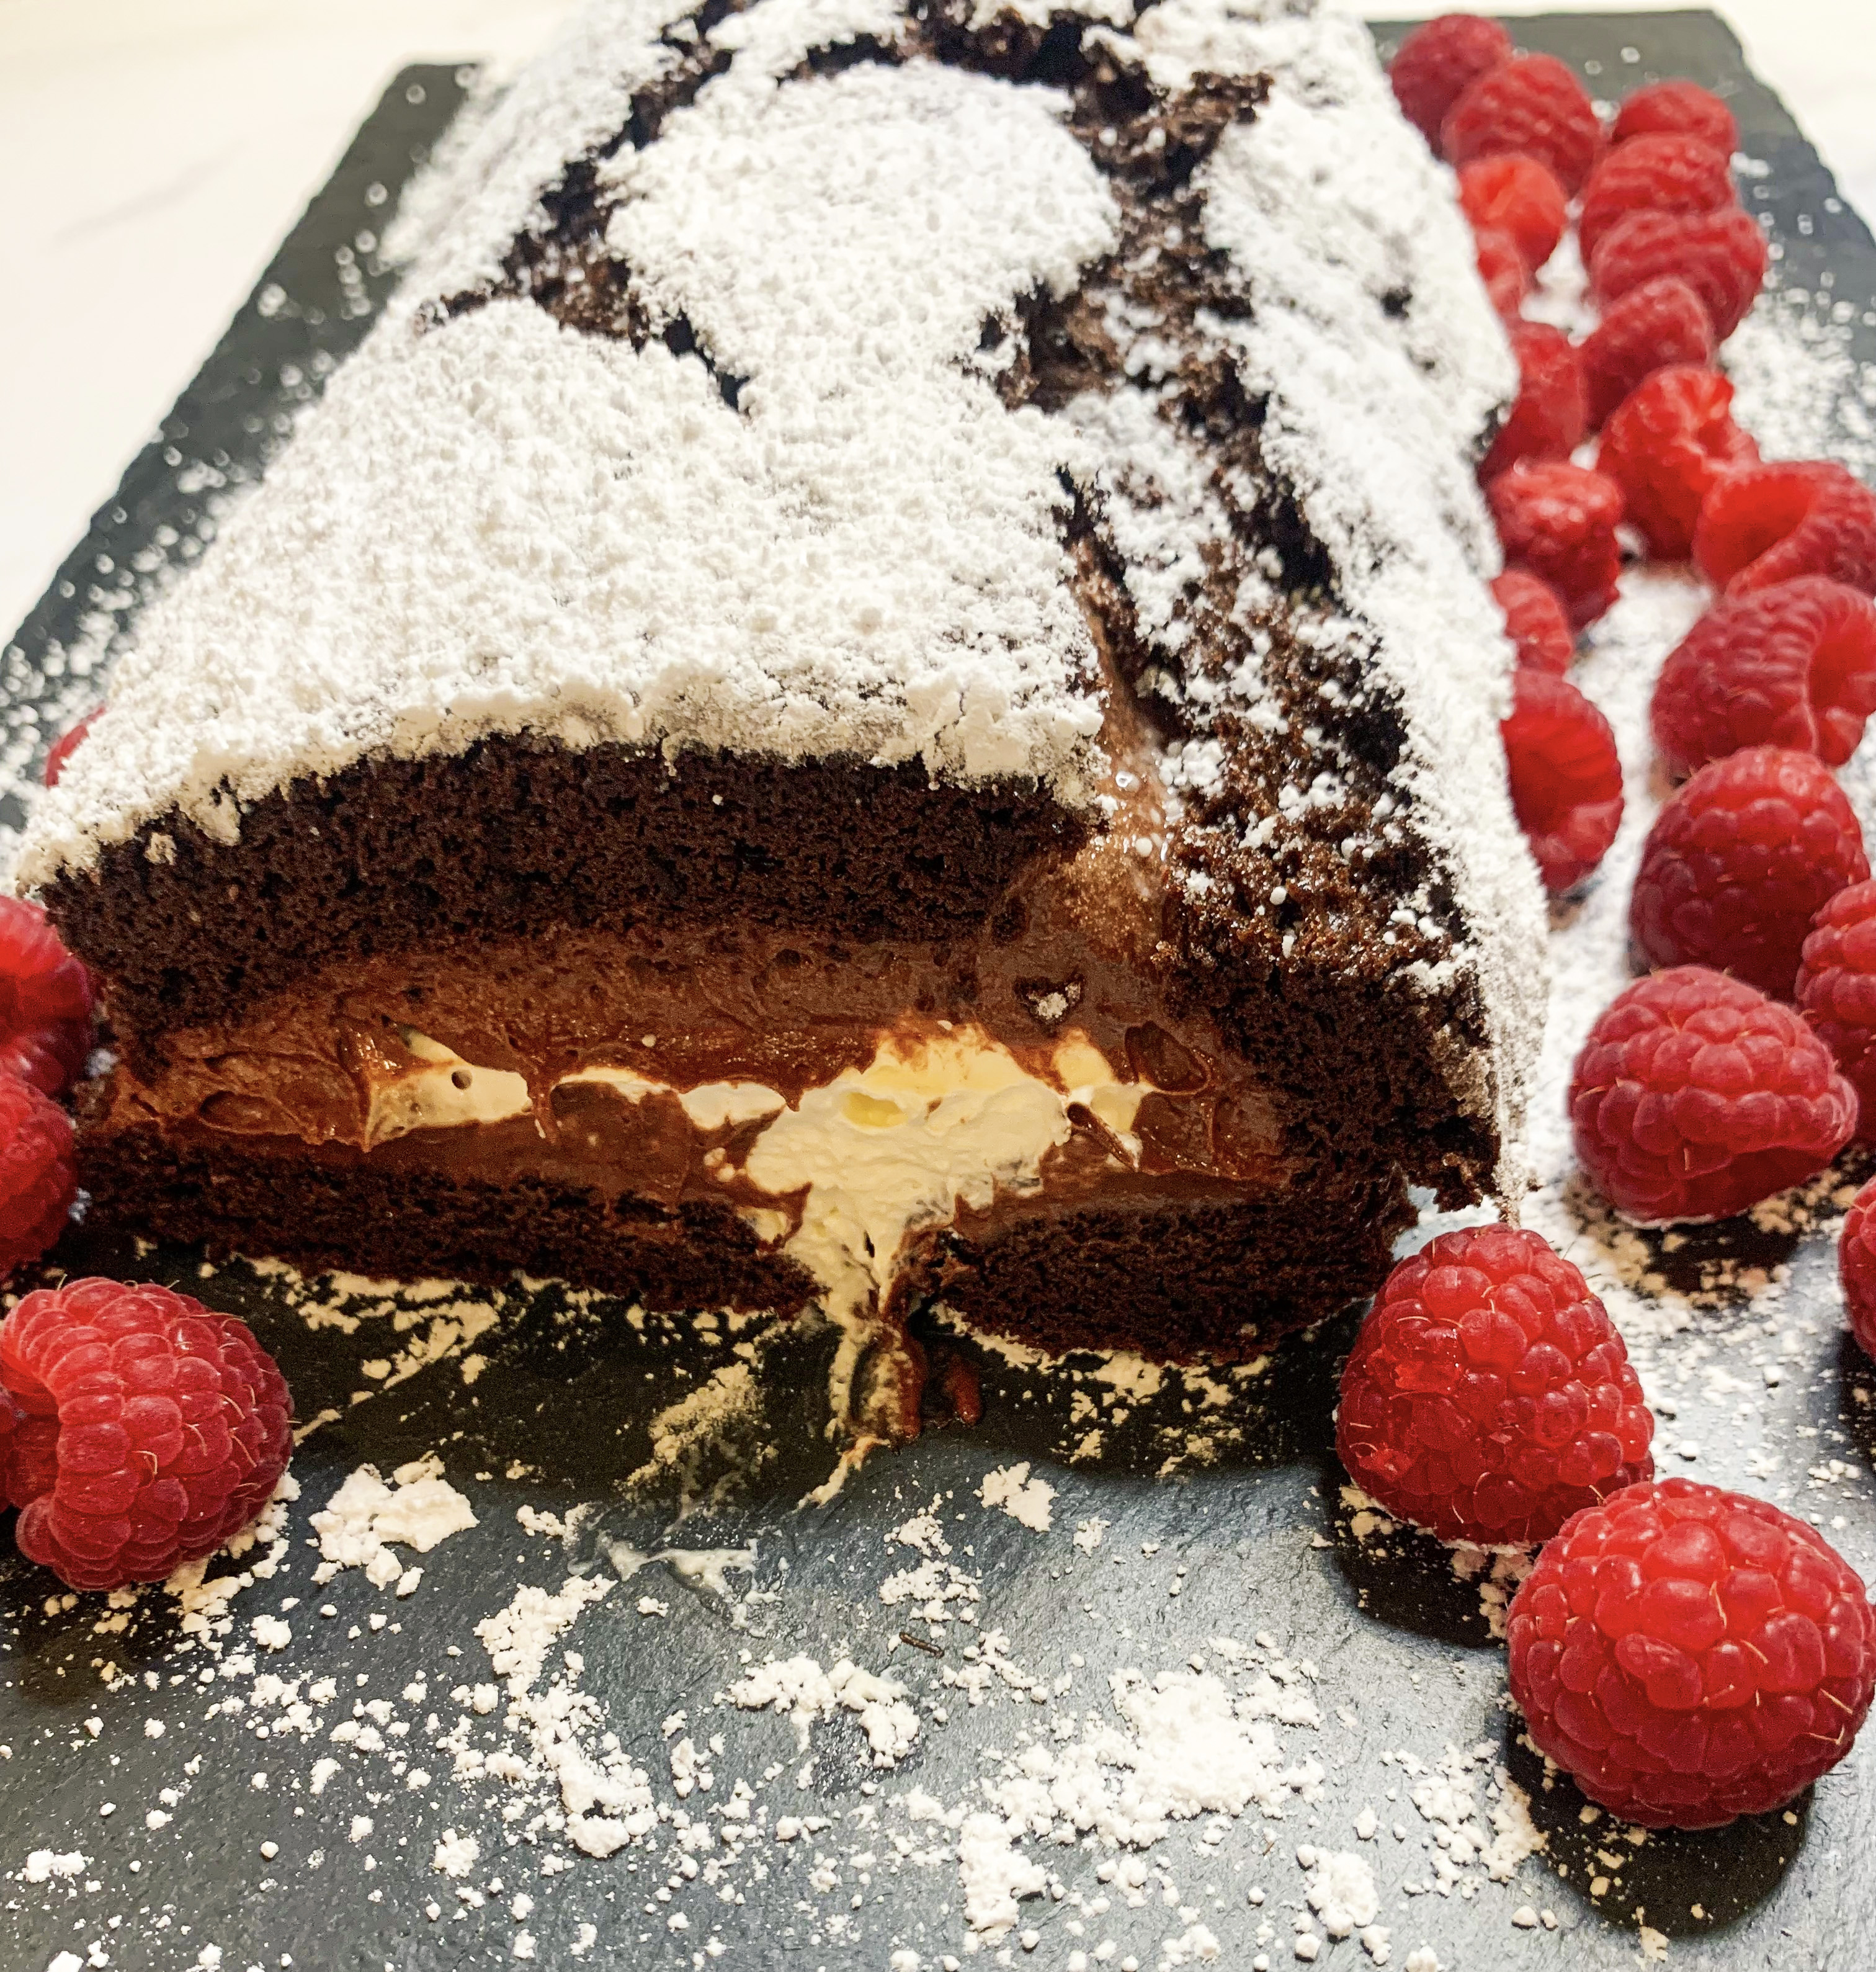
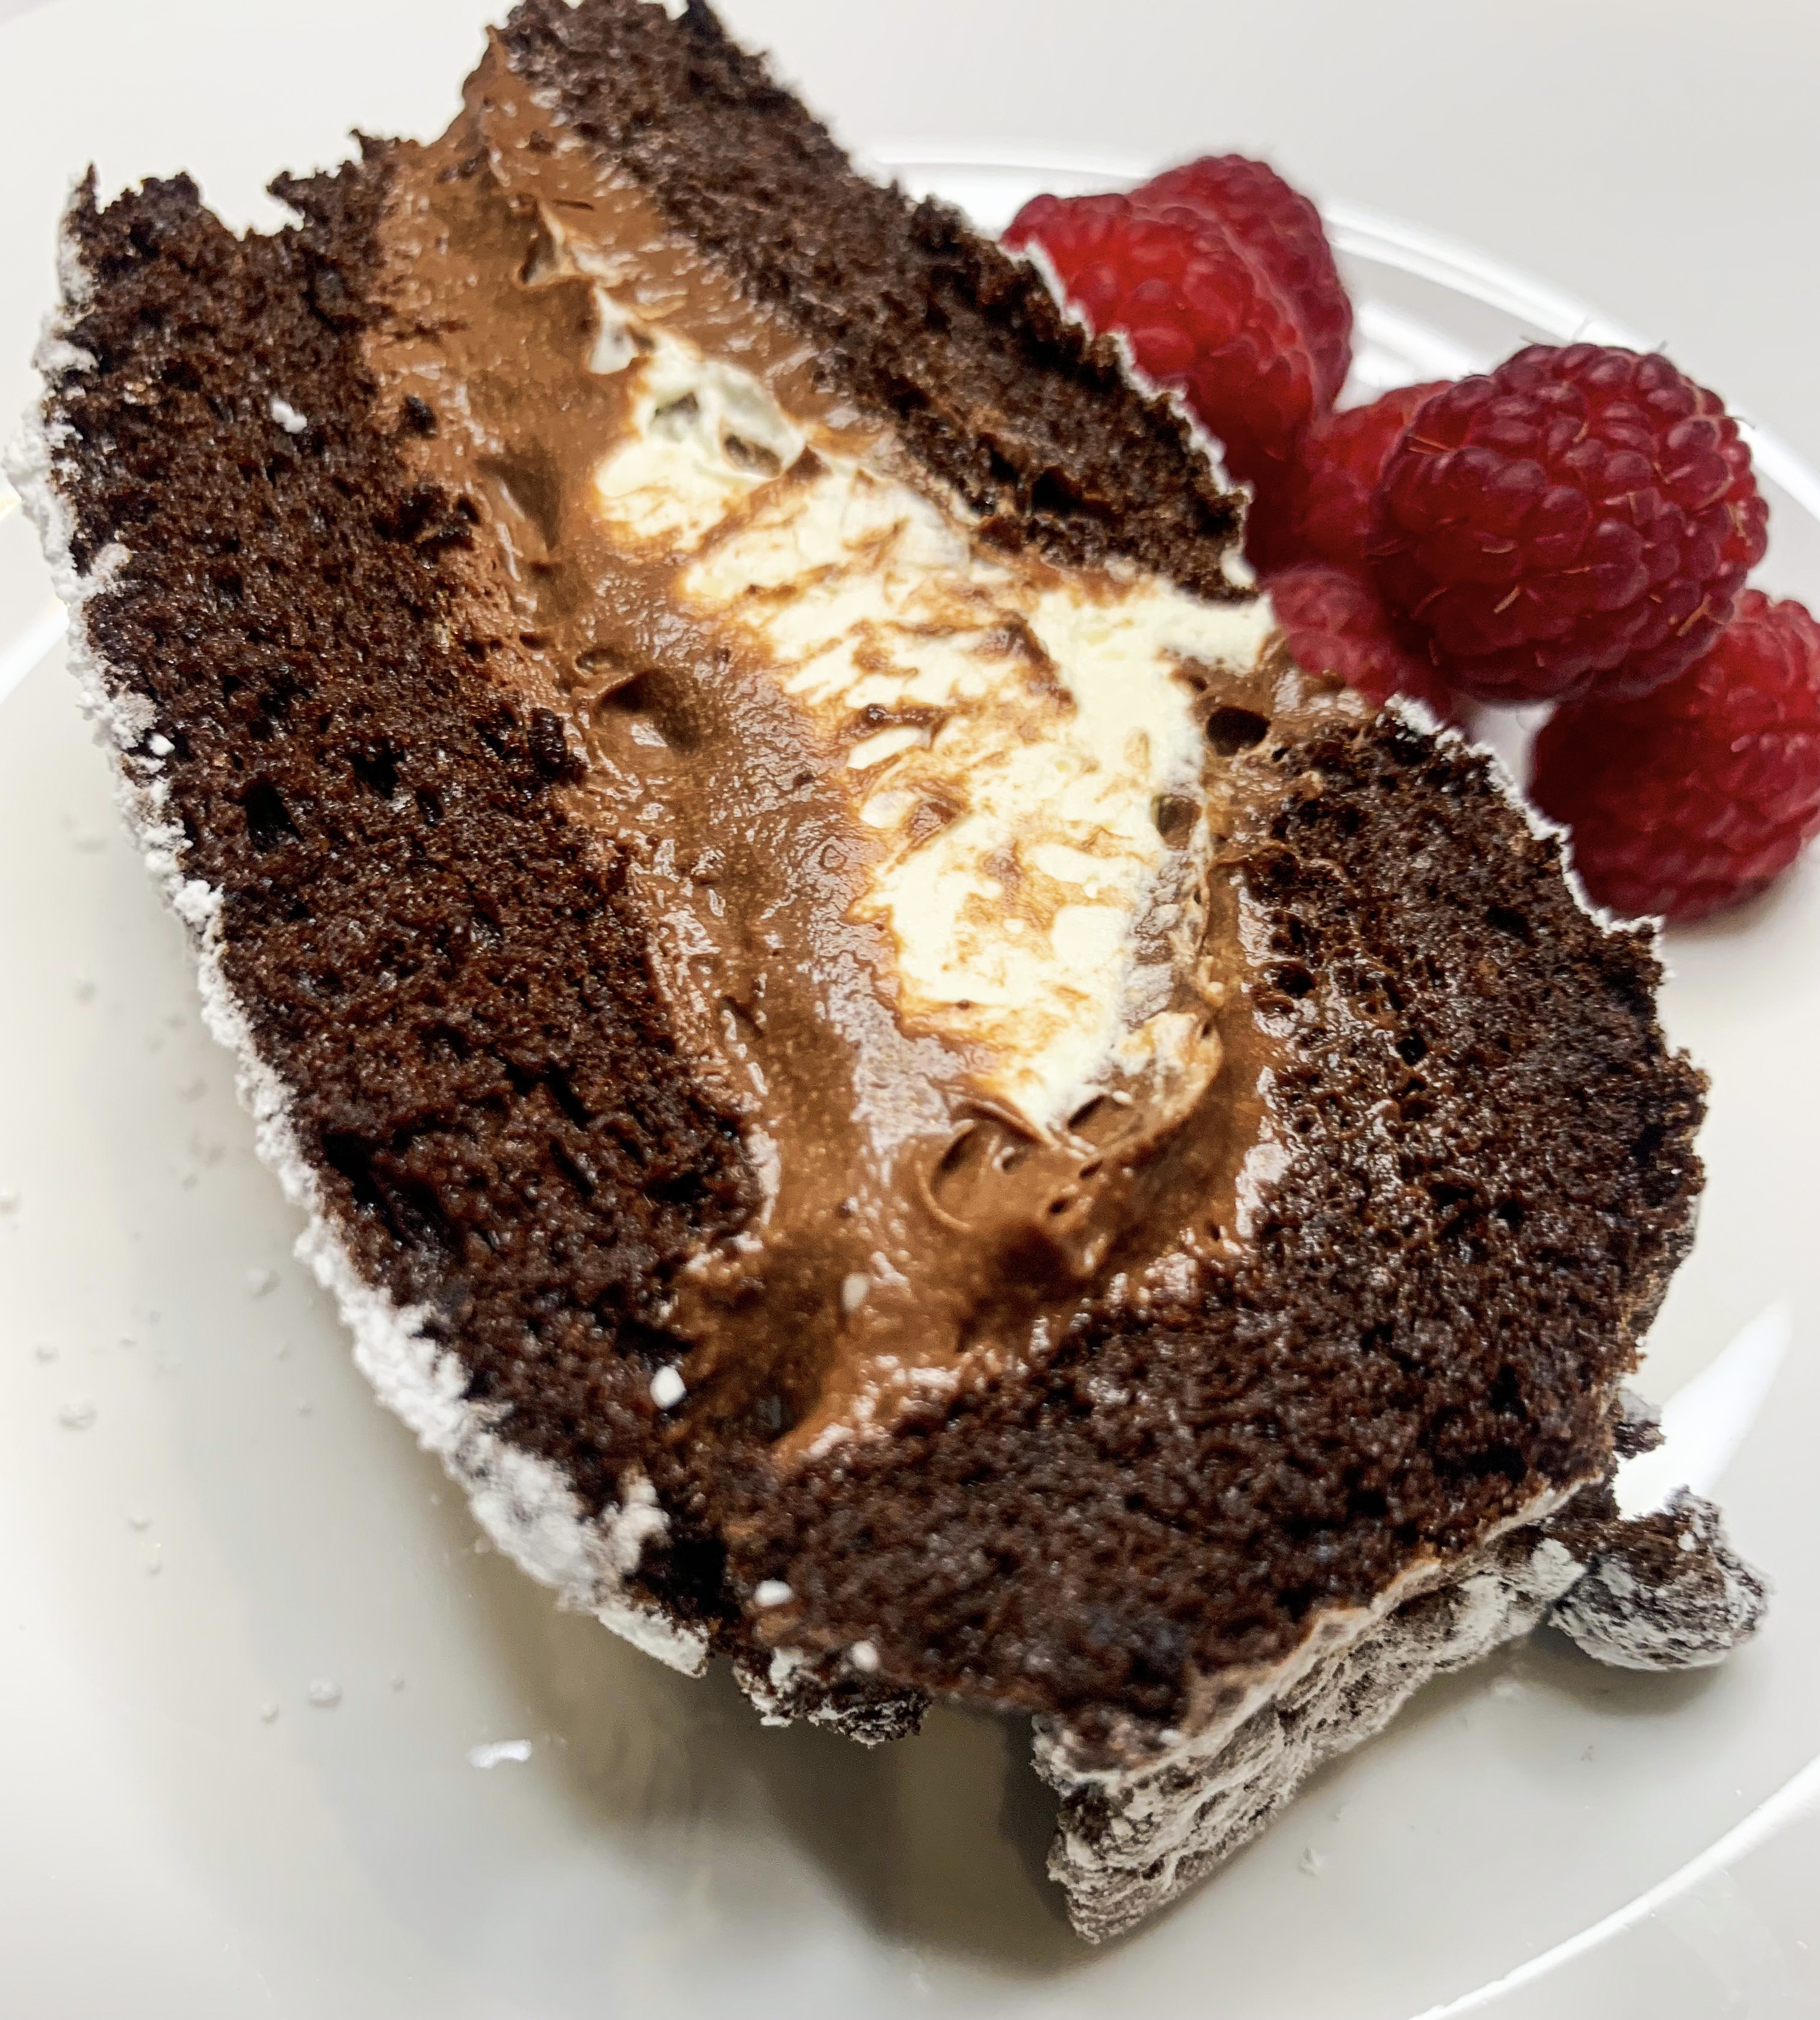
I found this recipe in Rachel Allen’s cookbook, ‘Entertaining at Home’. You will definitely thank me for sharing it – with its chocolate mousse and cream filling, it is incredibly delicious and surprisingly light. It also makes a great centrepiece for a Christmas celebration, you could add a sprig of holly to make it really festive! Roulades have a reputation for being difficult to make as they are renowned for cracking, but this is their nature and once you accept this outcome you will realise just how easy they are to bake – personally, I think their cracked style adds to their beauty and deliciousness! Indeed, when I was making this roulade I asked myself why I don’t make them more often, especially as many are naturally gluten-free. So, I have decided to start searching out more roulade recipes (watch this space!), in the meantime, you really should try this one!!… It will keep in the fridge for a couple of days but bring it to room temperature before serving.
6 eggs separated
150g caster sugar
50g cocoa powder
Icing sugar, for dusting
225ml double cream
For the chocolate mousse:
125ml double cream
125g dark chocolate, roughly chopped
2 tablespoons brandy or dark rum (optional)
2 eggs, separated
*You will also need a 20 x 30cm Swiss roll tin, lined
- Place the egg yolk and sugar in a bowl and whisk until the mixture starts to thicken, then whisk in the cocoa powder.
- In a separate bowl, whisk the egg whites until they are just stiff, then carefully fold these into the chocolate mixture. Pour into the prepared tin and bake in a preheated oven, 180’c for 15-20 minutes until the sponge feels springy to touch. Remove from the oven and allow to cool in the tin.
- To make the mousse filling, pour the cream into a saucepan and bring to the boil. Remove from the heat and stir in the chocolate until it has all melted. Add the brandy or rum (if using) and whisk in the egg yolks.
- In a clean bowl, whisk the egg whites until stiff, then stir in a quarter of the egg whites into the chocolate mixture, then pour the chocolate mixture into the remaining egg whites and fold in gently. Cover the bowl with clingfilm and chill in the fridge for 1-2 hours to set.
- When the roulade sponge has cooled turn it out onto an oblong sheet of greaseproof paper liberally dusted with icing sugar (or you could use cocoa powder if desired).
- Carefully pull away the lining paper. Spread the chocolate mousse over the sponge. Now whip up the cream and spread this over the chocolate mousse.
- With one long side facing you, gently roll up the roulade into the shape of a log. Transfer to a serving plate with the join facing down – this can be tricky, I usually use both a frying pan spatula and a palette knife to do this!
- Finally, dust with a little more icing sugar (or cocoa powder) and enjoy!
Salted Miso Brownies (Makes 16)
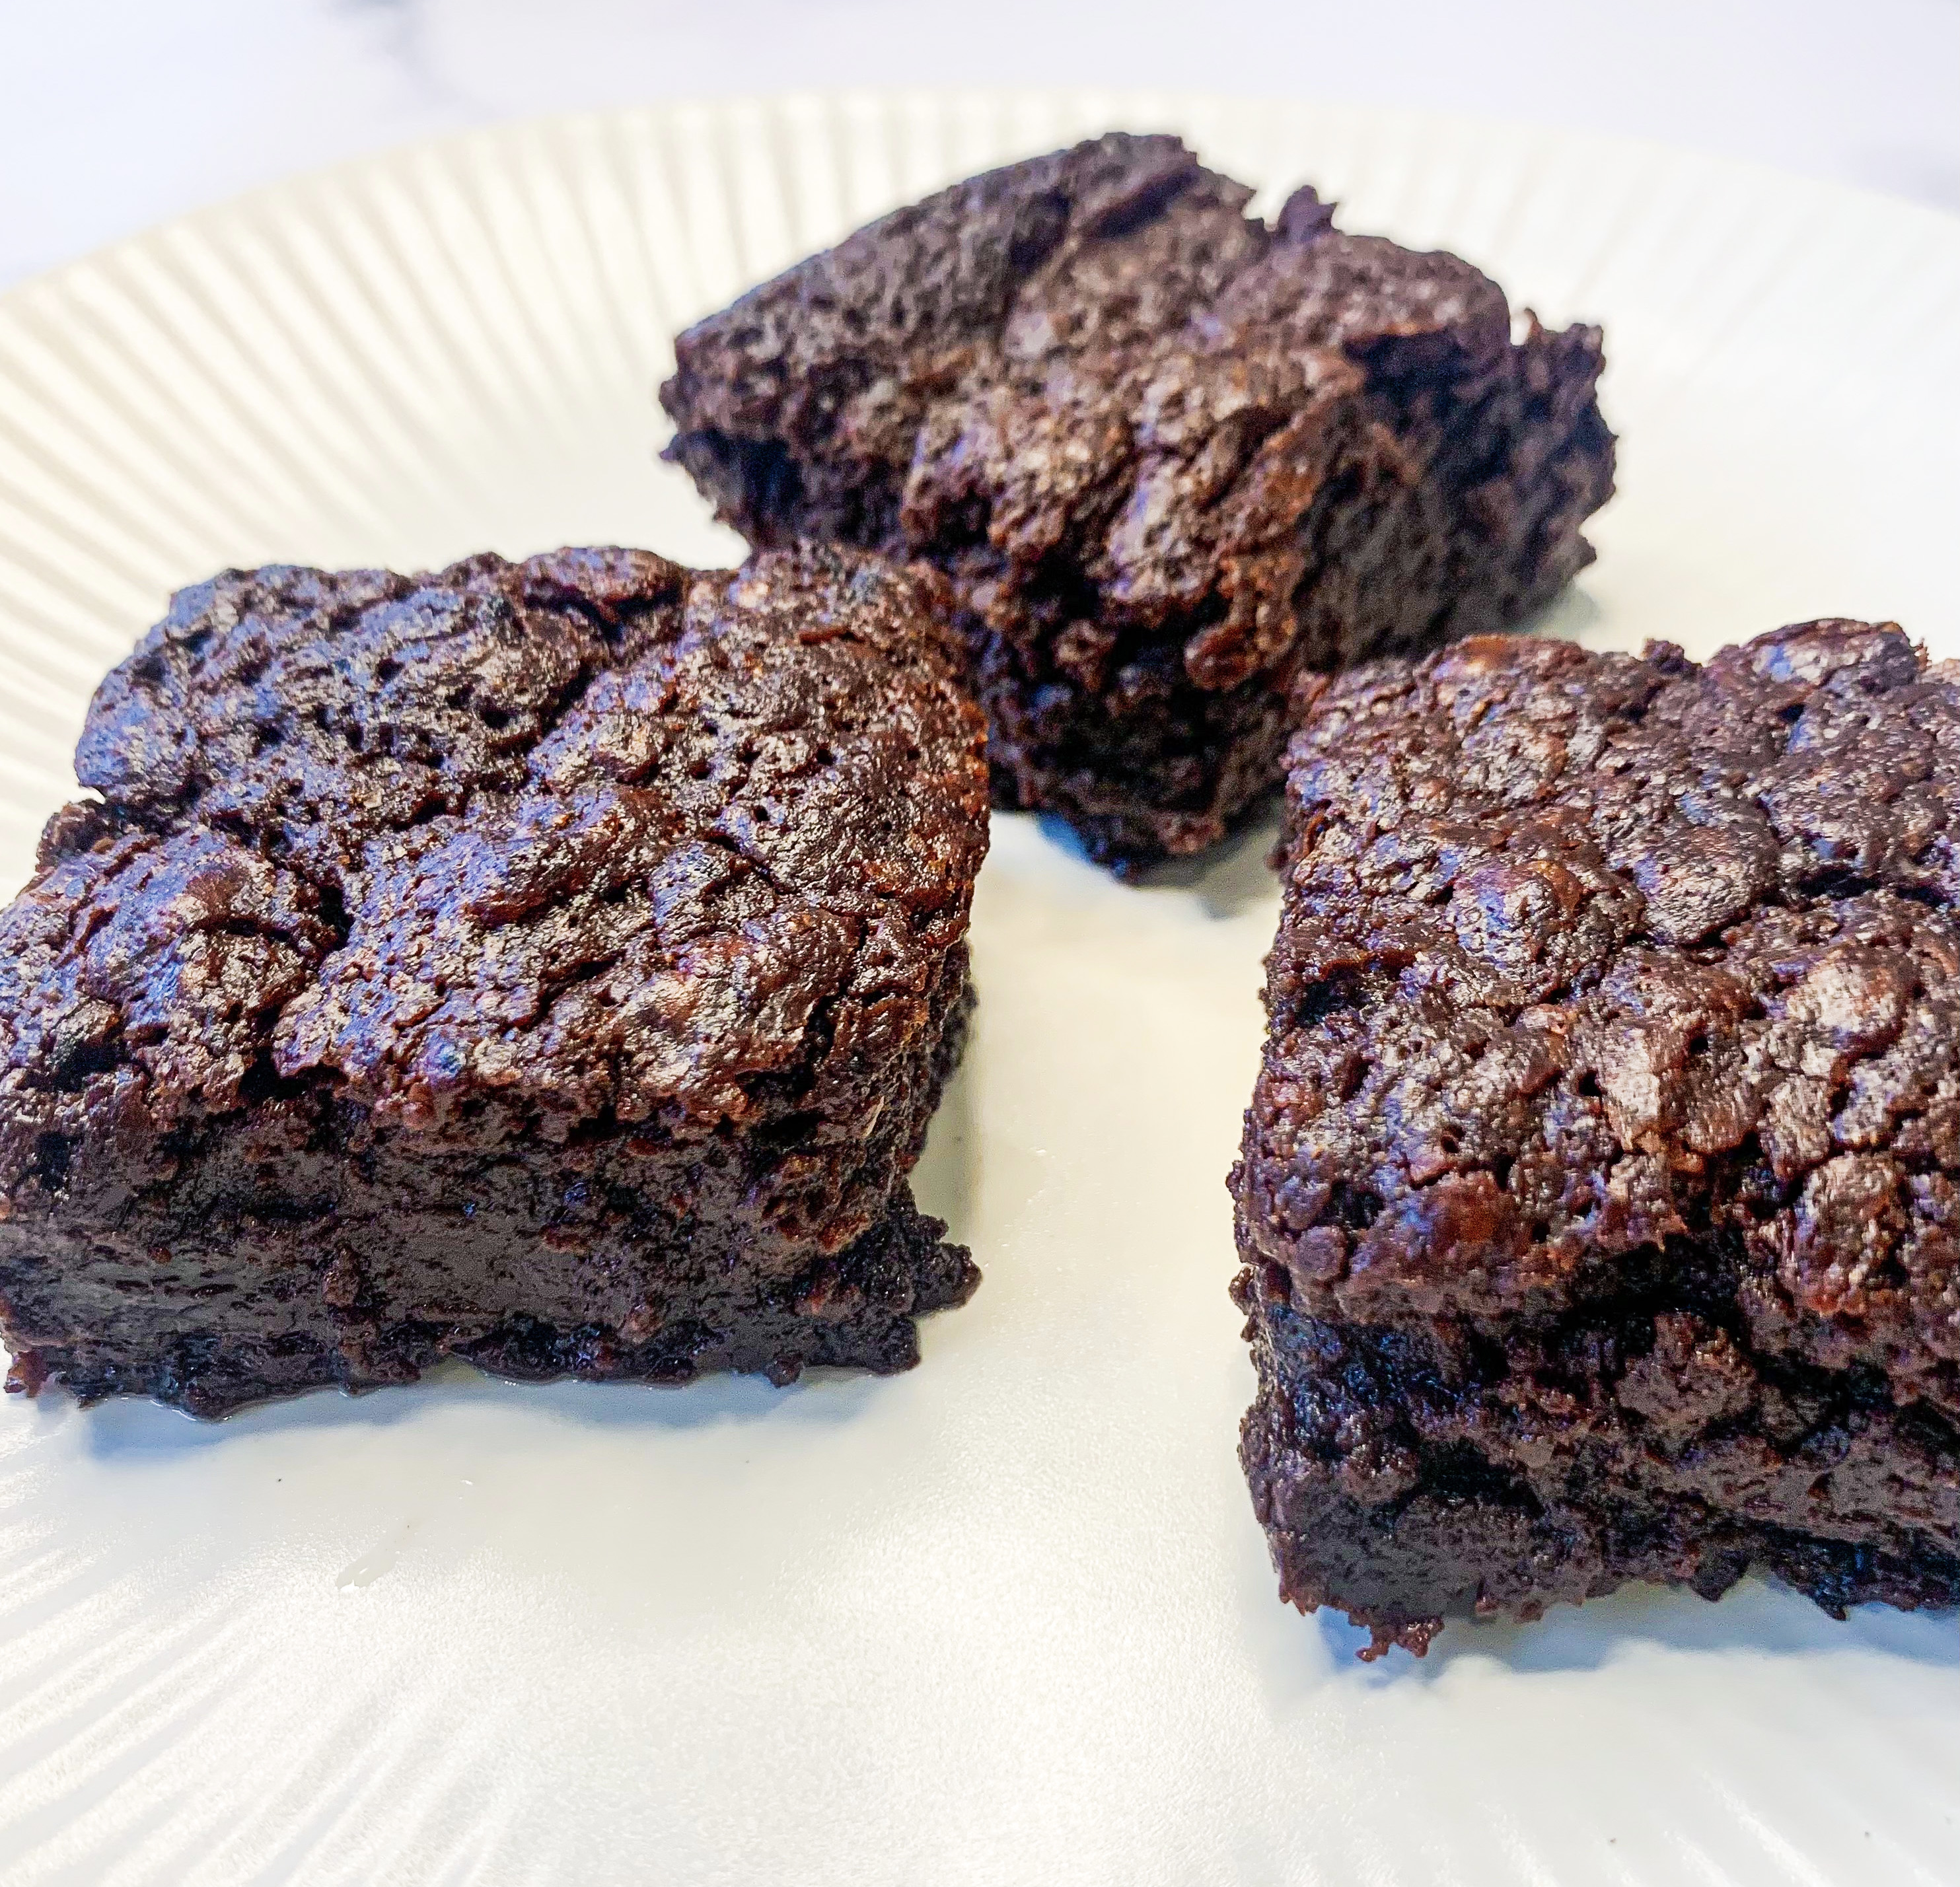
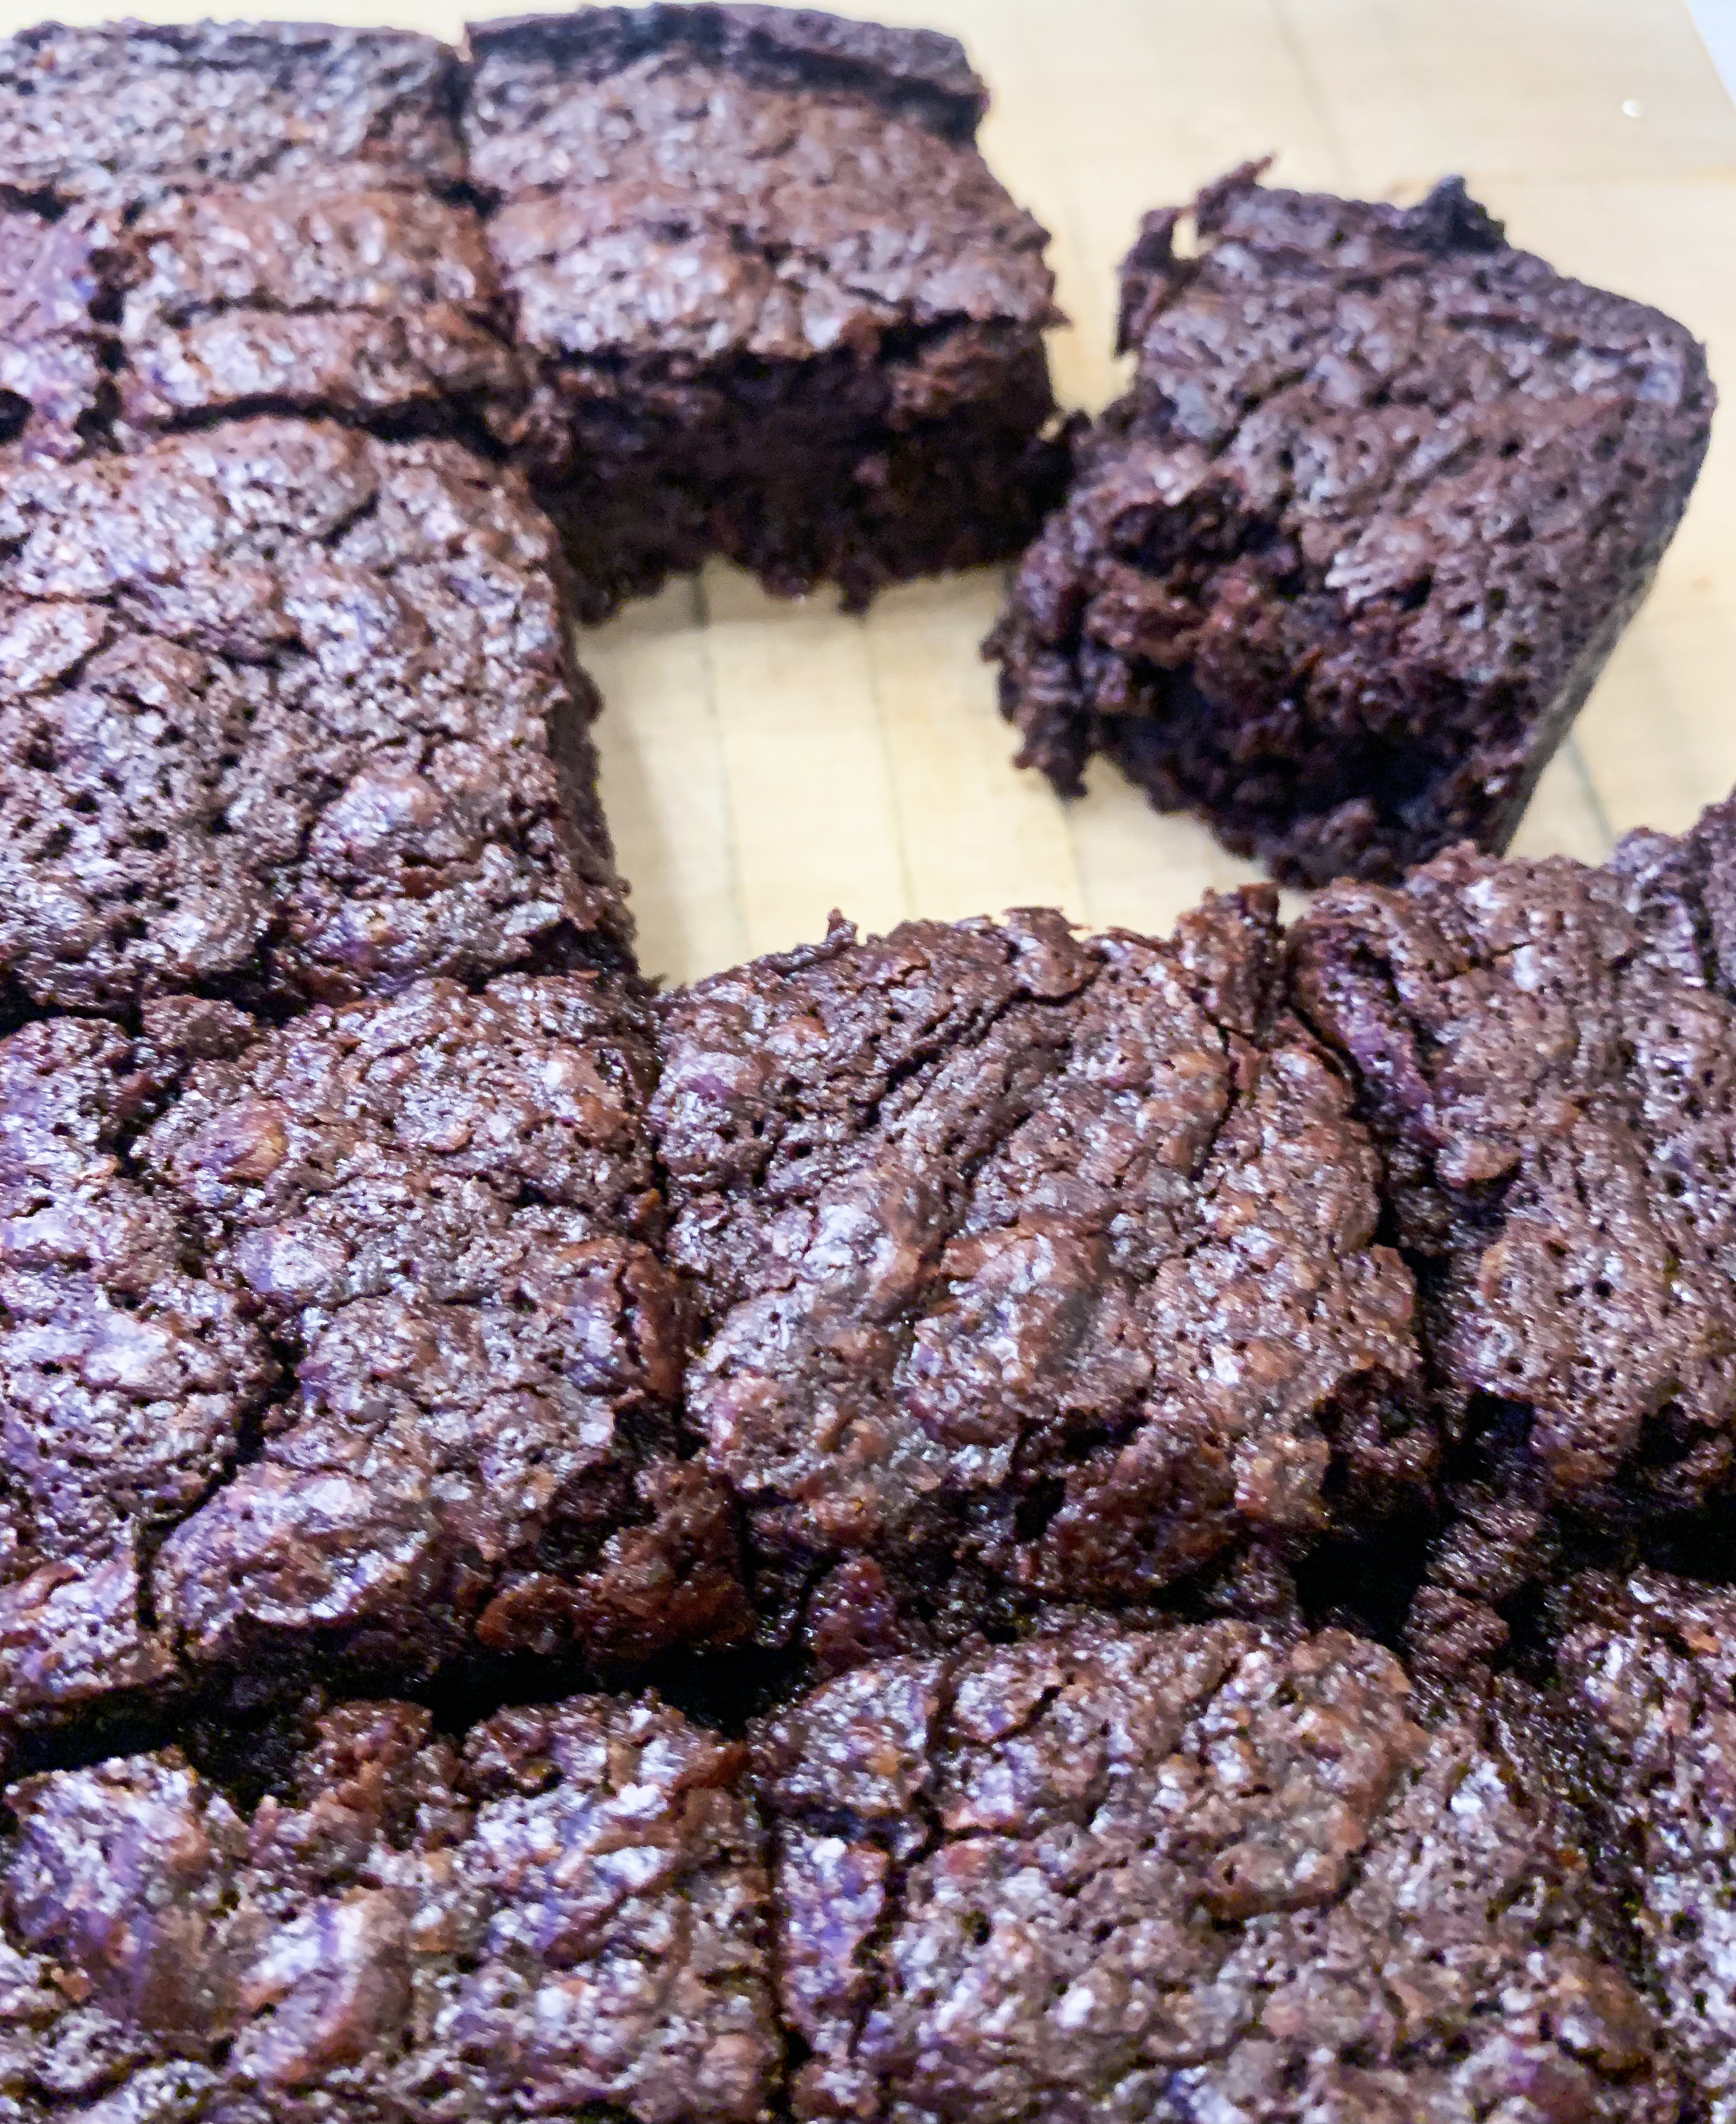
We all have a favourite recipe for brownies, this is without doubt mine…I urge you to make them – they will become your new favourite too! The addition of the white miso and salt gives them an incredible salted caramel flavour whilst the chia seeds create a dense and fudgy consistency. Admittedly, they don’t look like the smartest of brownies, but as I have often said, ‘looks can be deceiving’, and in this case they definitely are!…This magnificent recipe is from Meera Sodha’s cookbook ‘East’.
5 tablespoons milled chia seeds
150g flavourless coconut oil
250g dark chocolate, broken into small pieces (I use Lindt Excellence 70% Cocoa Dark Chocolate)
350g light brown Muscovado sugar
120g plain flour (gluten free if required)
3 tablespoons white miso
¾ teaspoon flaky sea salt
*20cm square cake tin, lined with greaseproof paper
- First of all put the chia seeds in a small bowl, add 270ml water and set aside.
- Place the coconut oil and chocolate pieces in a saucepan over a low heat. Stir occasionally until melted. Take off the heat and mix in the sugar, flour, miso and salt. Finally, add the ‘bloomed’ chia seed (and their water), mix well.
- Pour into the prepared, lined tin and gently shake to distribute the mixture evenly. Bake on the middle shelf of a preheated oven, 180’c fan, for 40 minutes. The brownies will be still wobbly in the middle but they will settle down and become deliciously fudgy as they cool. Cool completely before cutting into 16 squares.
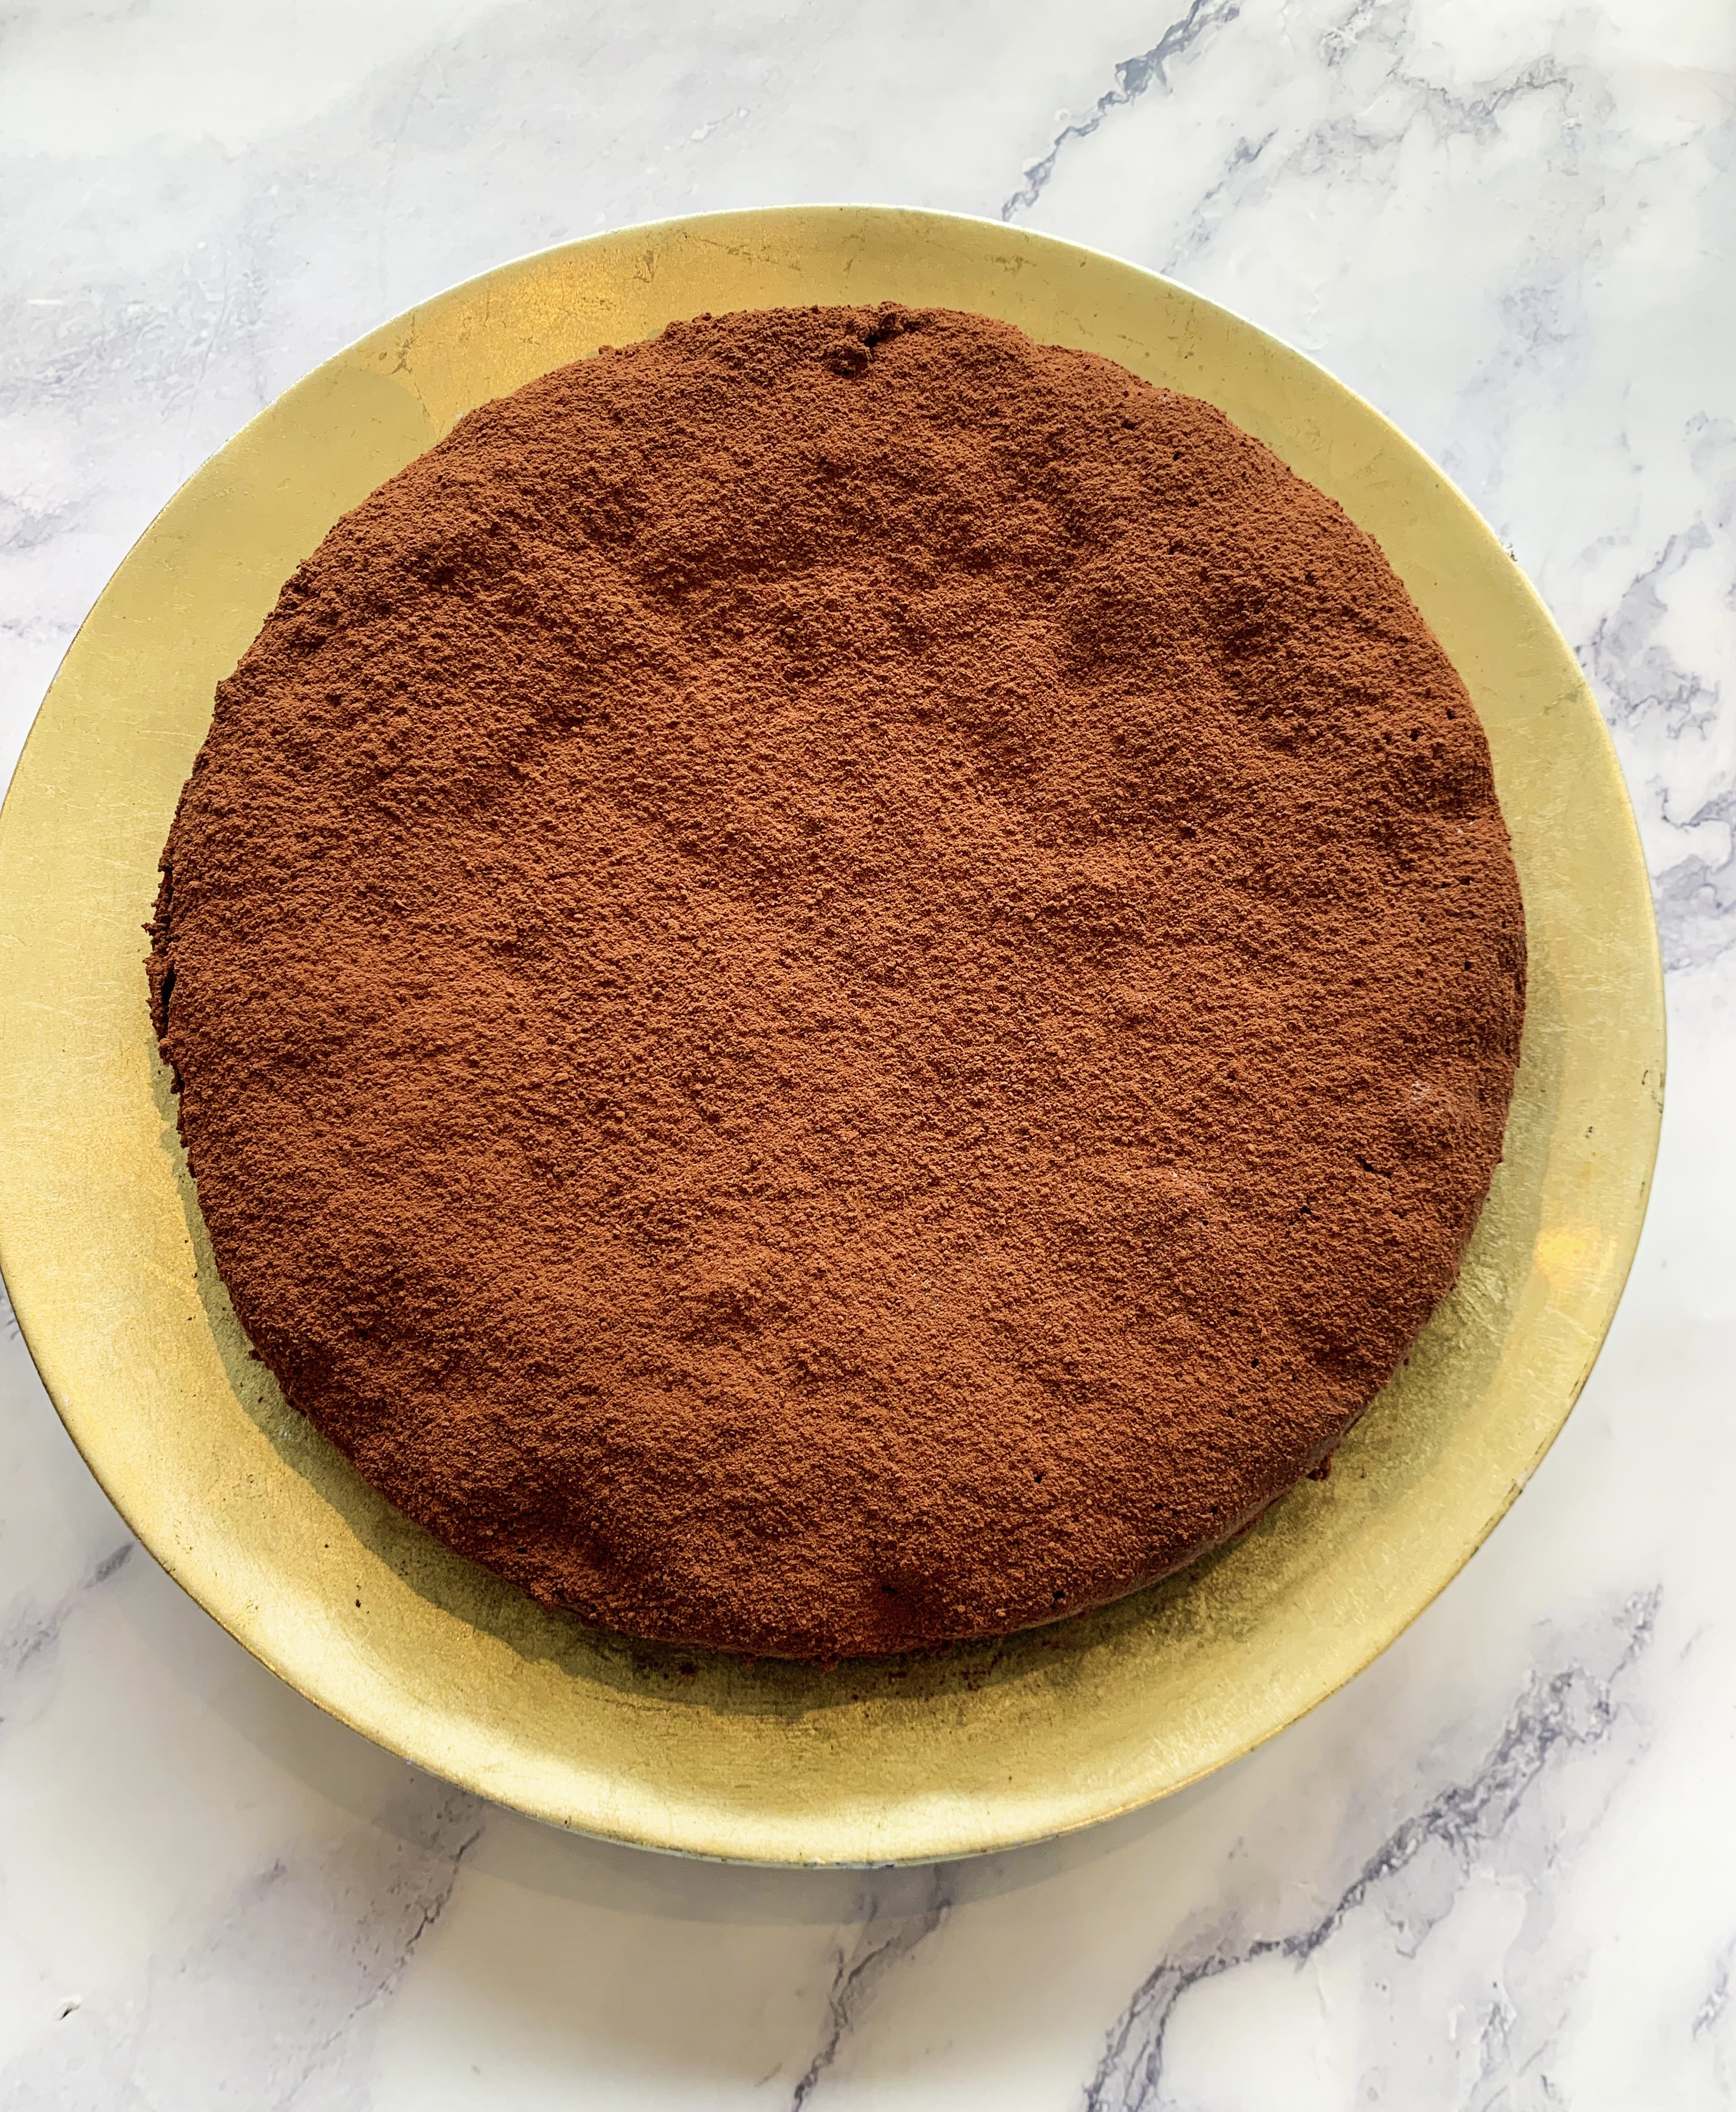
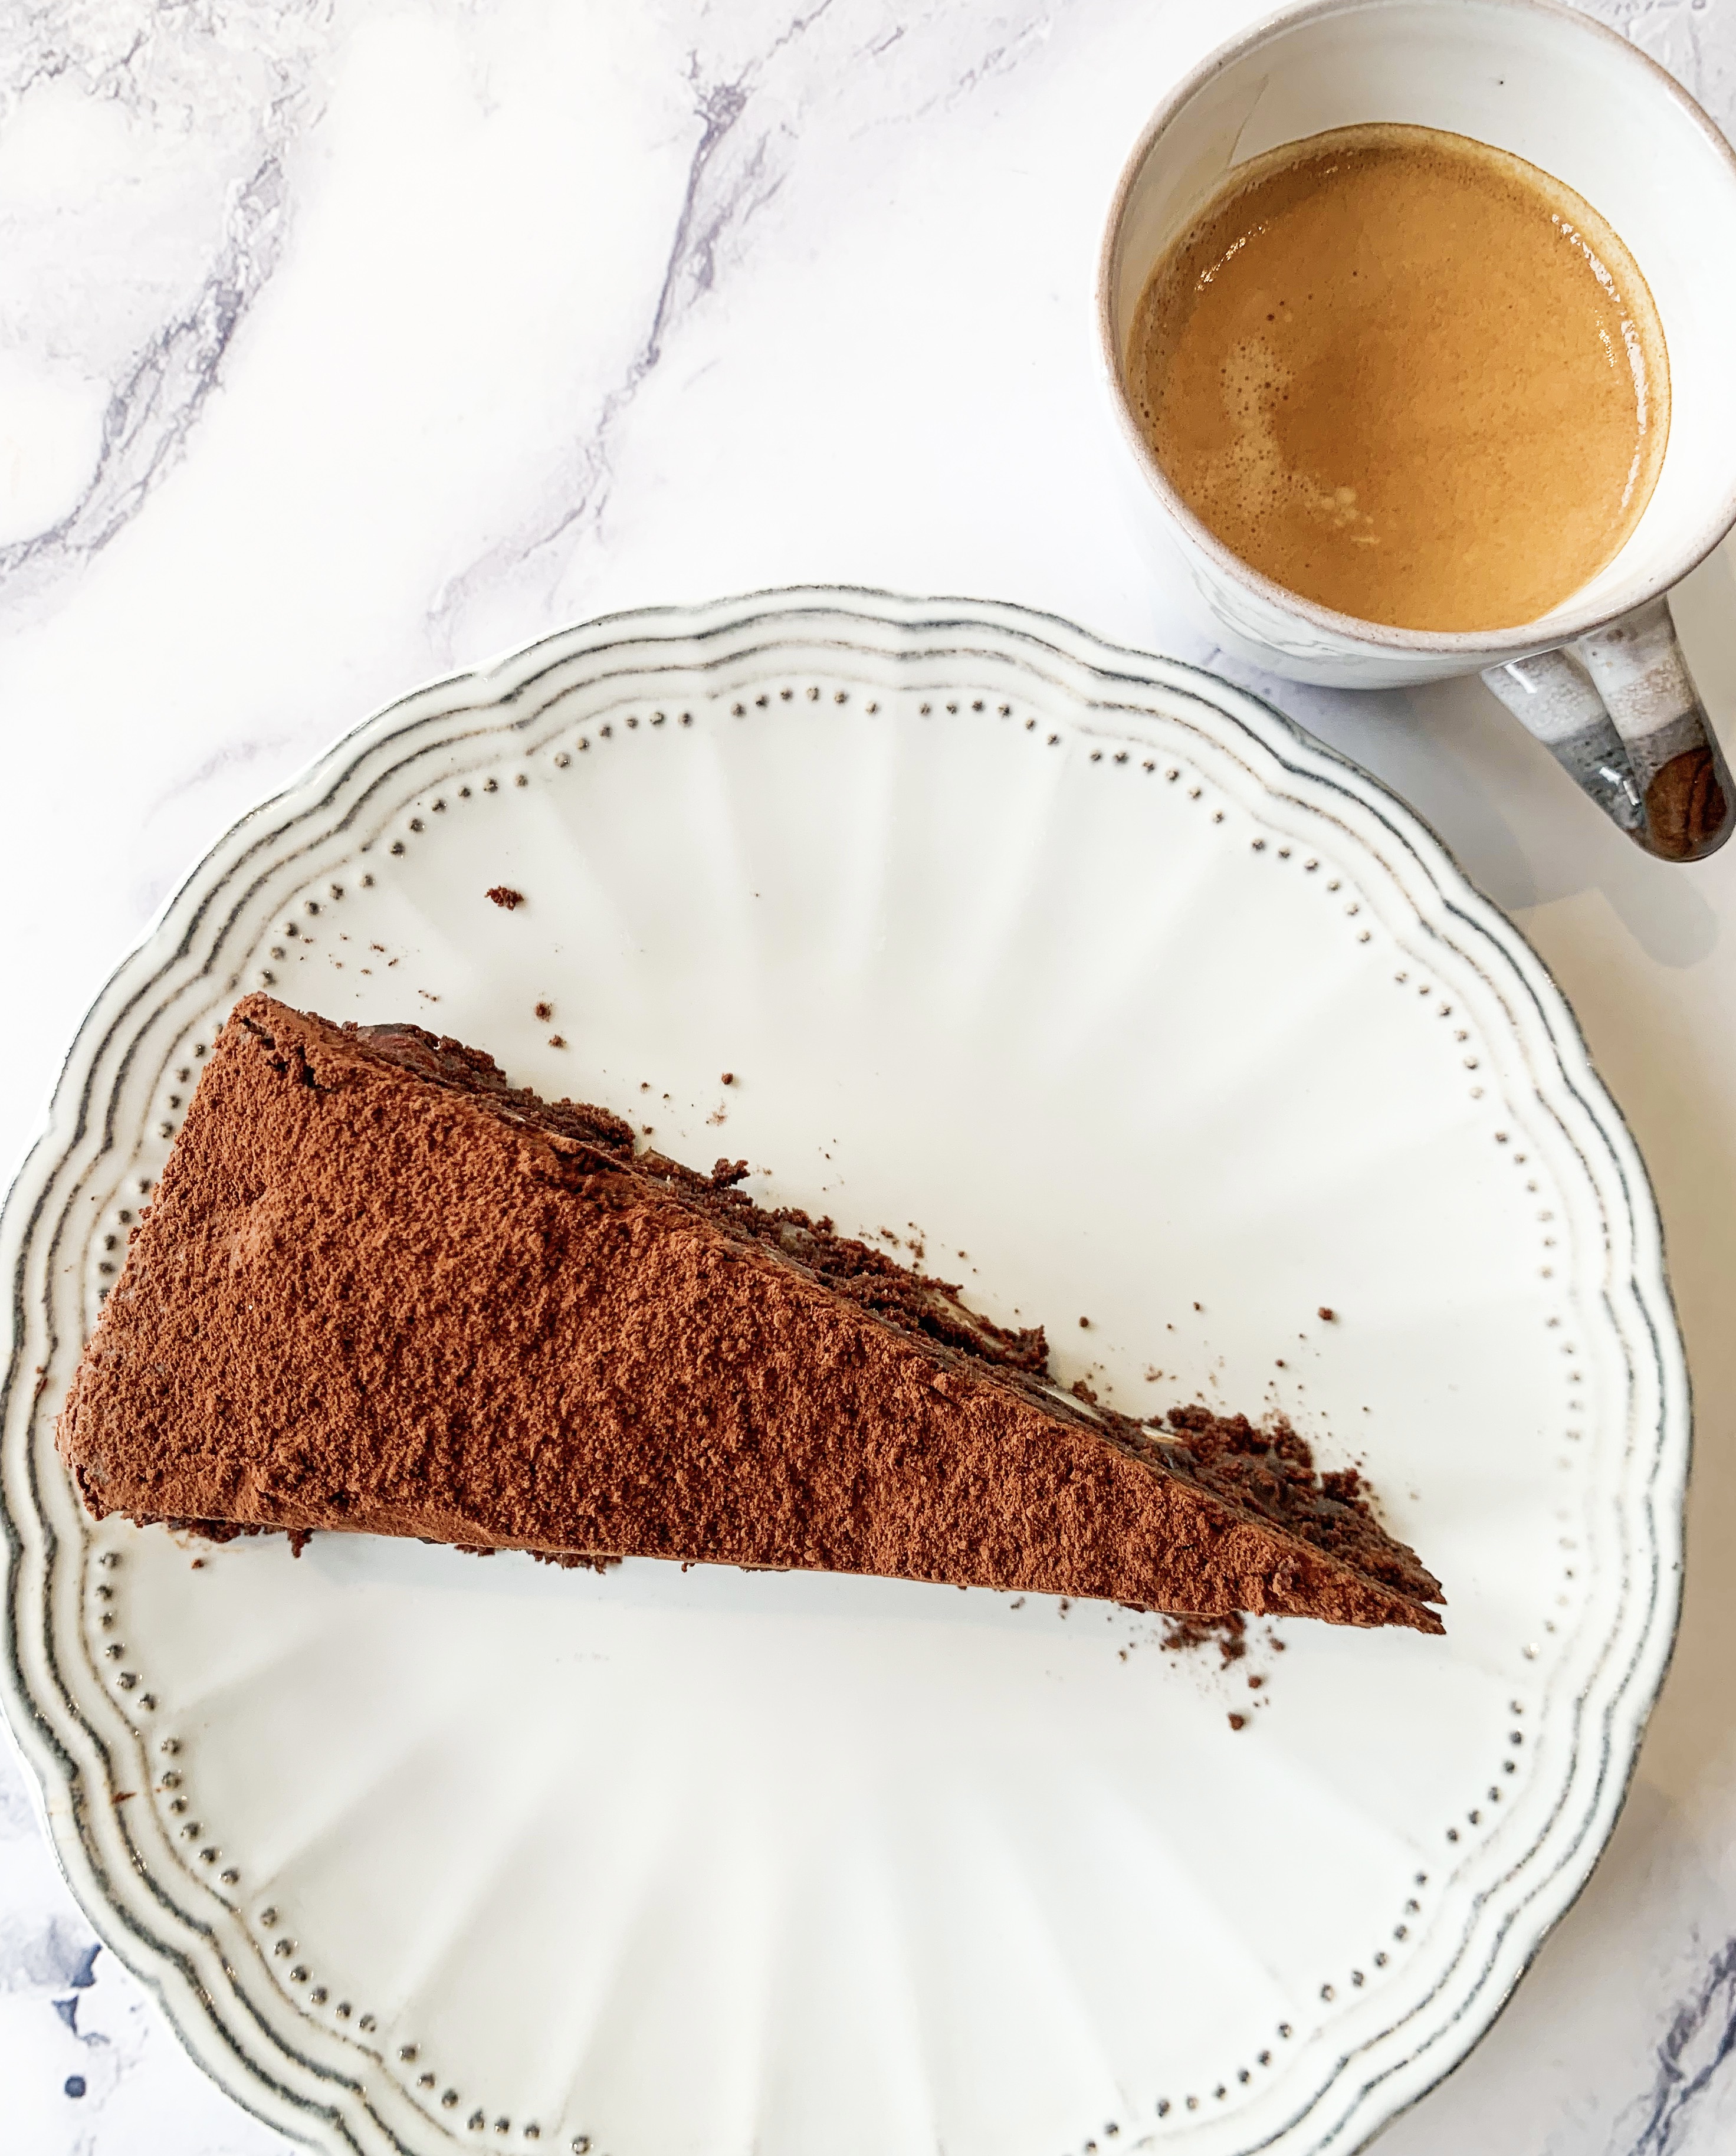
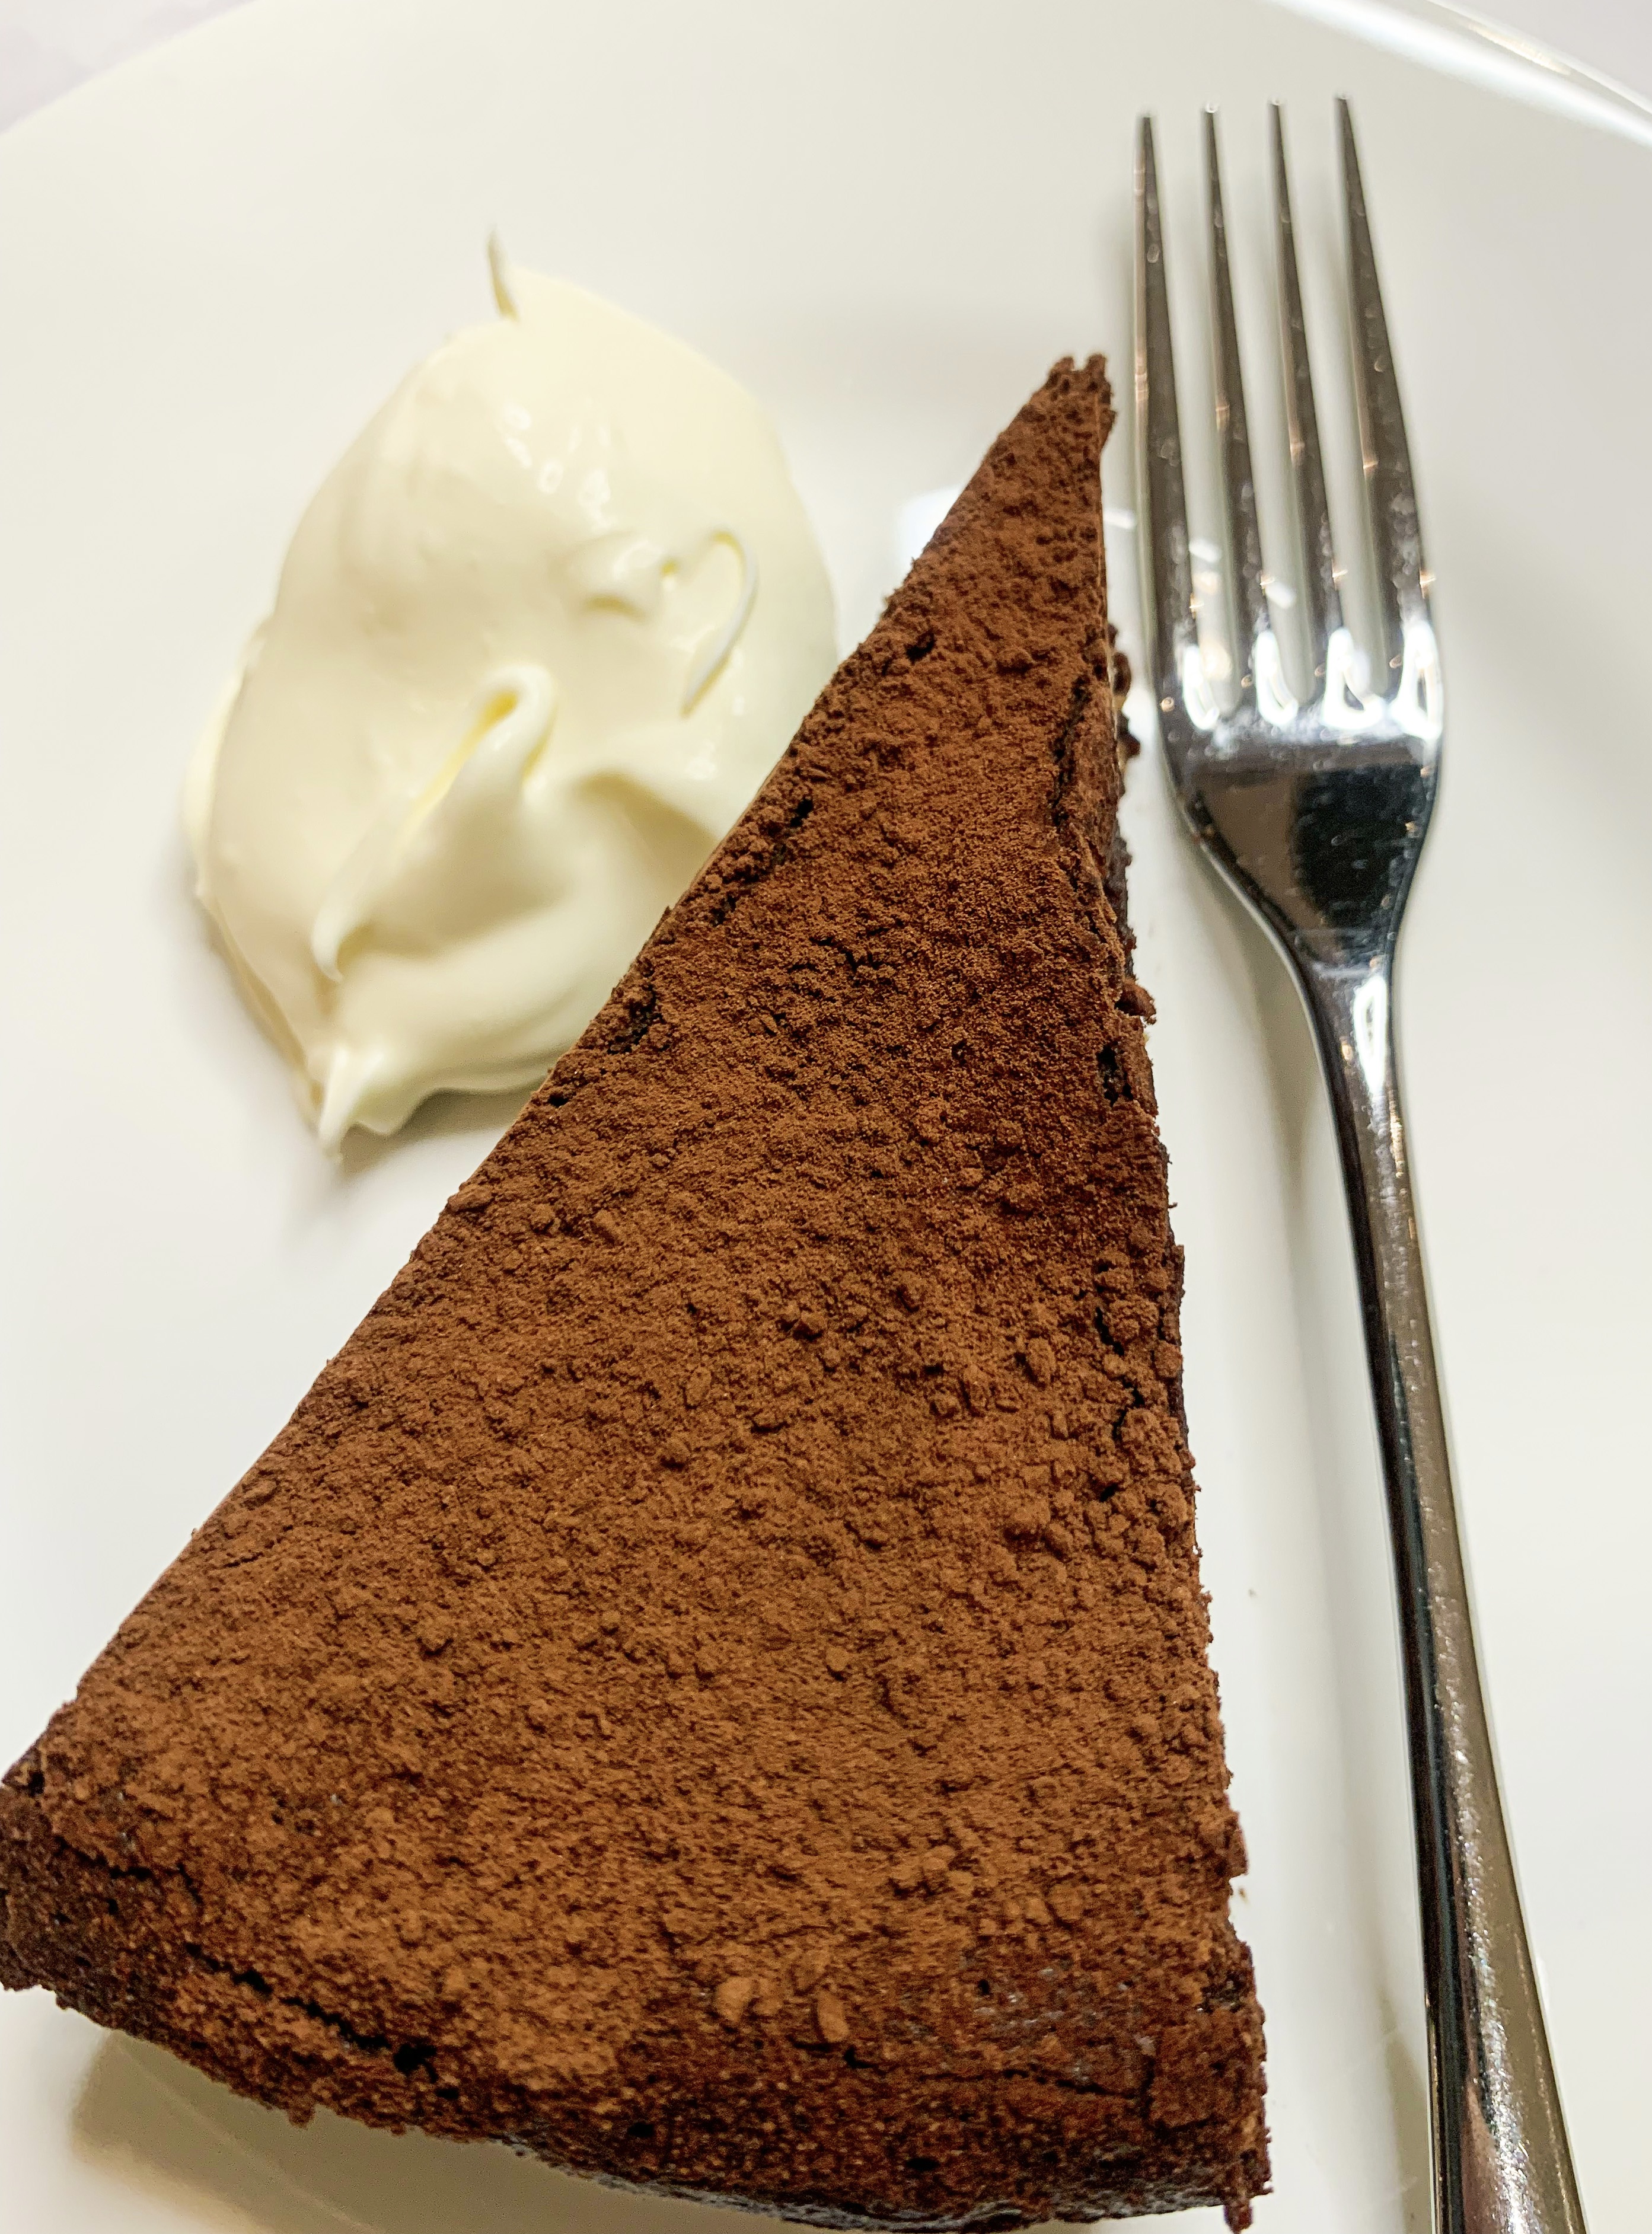
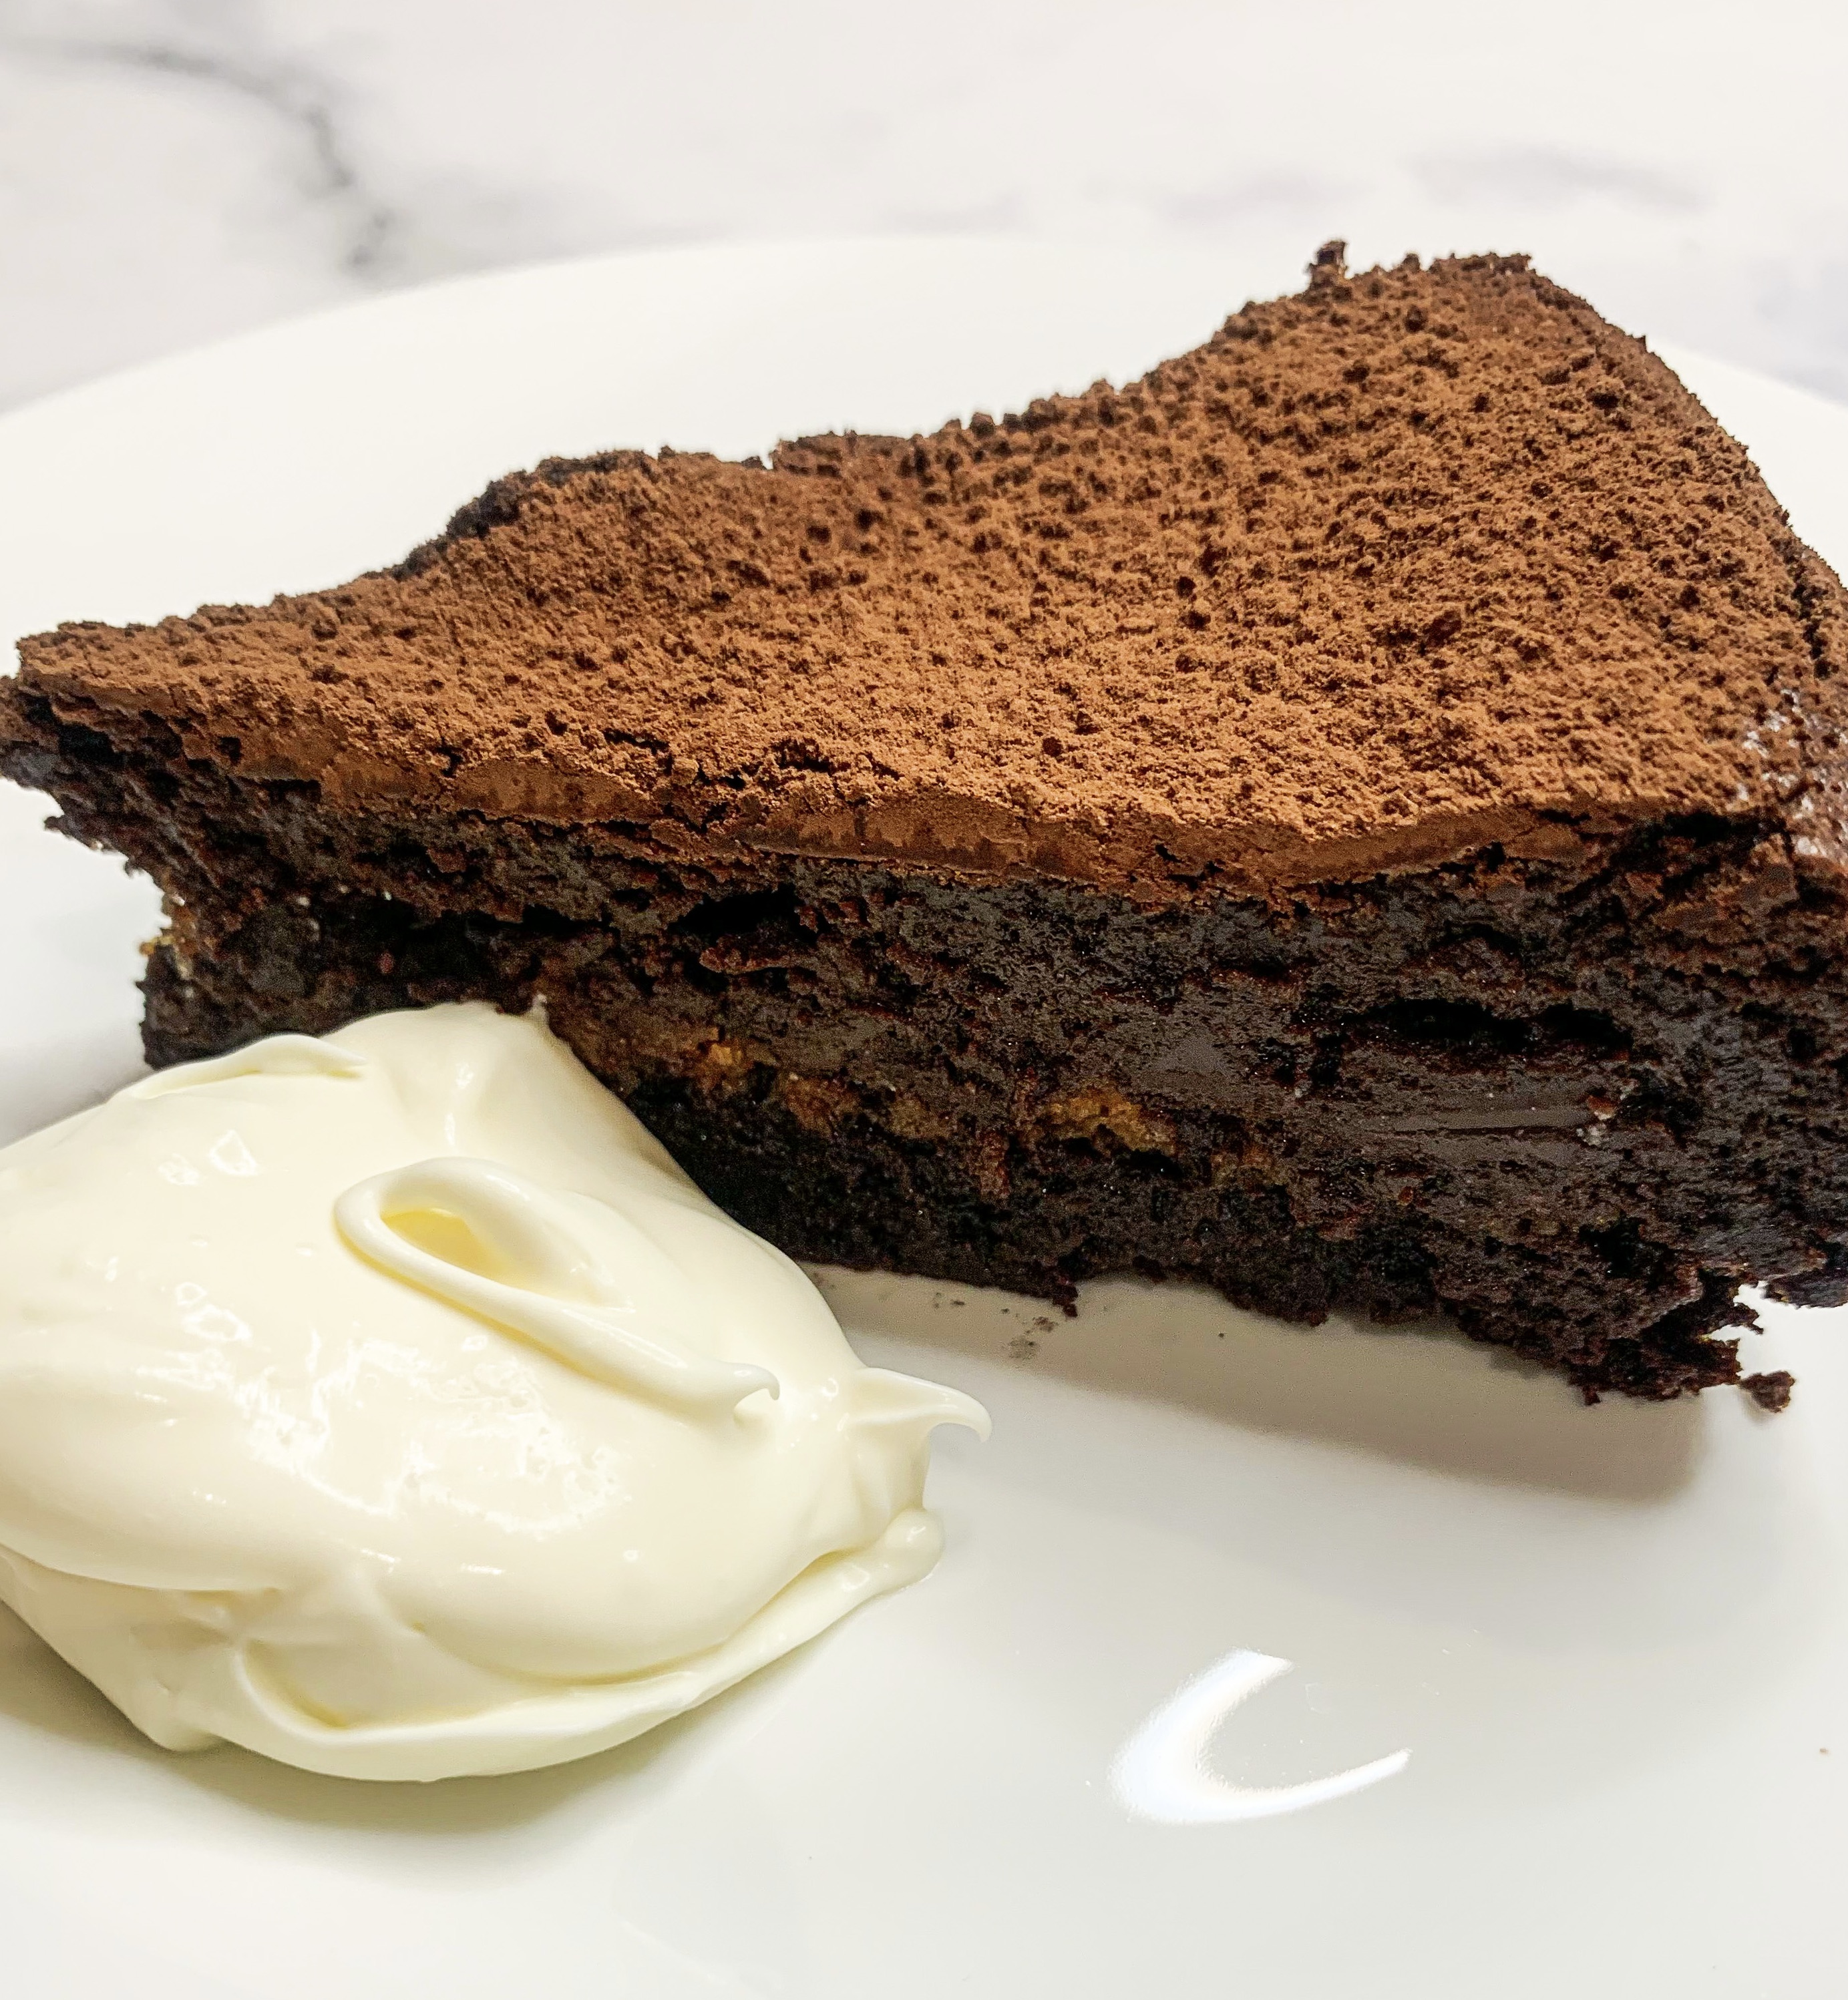
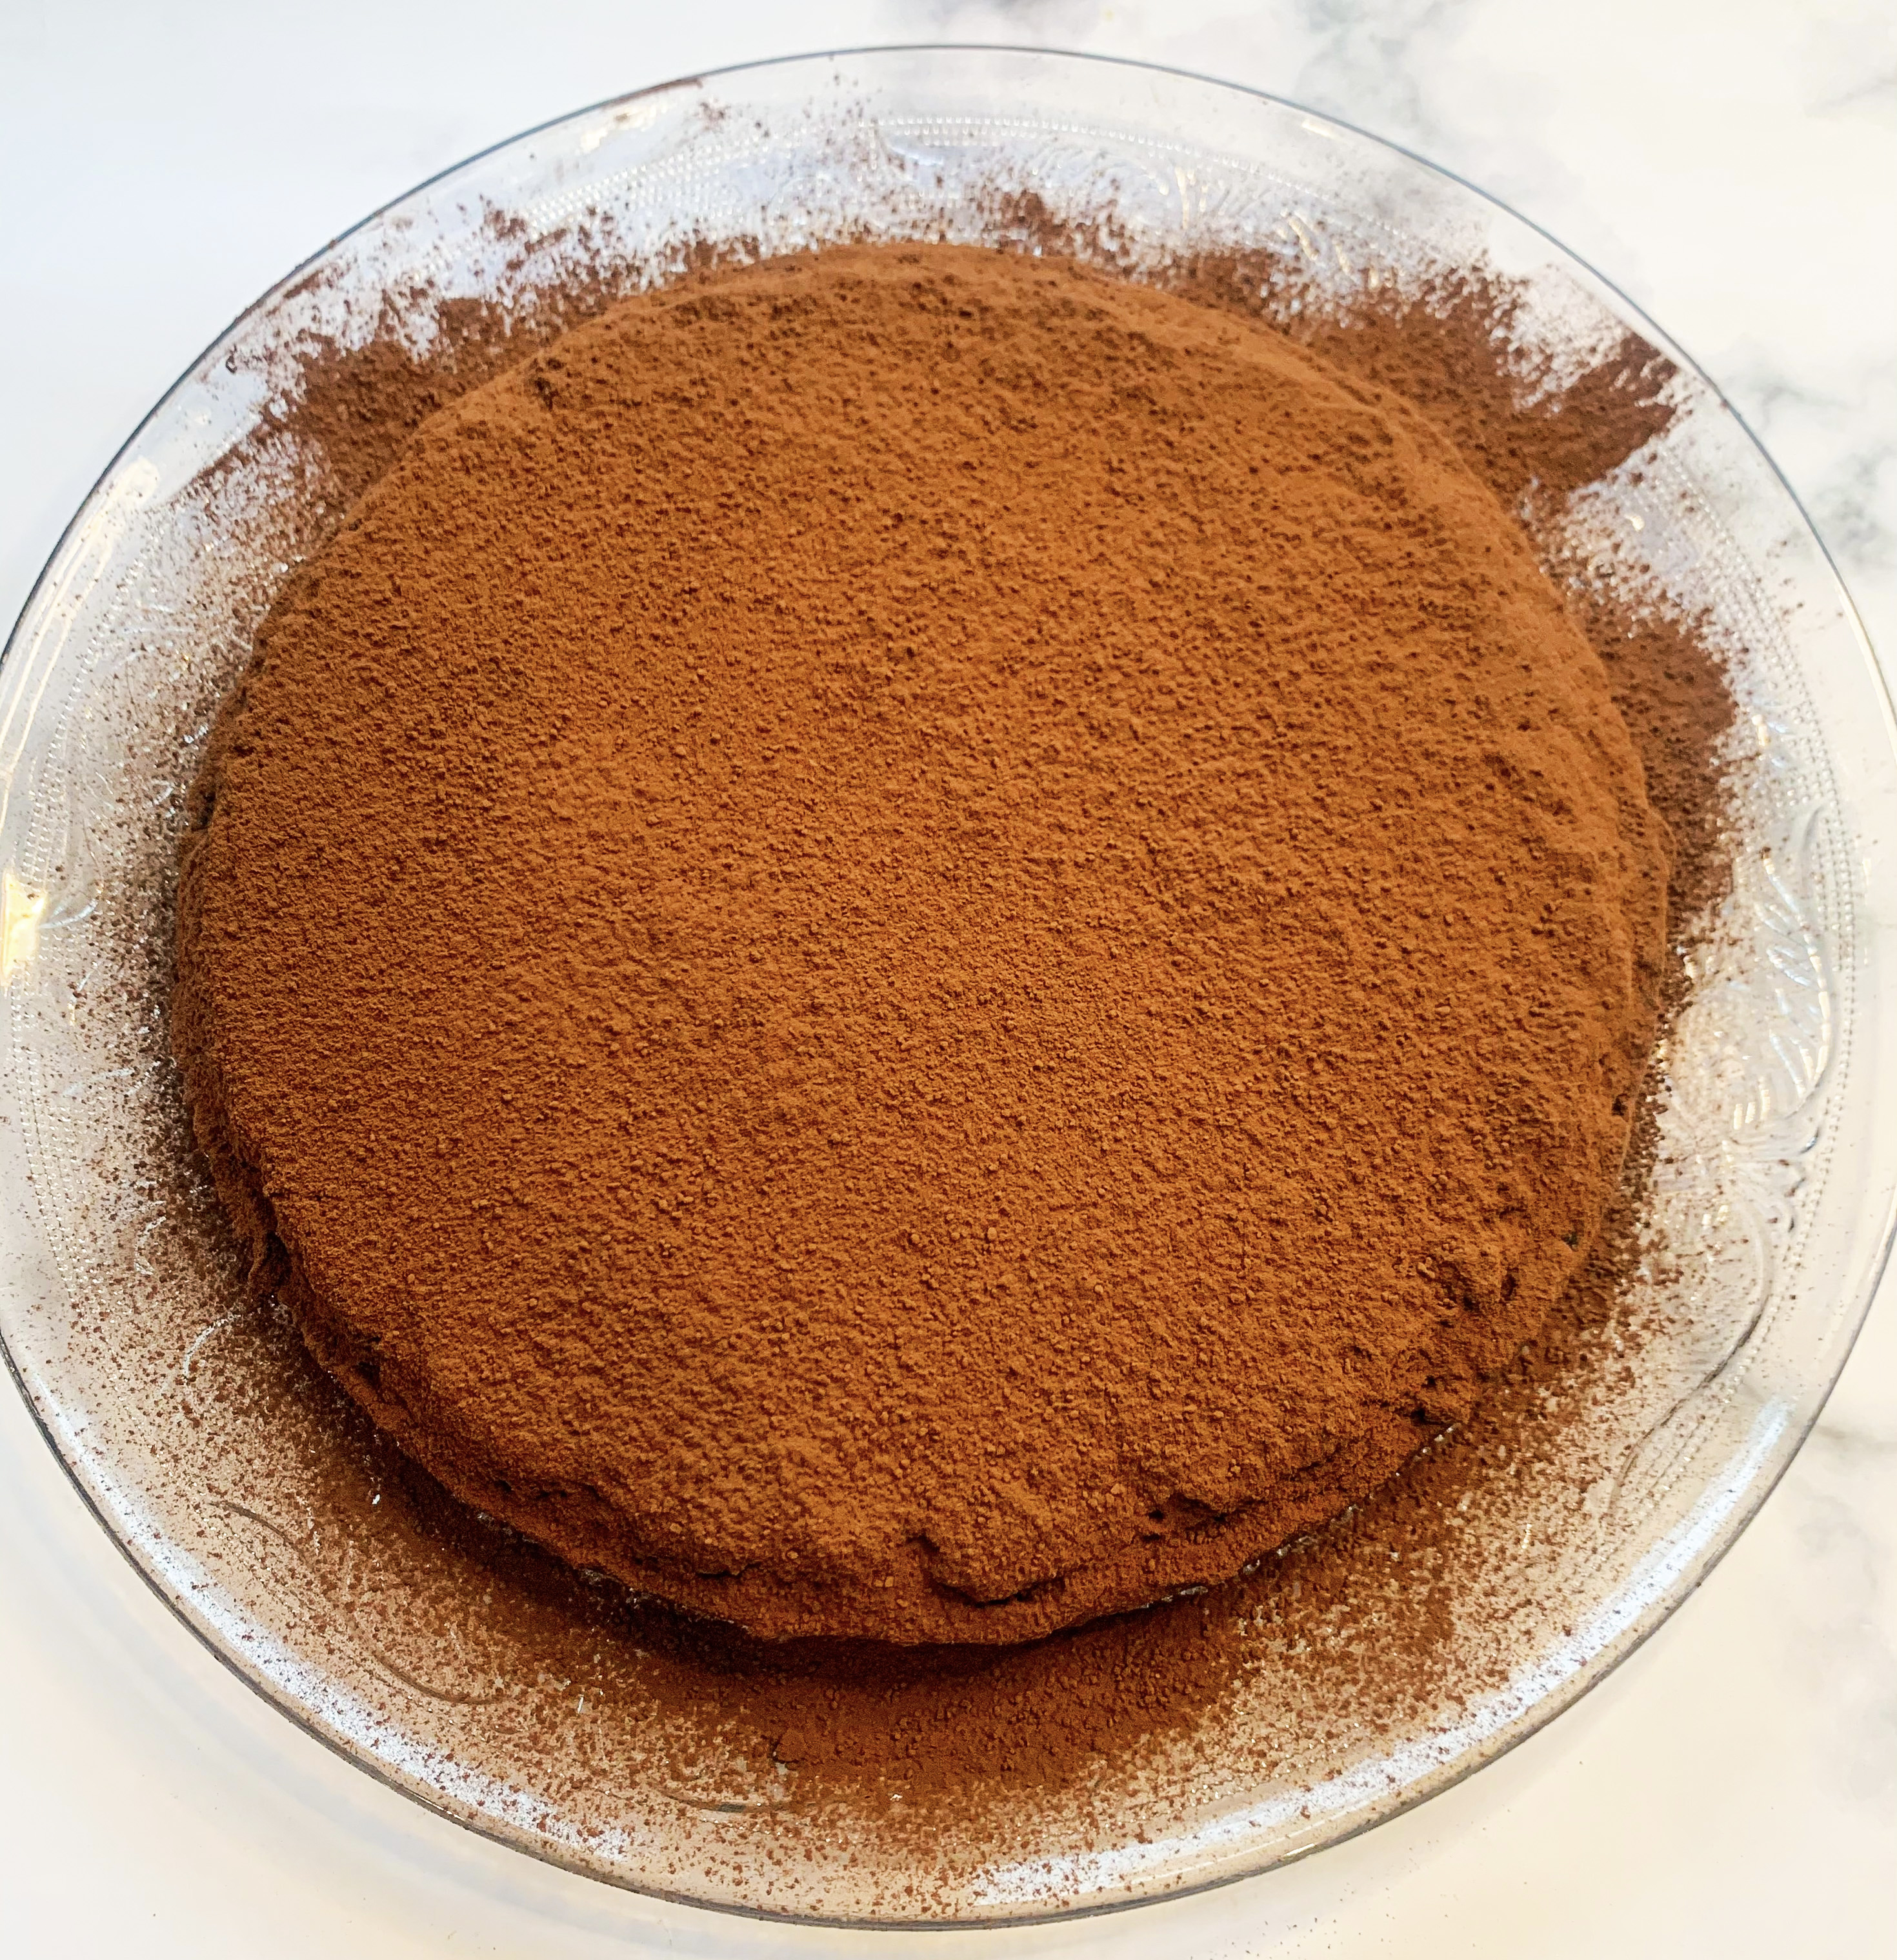
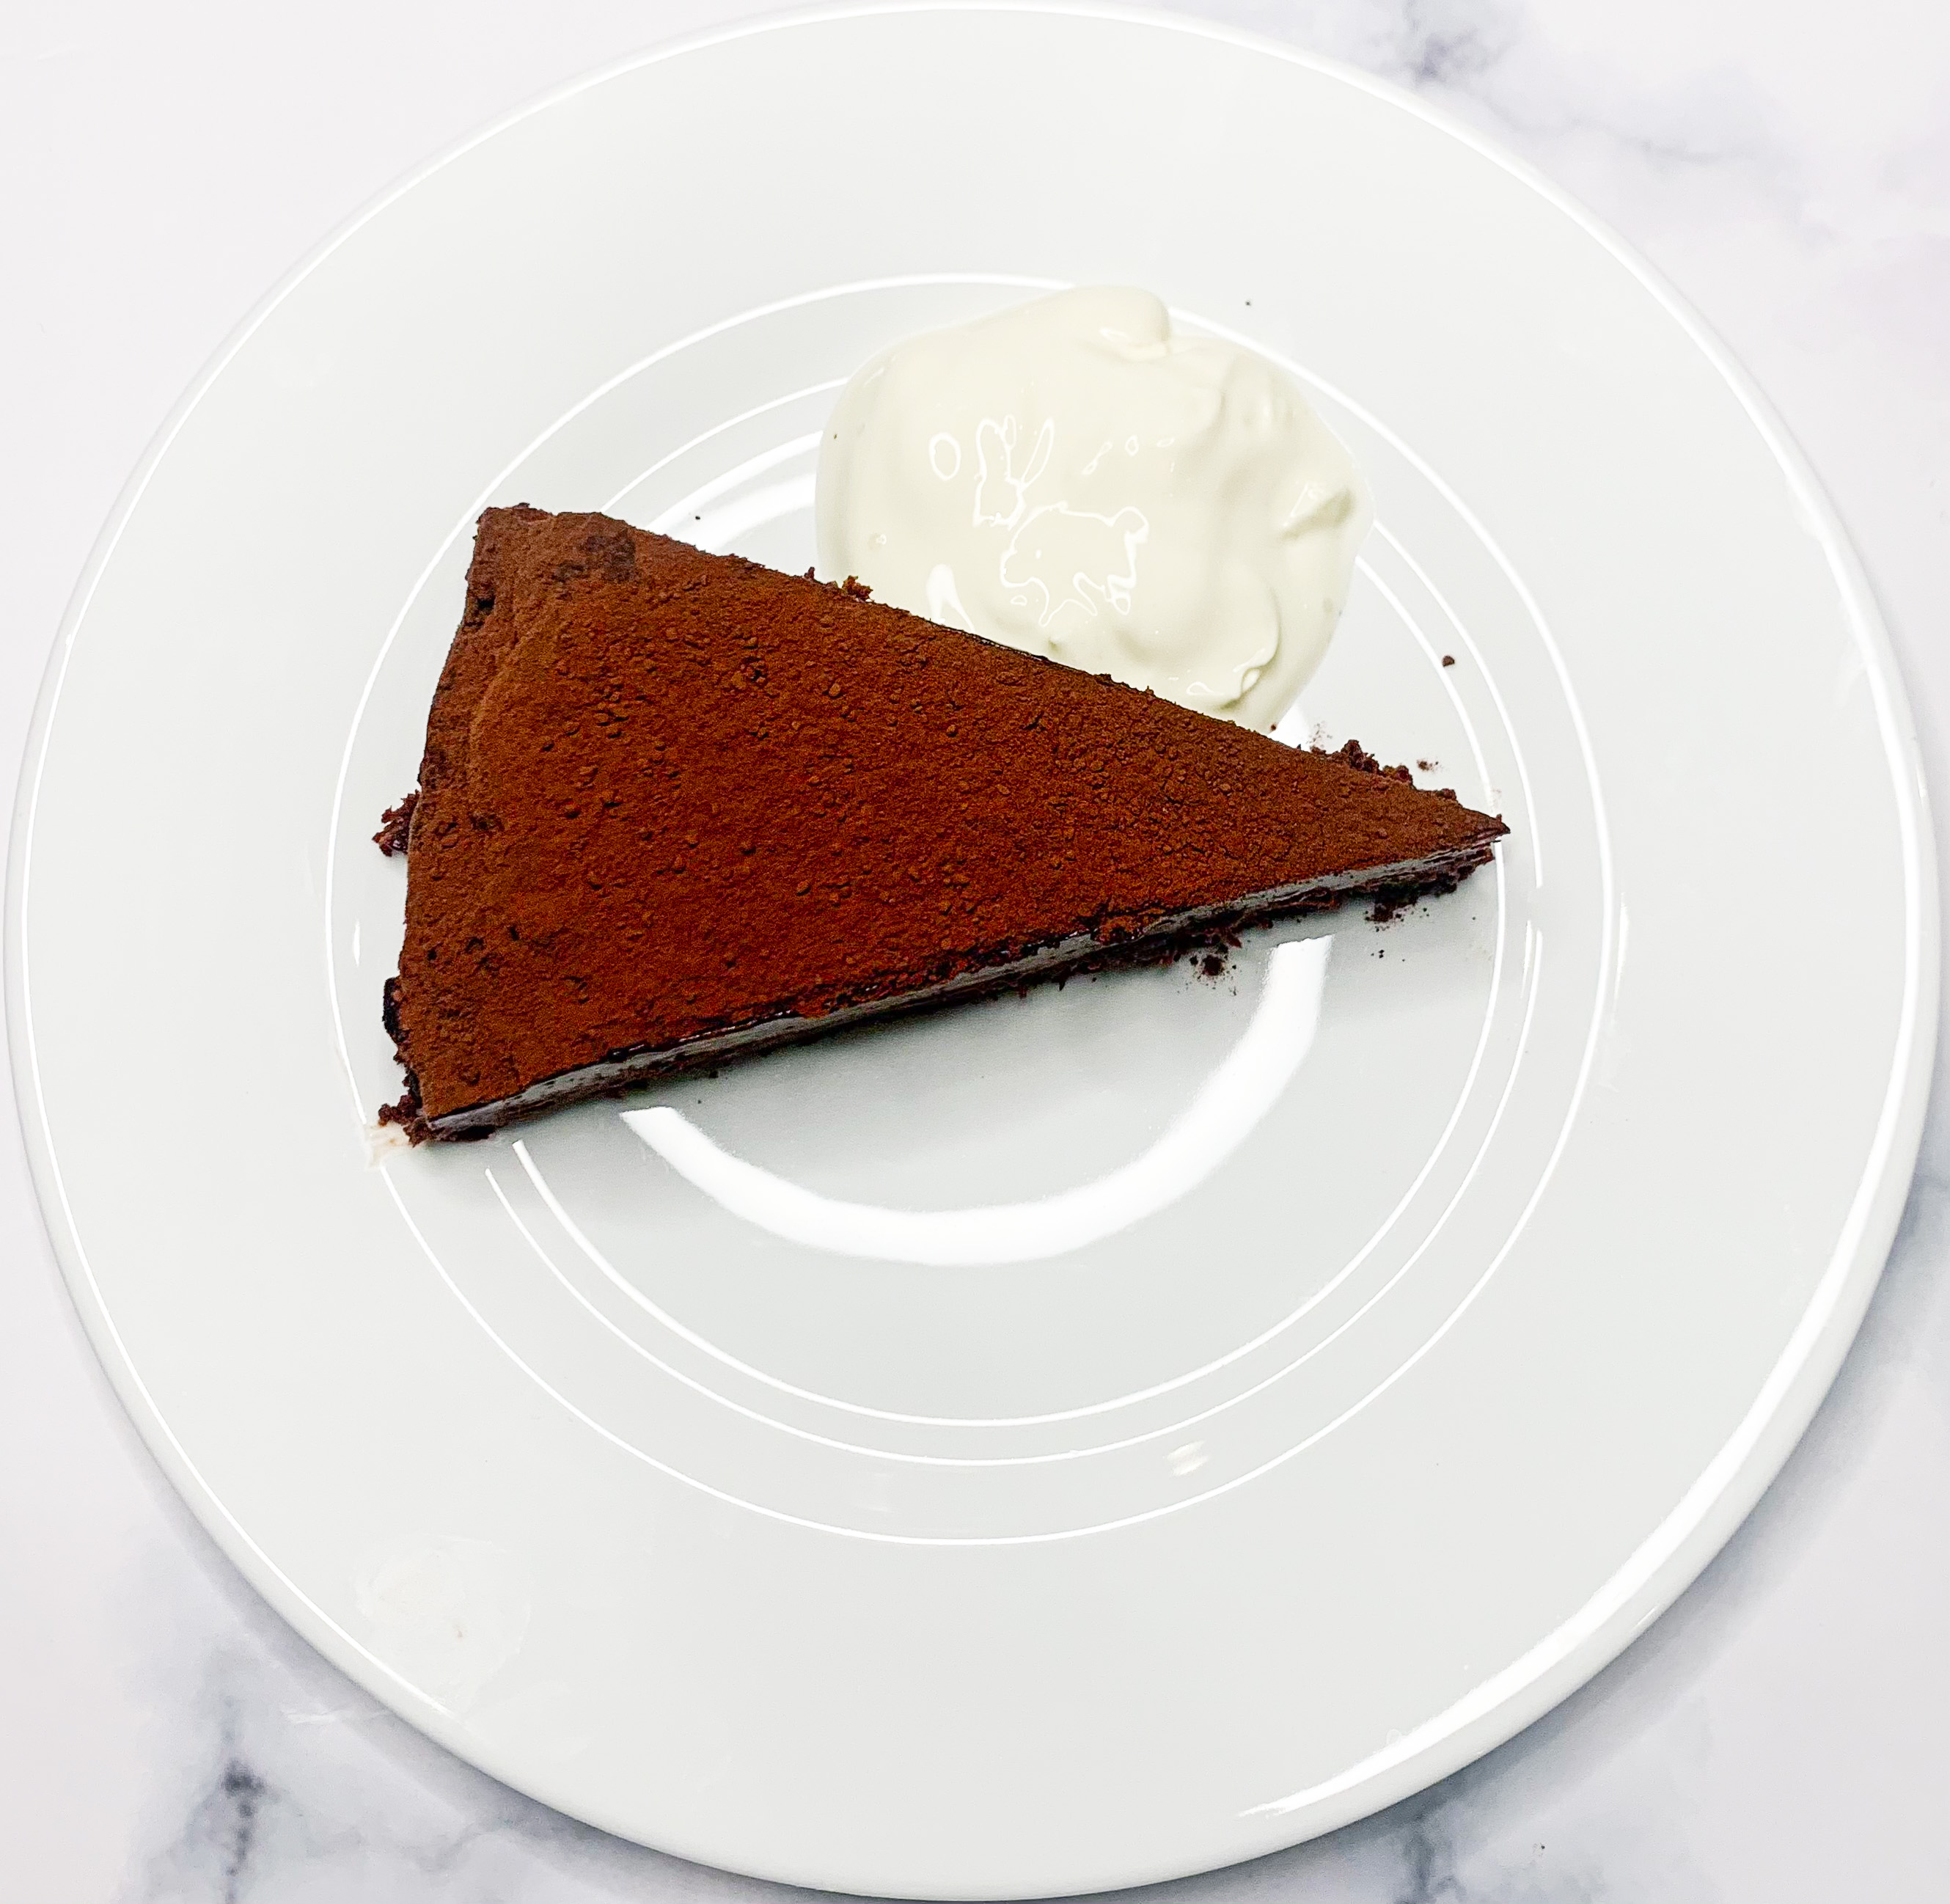
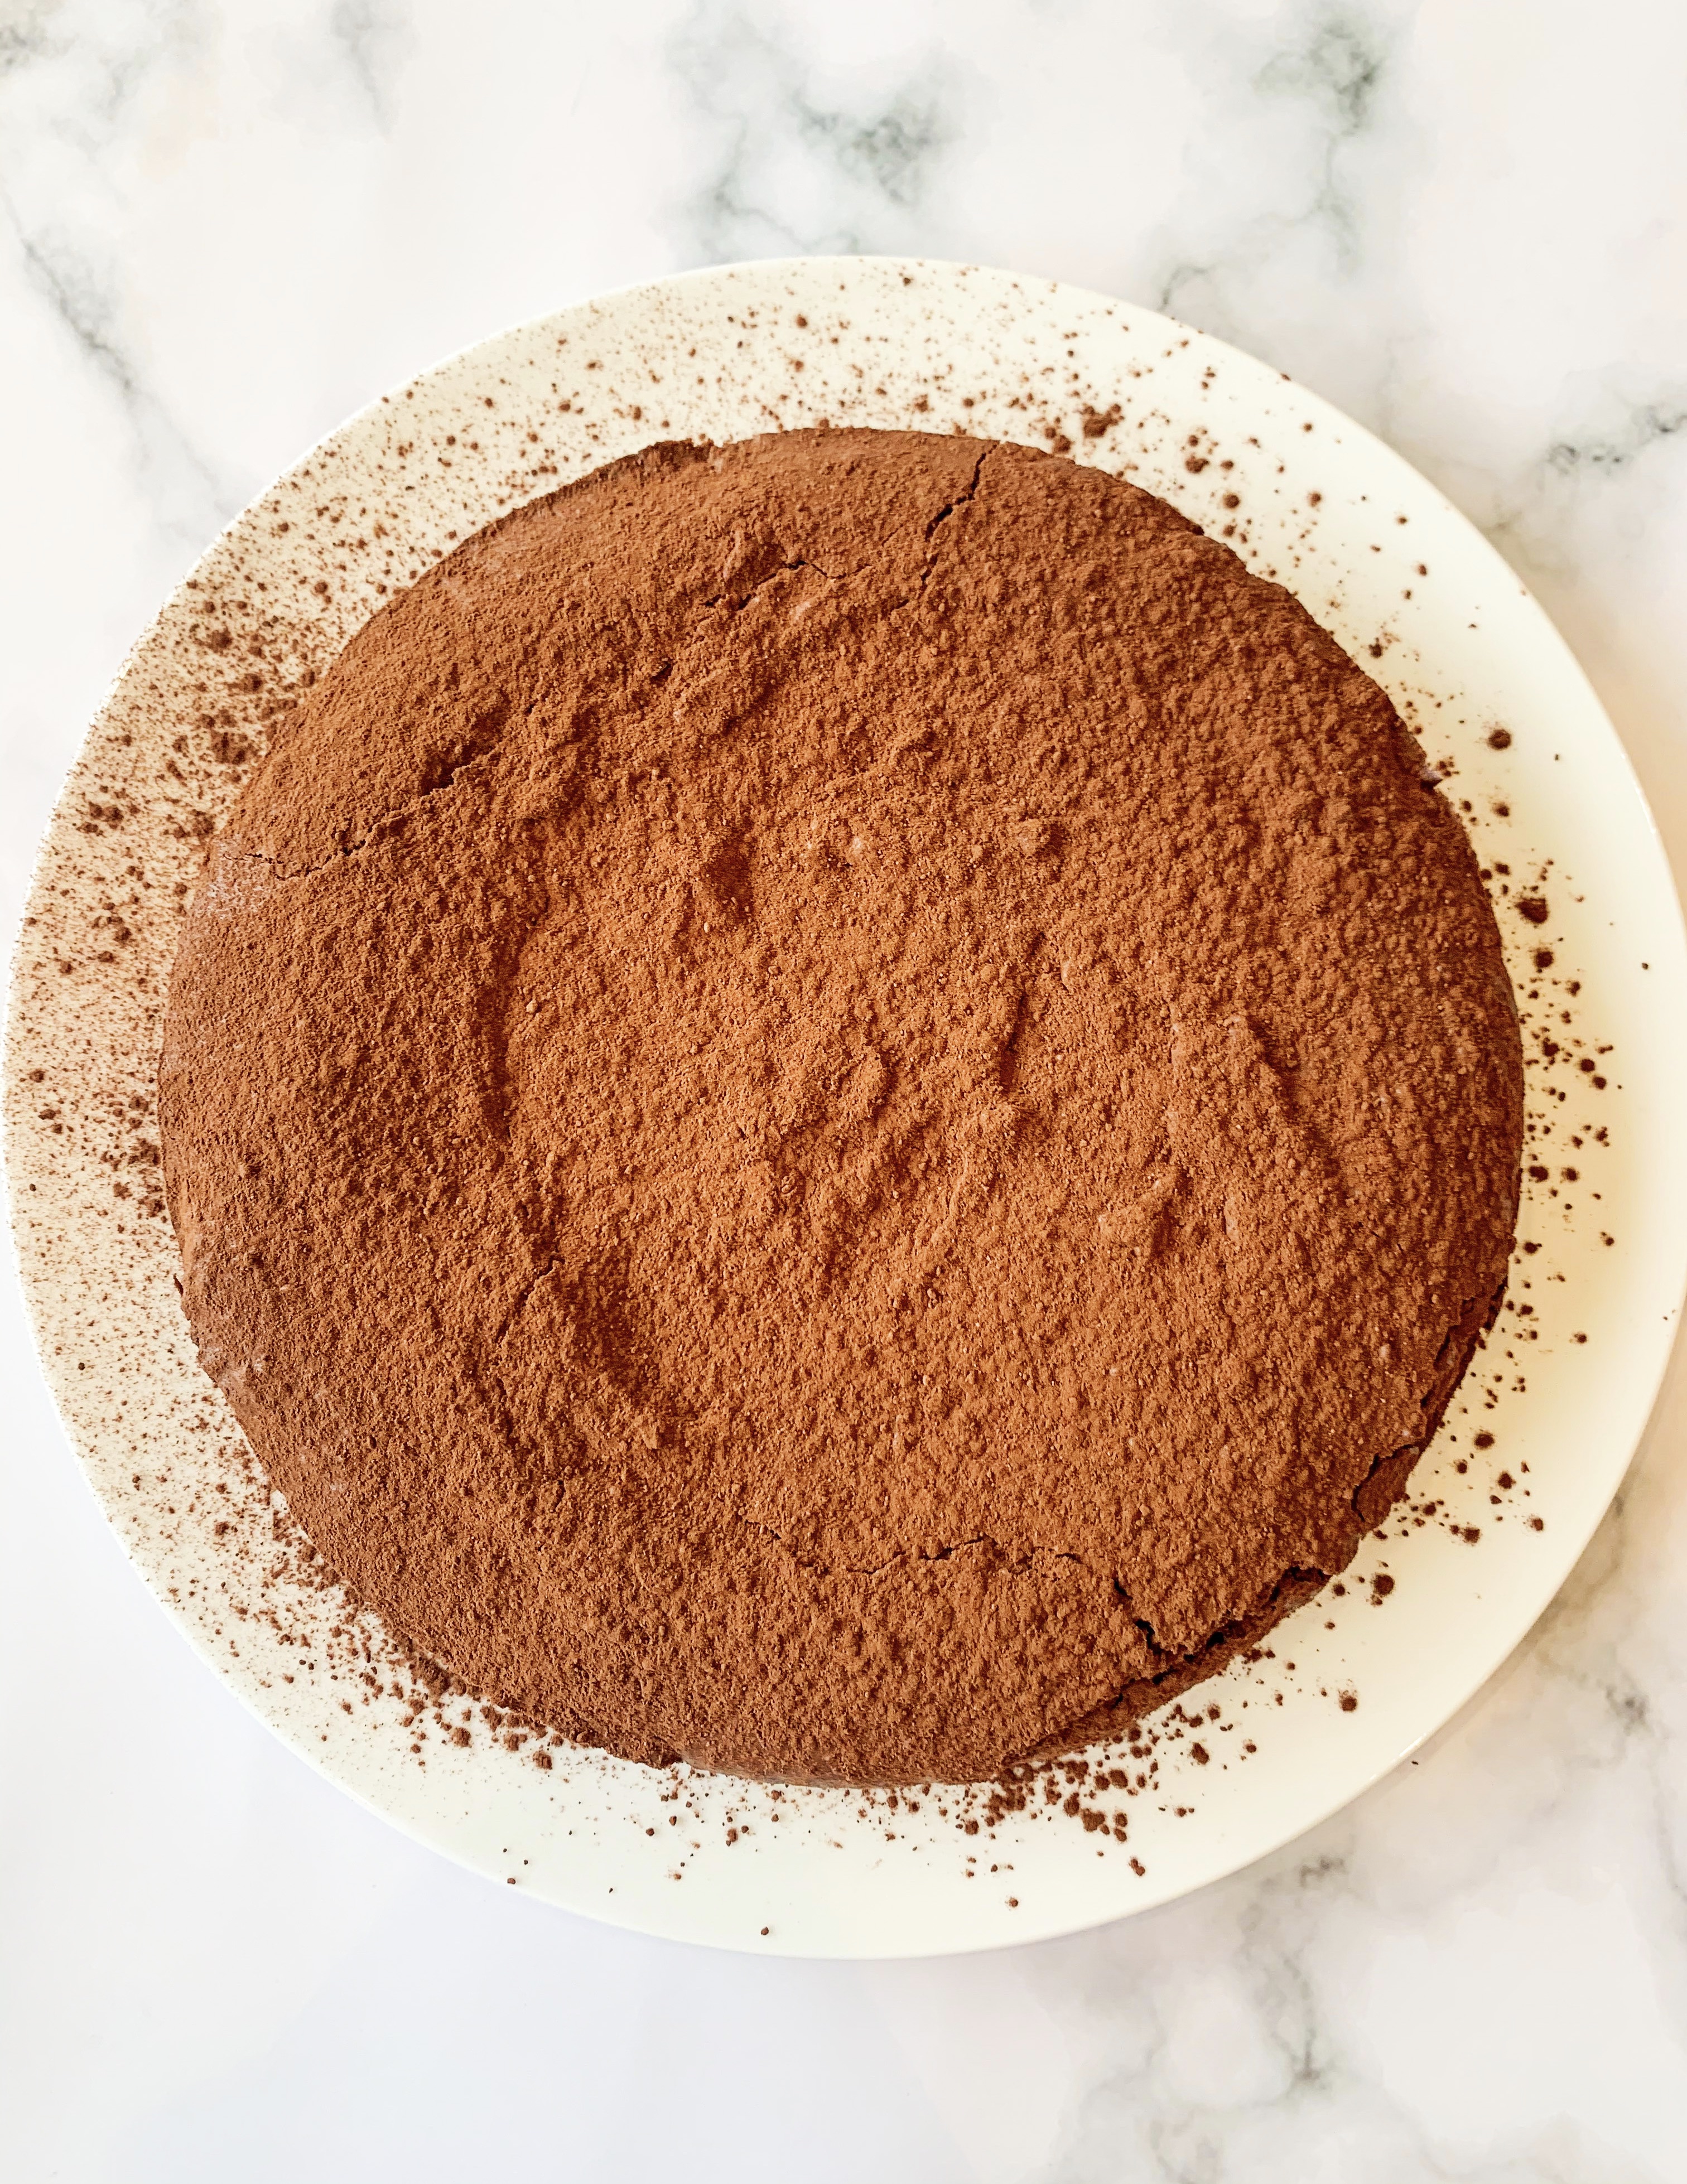
Chocolate Nemesis
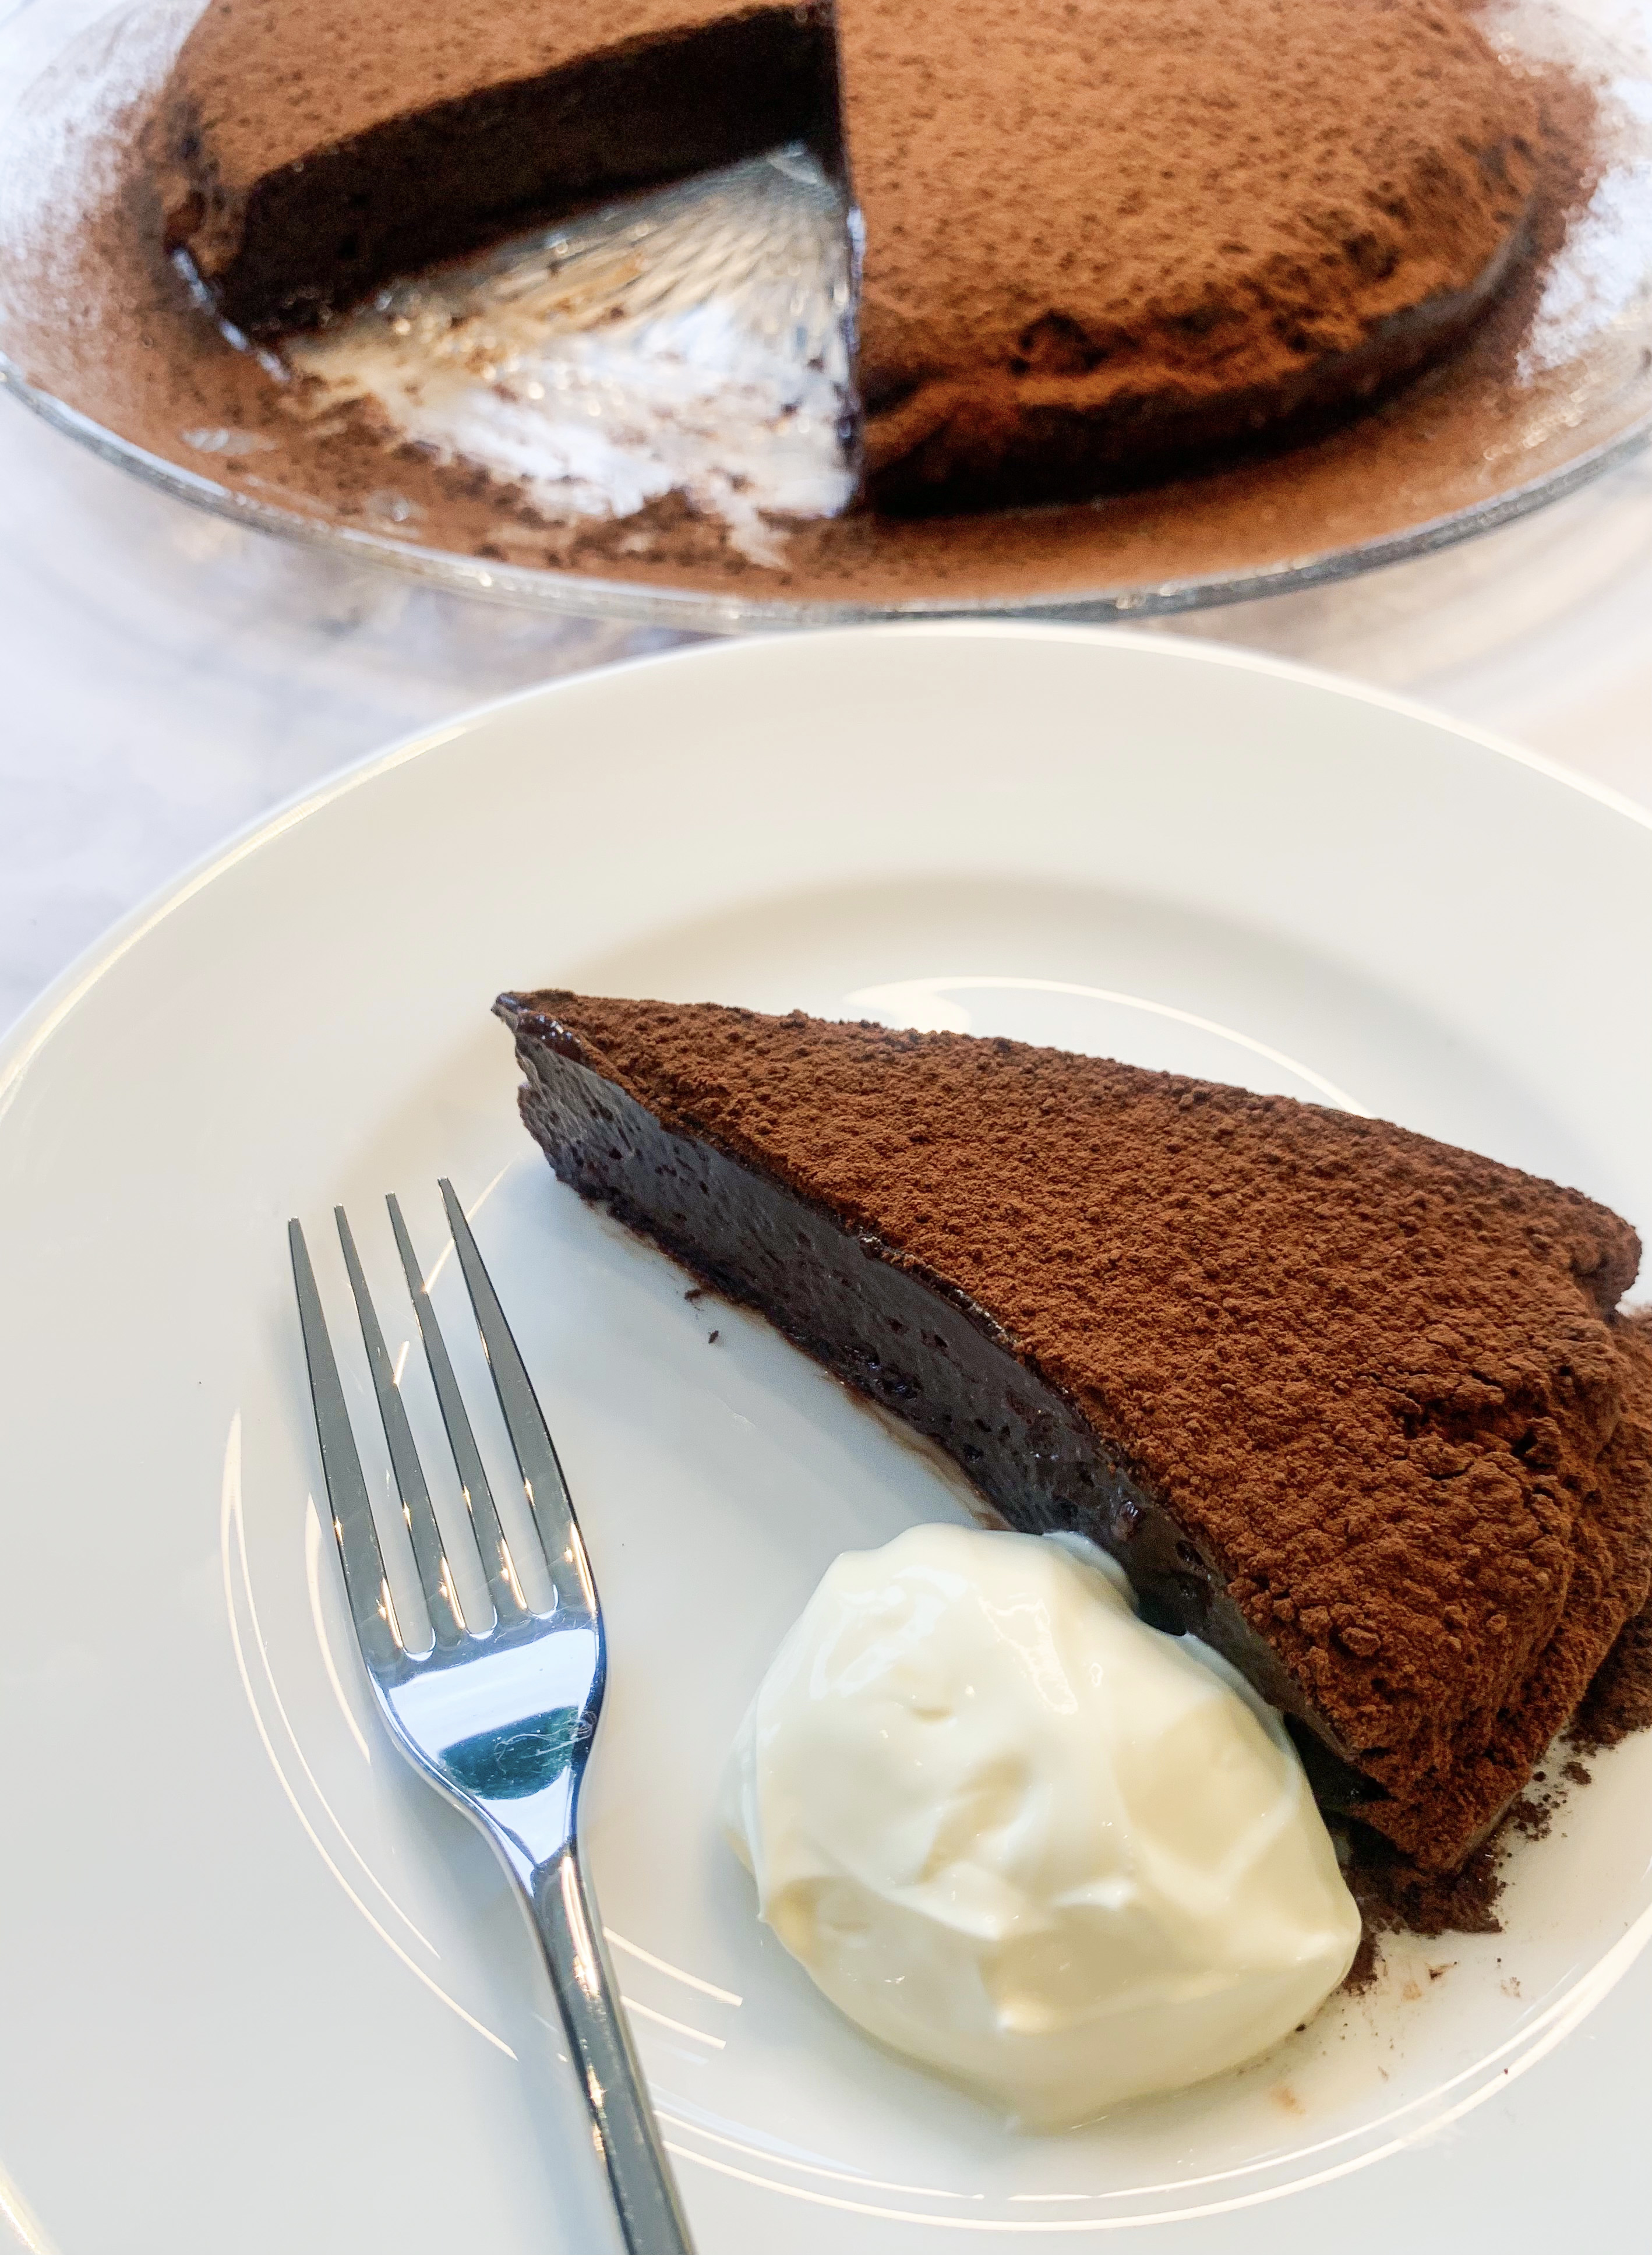
This is the recipe for the River Cafe’s legendary chocolate cake. If you have been fortunate enough to eat at the restaurant, this is probably the dessert you would have chosen, it is famed for its rich mousse-like consistency, believe me you will be in heaven when you taste this! Over the years, I have found various recipes claiming to be the ‘River Cafe Nemesis’ but the discrepancies between the baking times, ingredient amounts and cooking temperatures have made the winning recipe elusive – even the recipe published in their ‘River Cafe Cookbook’ had something ‘missing’ (and called for 10 whole eggs!). So, I must admit that I had given up trying to find it…until just recently, when I discovered that during lockdown the River Cafe was selling the cake online for £60 – yes exactly, not cheap! It was a bit of a ‘red rag to a bull’ – I was determined to find the recipe so I could make it myself. This time, on my google search I discovered a ‘YouTube’ video of a River Café chef making the cake, and although they didn’t exactly give you the ingredients or the cooking times in a straightforward manner, it was enough to be able to copy the recipe – and yes, I think I have absolutely found the winning one, what’s more, it is very easy to make and is gluten free; it only needs four ingredients plus a little water…you will thank me for sharing this!…
The cake, as I mentioned, has a very soft mousse-like consistency, so it is better served from the fridge, in this way it will be firmer and easier to slice. Serve it with a dollop of crème fraiche, you really do need this to cut the chocolate as it is very rich!
350g dark chocolate (I use Lindt Excellence 70% Cocoa Dark Chocolate)
225g butter (plus a good knob to grease the tin)
5 eggs
300g caster sugar
125ml water
Cocoa powder to decorate (optional)
(24cm cake tin and a roasting tin, to use as a bain marie)
- First of all prepare your cake tin, generously butter the tin and line the base with baking paper.
- Place the chocolate and butter in a heatproof bowl over a pan of gently simmering water and melt together until smooth.
- At the same time place 100g of the sugar in a small saucepan with 125ml of water, heat gently to melt the sugar to form a sugar syrup.
- Meanwhile, beat the eggs and 200g of the remaining sugar with an electric mixer until the mixture has quadrupled in size – this can take up to 10 minutes.
- Add the hot syrup to the melted chocolate mixture and stir to combine.
- Now add this chocolate syrup to the eggs, continuing to beat as you do so, until completely combined.
- Pour the batter into the prepared cake tin.
- Put a folded tea towel onto the bottom of the roasting tin (this will stop the cake tin from slipping) and place the cake tin in the roasting tin.
- Pour boiling water around the cake tin, so that it comes half way up its sides.
- Bake in a preheated oven, 120’c fan, for at least 1 hour, until the cake is just set on top and the sides come away from the edge when gently pulled. Leave to go completely cold in the bain marie (about 2 hours).
- Carefully remove from the tin, the base will be the top of the cake. If using, sprinkle over sieved cocoa powder.
- Keep refrigerated, and serve in slices with crème fraiche.
Chocolate Meringue Cake
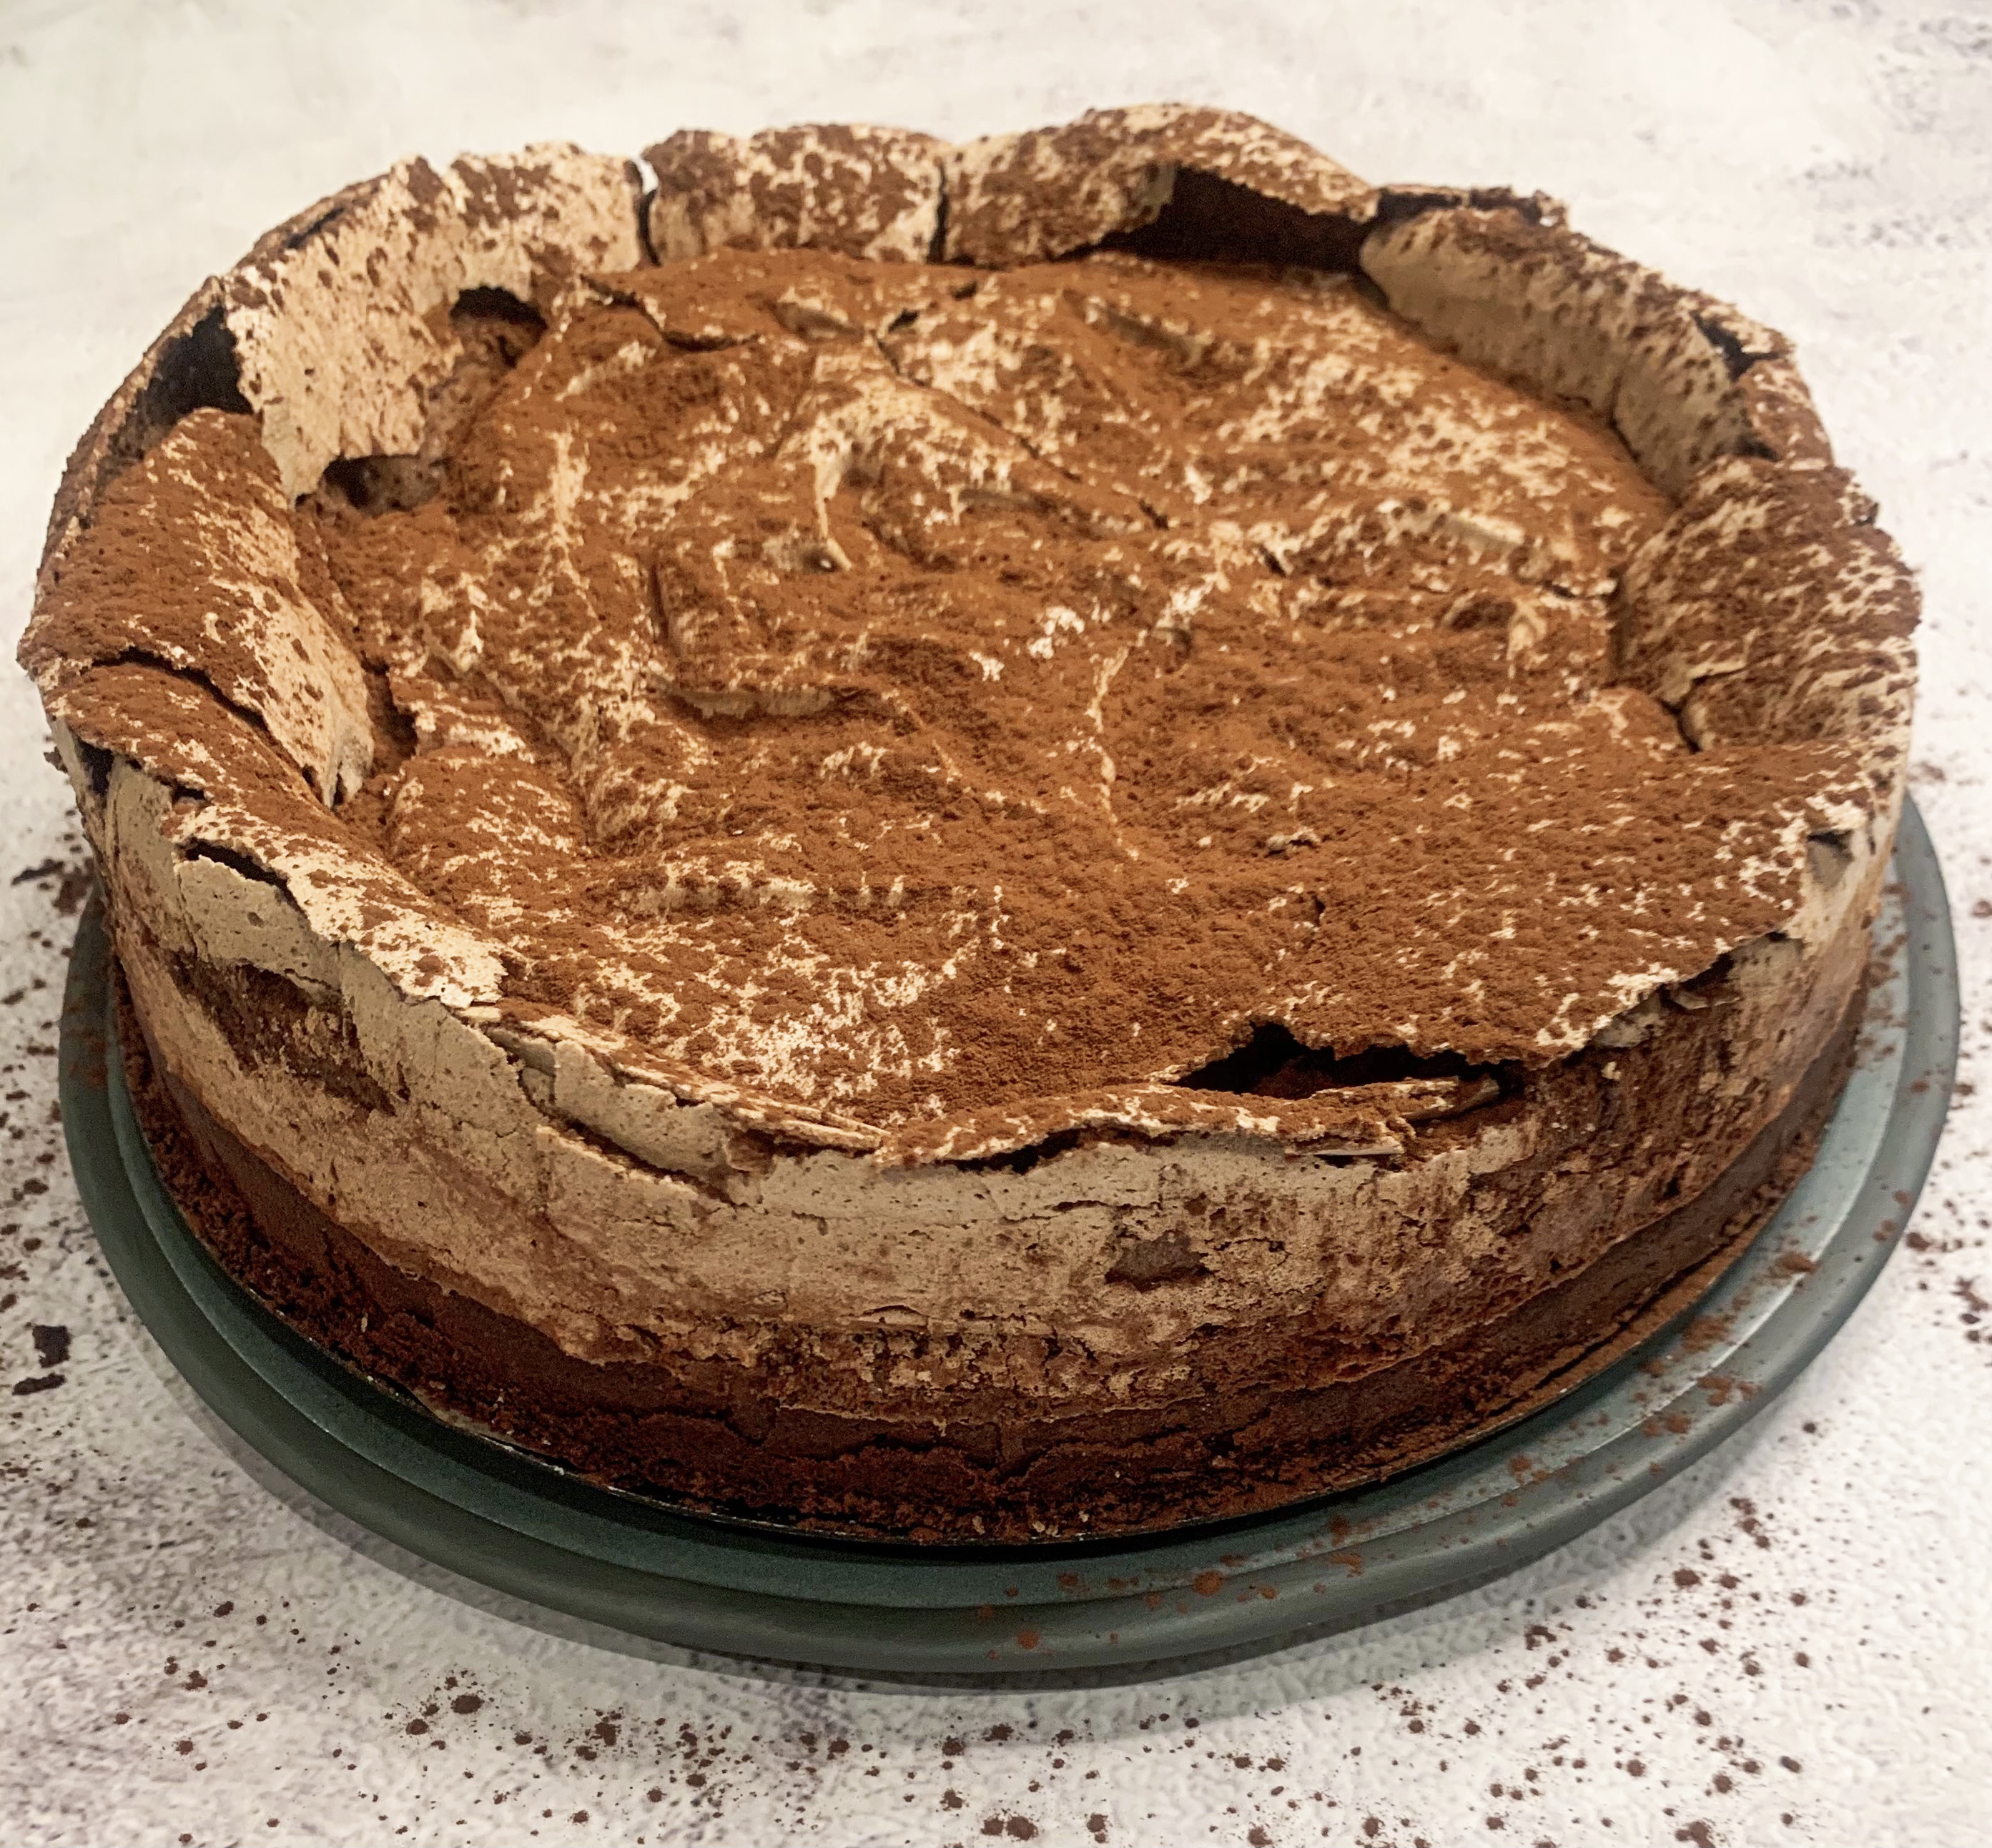
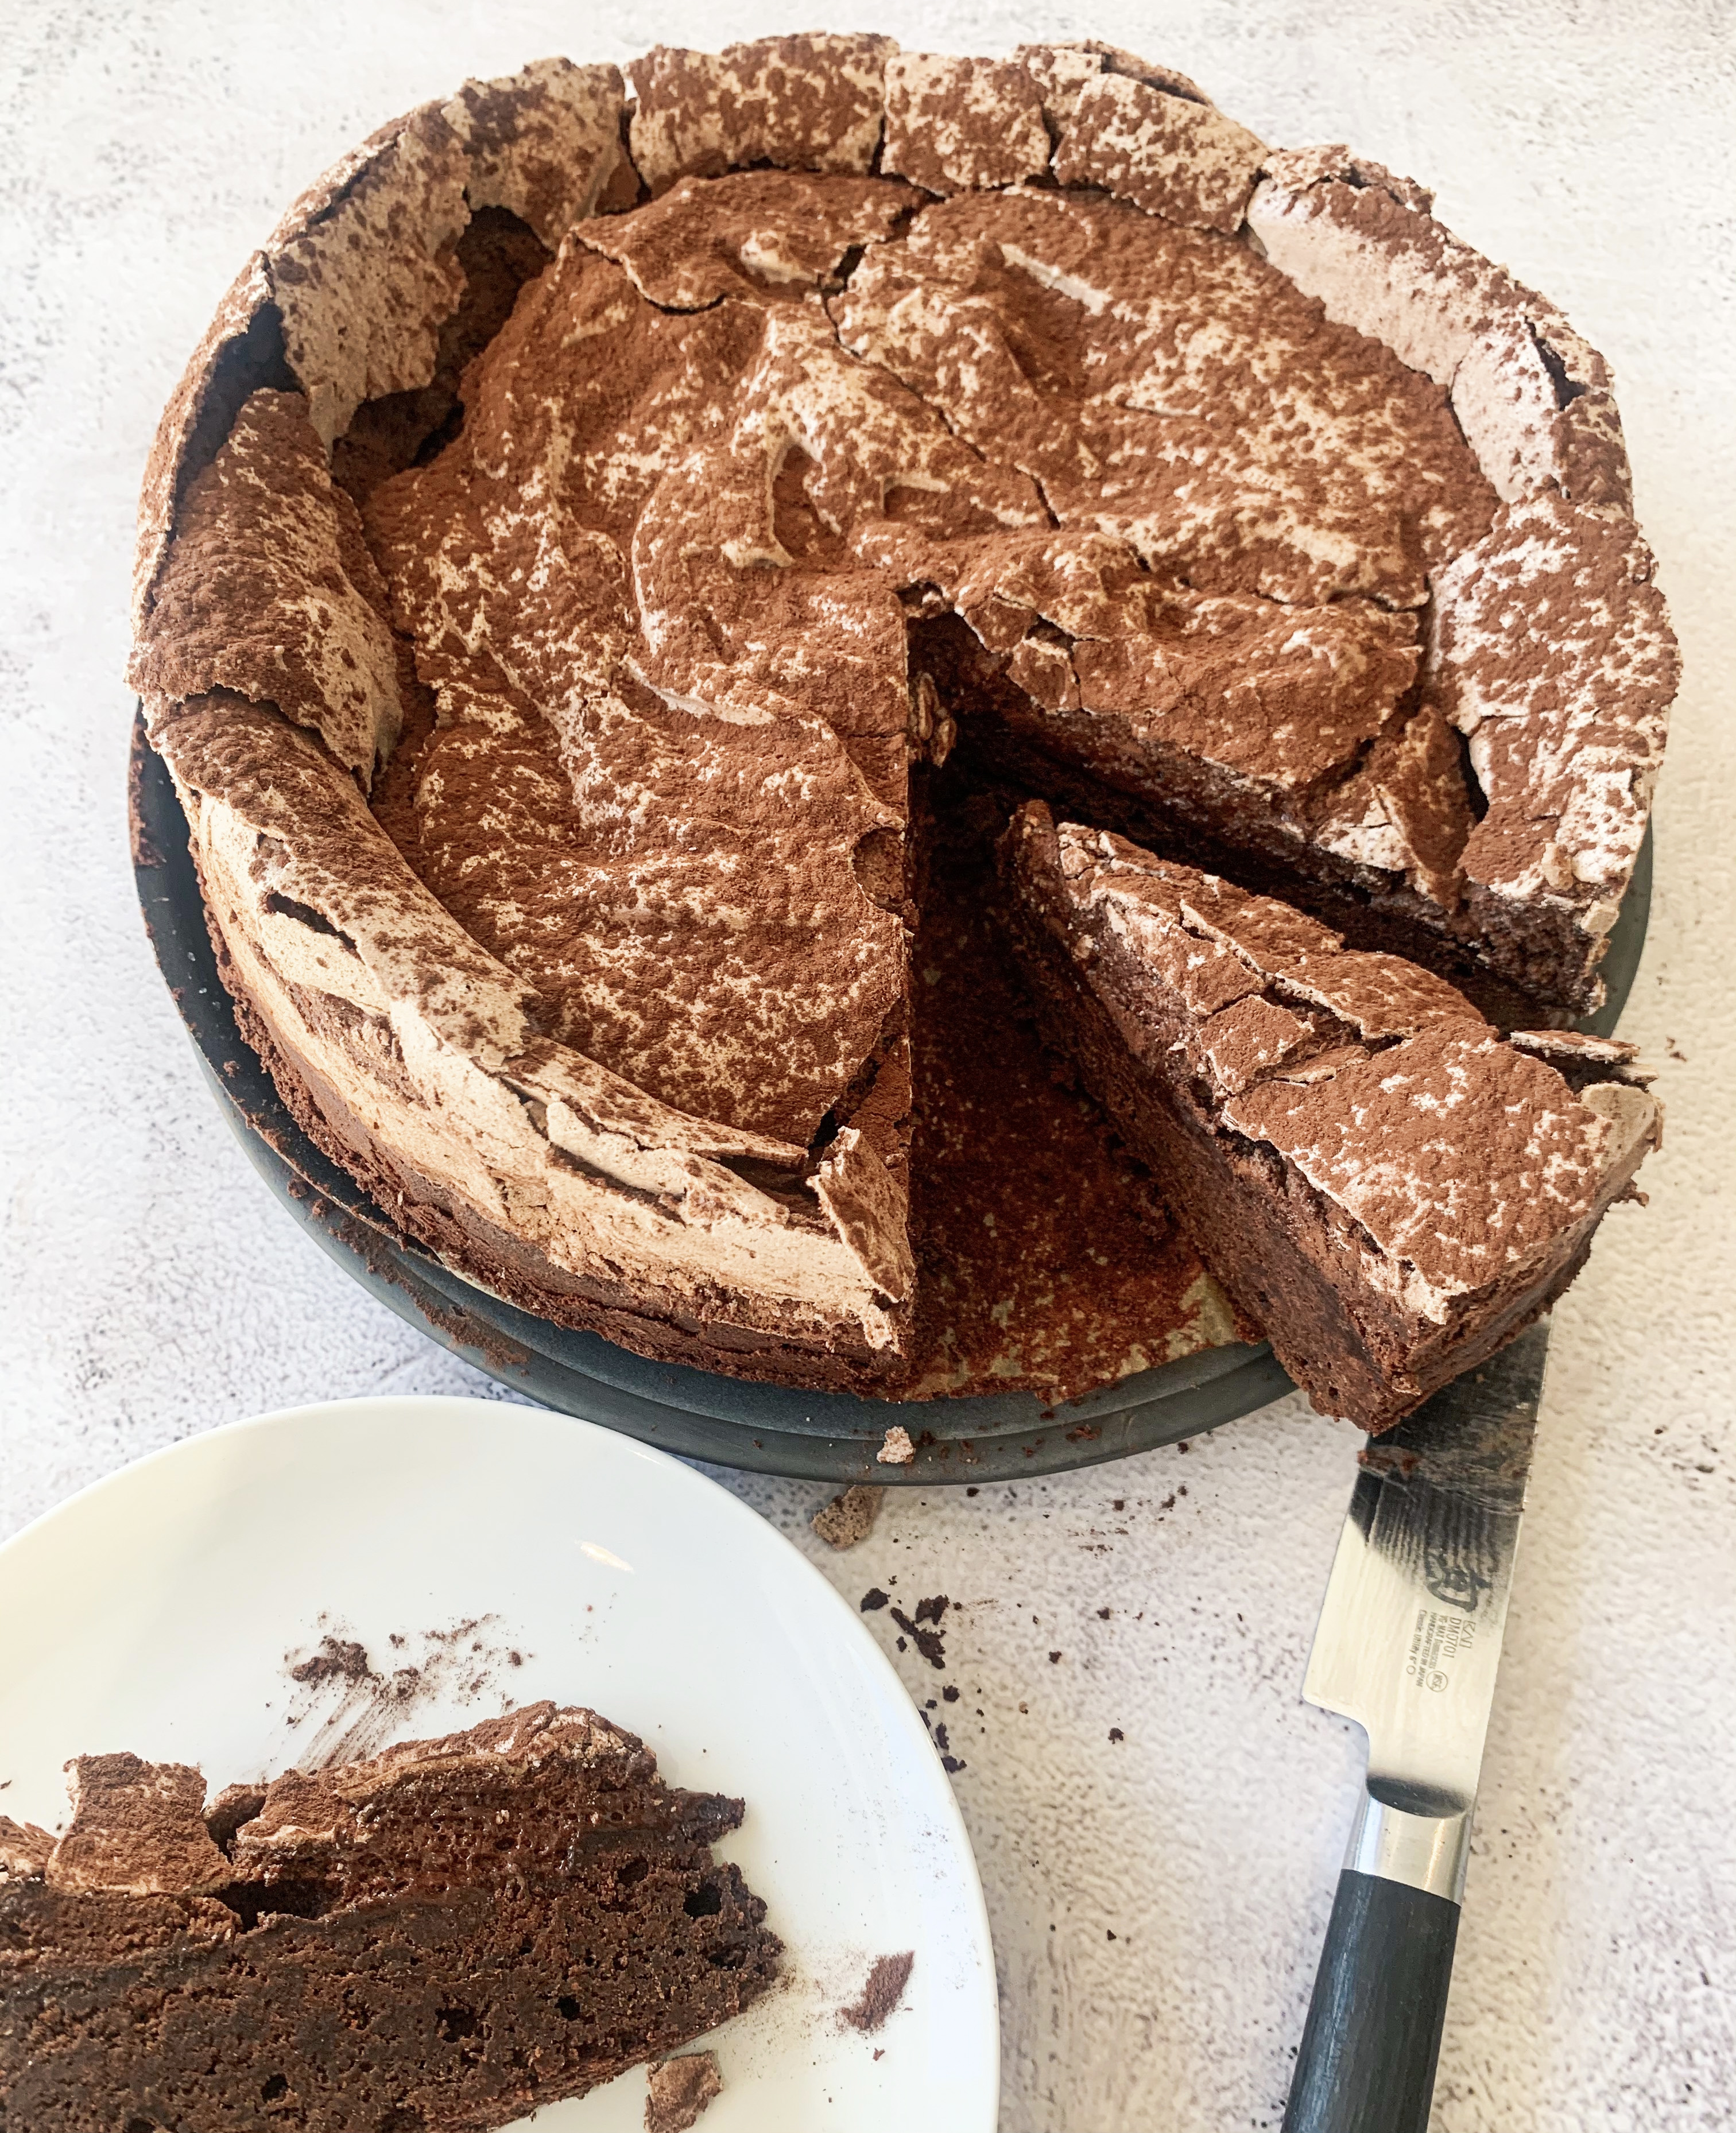
This is one of those cakes that, if you are a lazy cook like me, you look at and think ,‘that looks complicated, it will take far too much energy to cook’ and you dismiss it…But, this cake is in fact quite straight forward to make, admittedly it requires a bit more time in the oven and you have to wait for it to cool properly before you can eat it, but it’s definitely worth the wait! What’s not to like…chocolate and meringue! I found this recipe some years ago in a magazine, it’s a recipe from Donna Hay.
This cake is supposed to look rustic – it will crack and collapse a bit!
240g dark chocolate, roughly chopped (I use Lindt Excellence 70% Cocoa Dark Chocolate)
180g unsalted butter, roughly chopped
2 eggs
4 eggs (extra) separated
90g brown sugar
1 teaspoon vanilla extract
50g plain flour (use gluten free if required – I use Doves)
½ teaspoon baking powder
40g ground almonds
220g caster sugar
1 teaspoon white vinegar
3 teaspoons cornflour
25g cocoa powder, sifted (plus extra to dust)
- Lightly grease and line the base of a 24cm round springform cake tin.
- Place the chocolate and butter in a medium saucepan and melt over a low heat. Allow to cool slightly.
- Place the 2 eggs and the 4 extra egg yolks, brown sugar and vanilla extract in a bowl and use an electric whisk to whisk until pale and thick – 3-4 minutes.
- Add the chocolate mixture, the flour, baking powder and ground almonds and fold gently to combine. Pour the mixture into the prepared tin and cook in a preheated oven, 160’c fan, for 35-40minutes – it will only be partially cooked. Remove and set aside.
- Increase the oven temperature to 180’c fan.
- Place the 4 egg whites in a bowl and using an electric whisk, whisk until they form soft peaks. Gradually add the caster sugar, followed by the vinegar. Continue to whisk until the meringue is thick and glossy.
- Sift the cornflour and cocoa together and add to the meringue, folding through to combine. Spread the meringue over the partially cooked cake .
- Return to the oven (180’c fan) for 20 -25 minutes until the meringue is crisp and golden.
- Allow the cake to stand in the tin for 15-20 minutes, before gently running a knife around the edge and removing it from the tin.
- Refrigerate for 2 hours before serving to allow the flavours to meld together. Dust with cocoa powder to serve. It is best served at room temperature – allow 30 minutes for it to warm up – it will become deliciously ‘fudgy’.
Chocolate Easter Nests
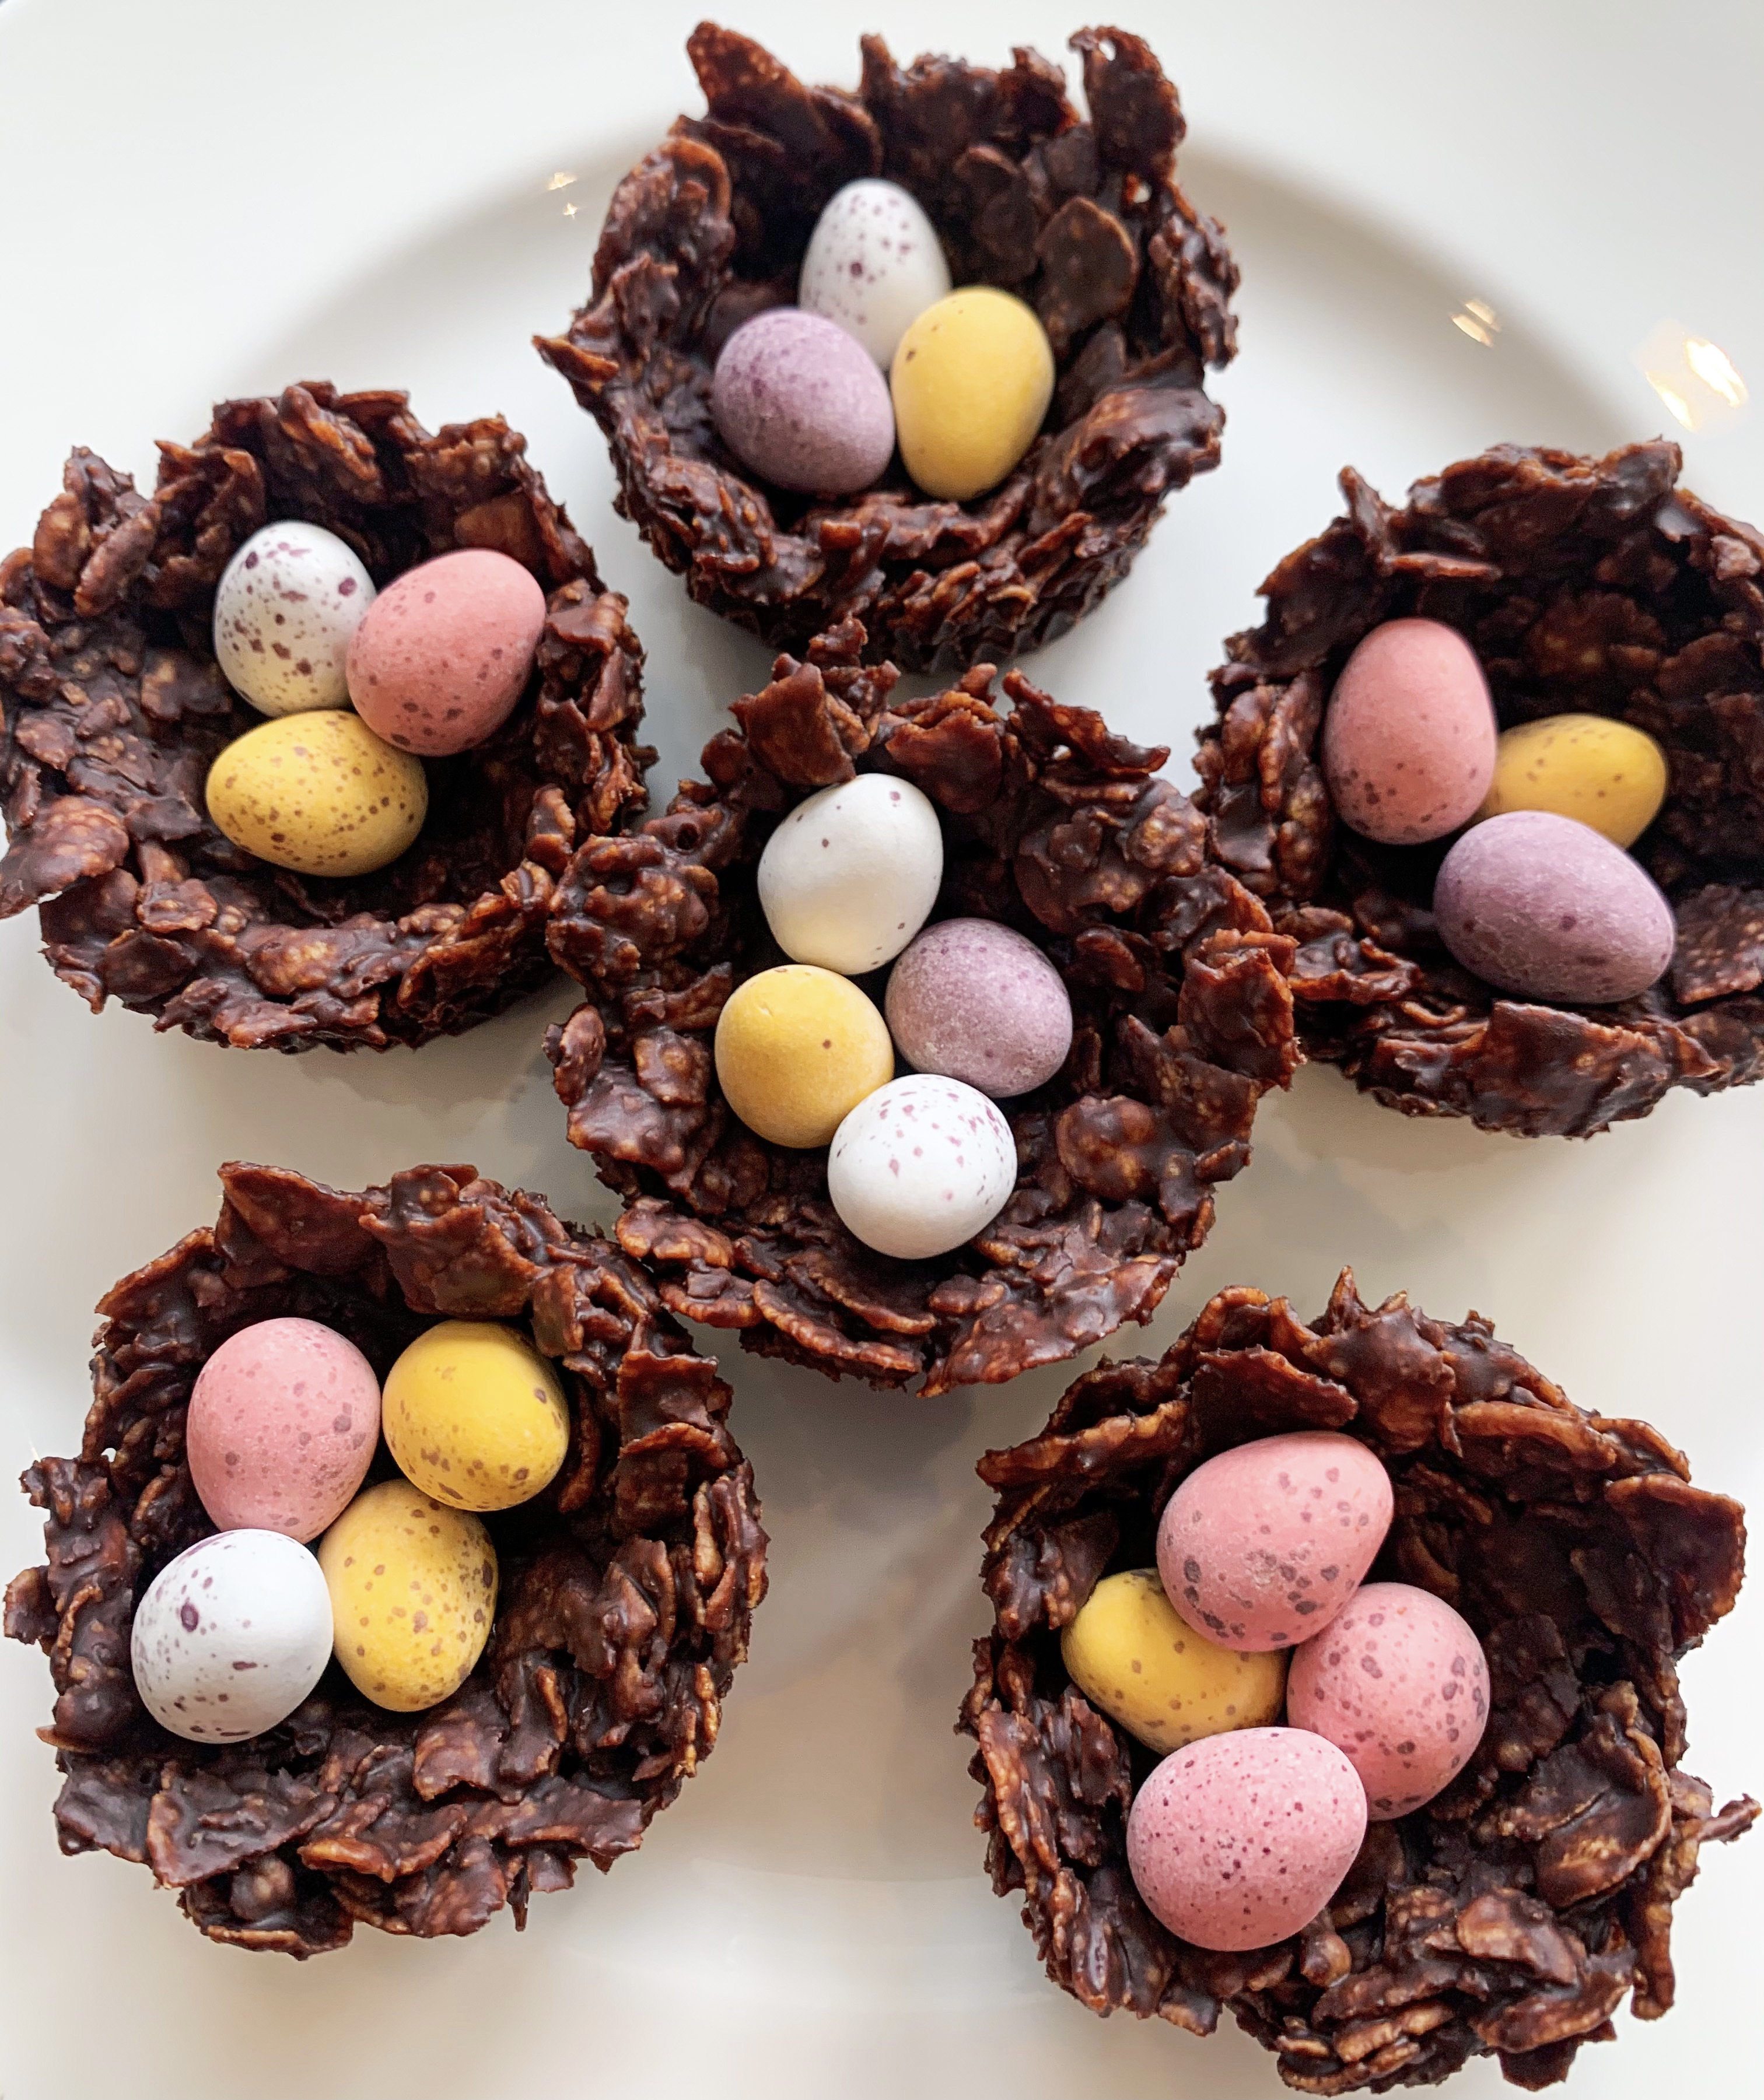
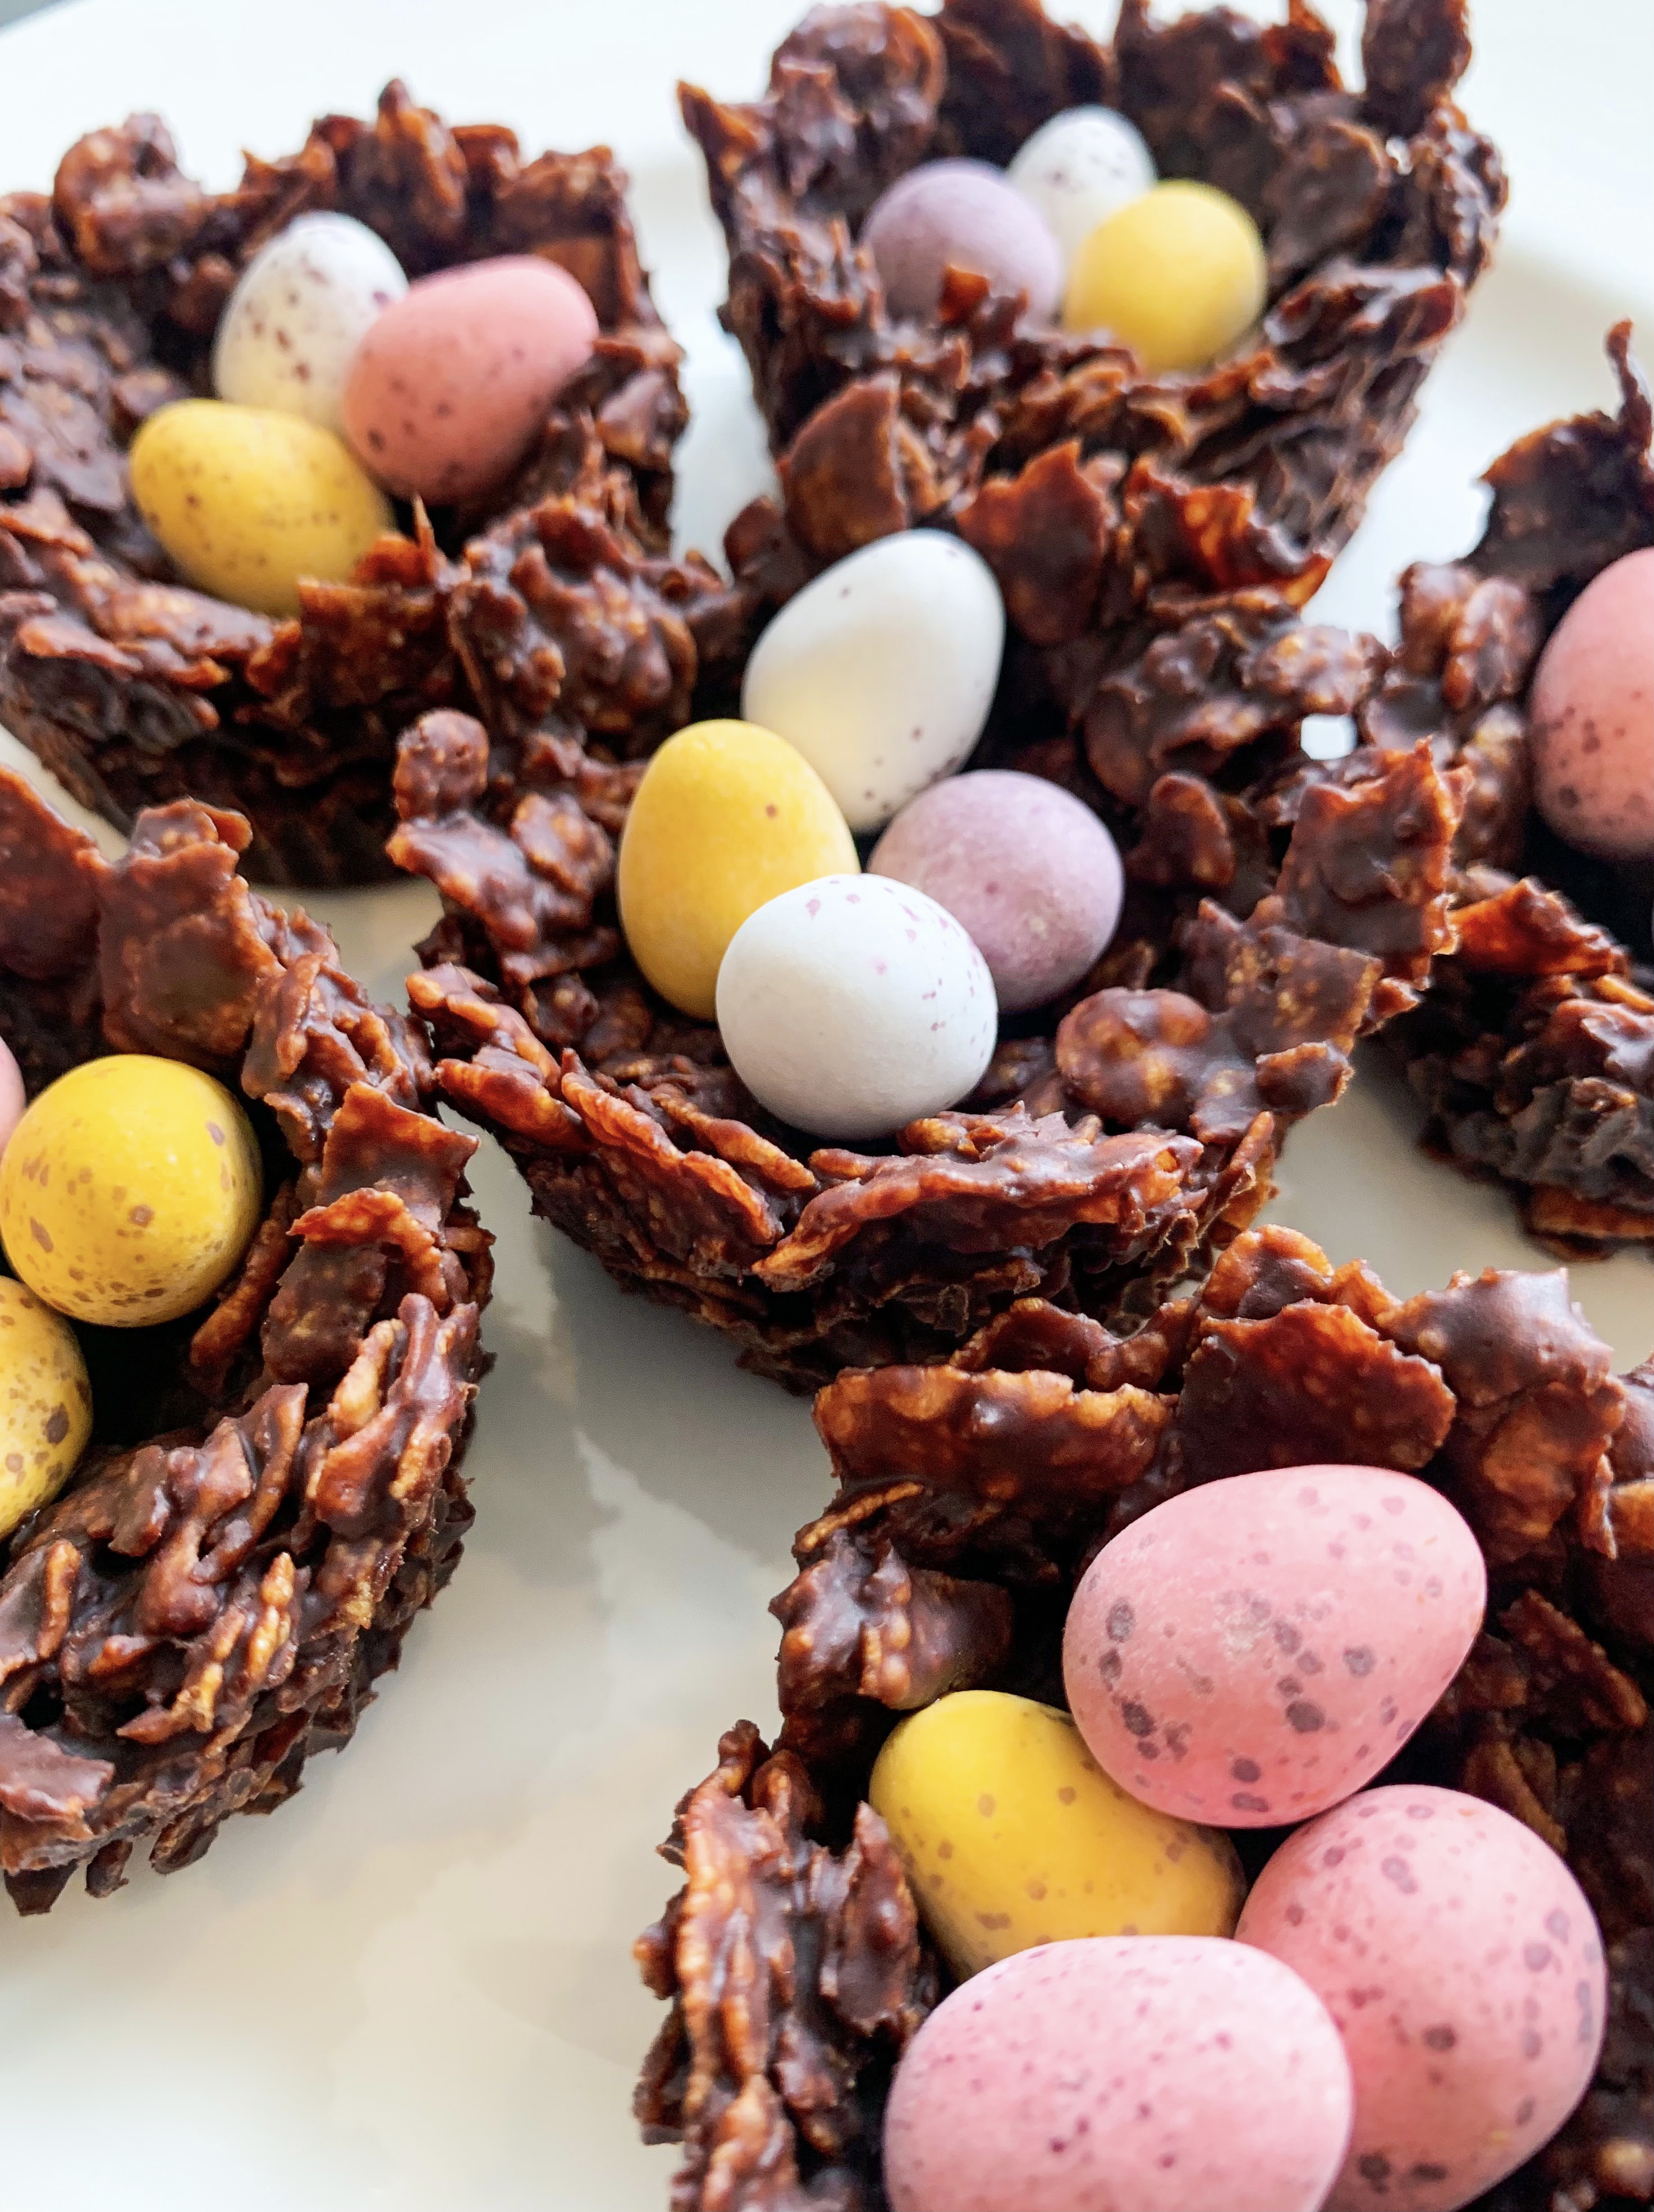
I initially recreated our family favourite, Chocolate Crispy Cakes (recipe below), into these nests as a special treat for Easter, however they are good at anytime of the year! With the addition of the Mini Eggs, you get a double dose of chocolate – how can anyone resist?! They literally take 15 minutes to make, although admittedly you will have to wait for them to set in the fridge before eating…
50g unsalted butter
4 tablespoons golden syrup
100g dark chocolate (I use Lindt Excellence 70% Cocoa Dark Chocolate)
75g cornflakes
About 20-30 Mini Eggs
- Gently melt the butter, syrup and chocolate in a bowl suspended over a pan of barely simmering water (a bain marie).
- In another bowl, gently crush the cornflakes into smaller pieces – this makes them easier to mold into a nest shape.
- Add the cornflakes to the chocolate mixture, stirring gently so that they are evenly coated.
- Spoon the mixture into muffin cases, using the back of the spoon to create a nest shape. Place three or four Mini Eggs into the ‘nest’, and place in the fridge until set.
Chocolate Almond Torte
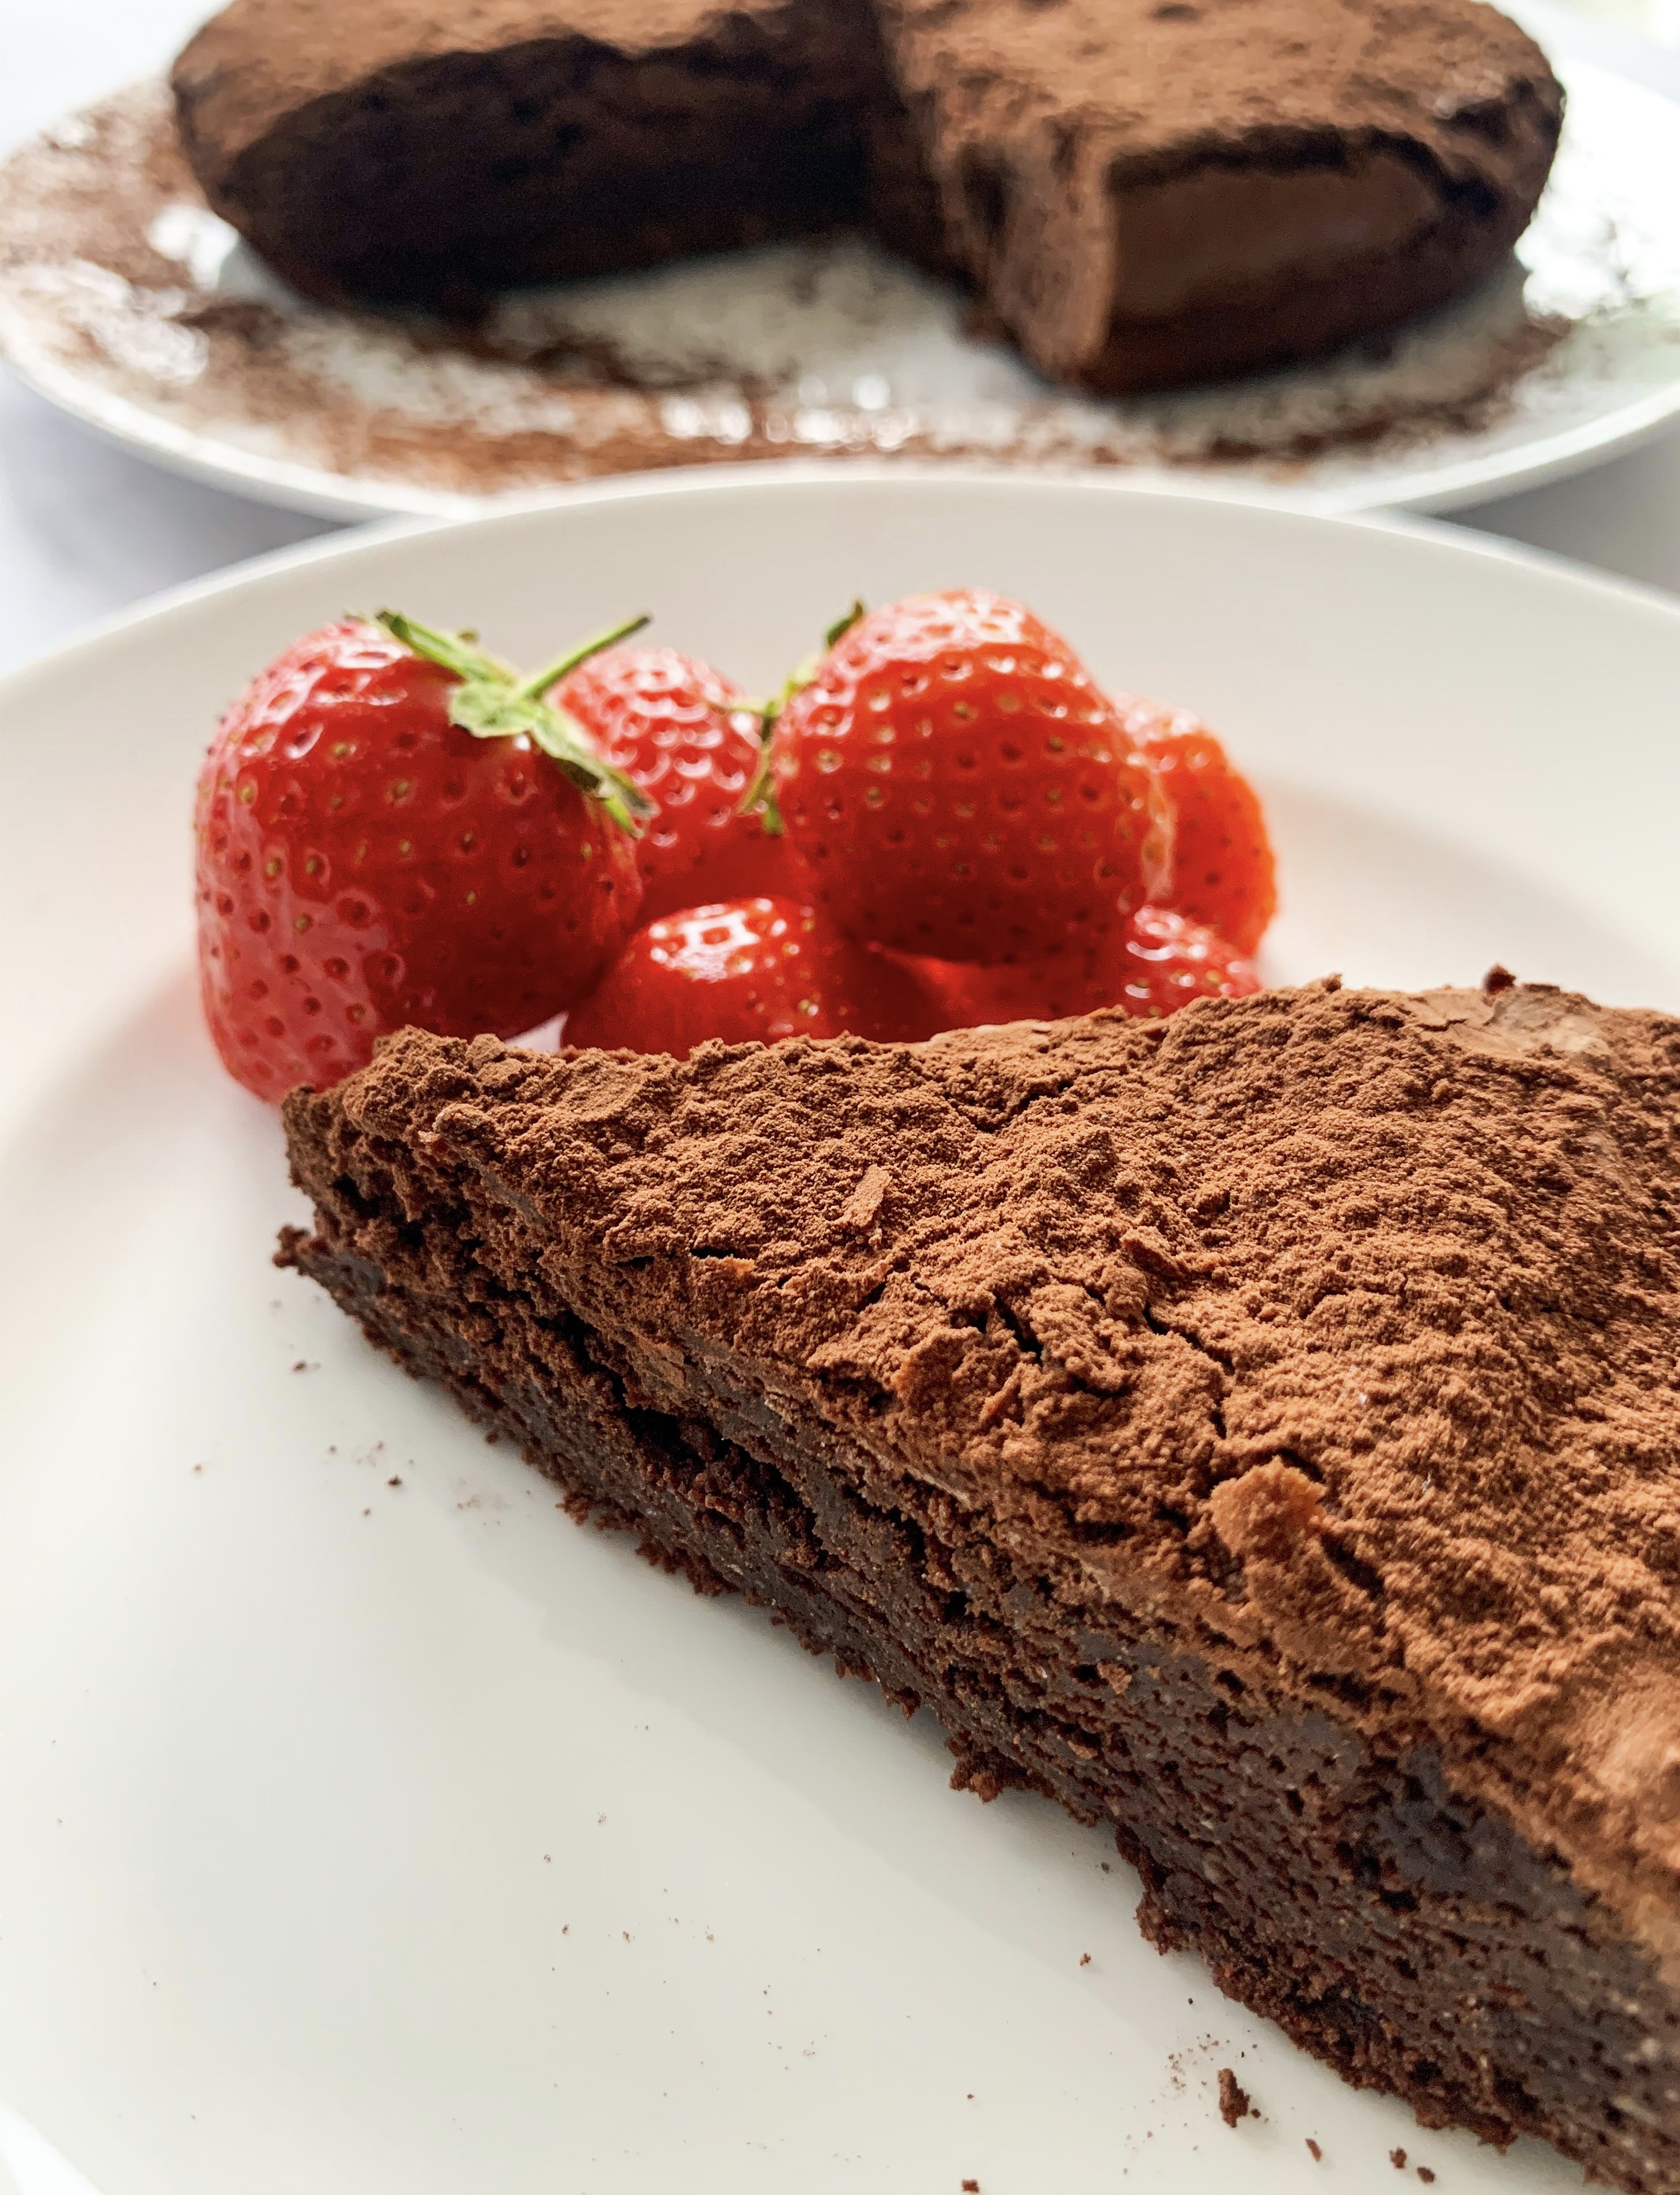
This is a delicious chocolate cake and the best news is, is that it’s completely gluten free! It has a slightly chewy texture if served straight from the fridge, which I rather like, whilst at room temperature it has a more fudgy consistency – either way it is divine! You could omit the brandy, but I recommend you use it, as it does intensify the chocolate flavour.
200g dark chocolate (I use Lindt 70% cocoa plain chocolate)
200g unsalted butter, chilled and chopped
4 large eggs, separated
1½ tablespoons brandy (optional)
200g caster sugar
100g ground almonds
¼ teaspoon salt
Cocoa powder for dusting
Clotted cream or Crème Fraïche to serve (optional)
Strawberries or raspberries to serve (optional)
(You will need an 8 or 9 inch springform cake tin, buttered and the outside bottom and sides wrapped with foil to prevent leaking)
- Place the chocolate and butter in a medium heat proof bowl over a saucepan of bowling water (baine marie), making sure that the bottom does not have contact with the water, stir until melted. Set aside.
- Place the egg yolks and 100g of the sugar in a large bowl and whisk until pale and thick (about 1 minute), stir in the chocolate mixture, brandy, almonds and salt.
- Use an electric hand whisk to whisk the egg whites with the remaining 100g sugar until they form thick, shiny soft peaks.
- Using a spatula fold in one-third of the egg white mixture into the chocolate mixture, mix gently until well combined, then fold in the remaining egg whites in a further two additions.
- Pour the mixture into the prepared tin, smoothing over the top. Bake in a preheated oven, 180’c fan, for 30-35minutes until an inserted skewer comes out with moist crumbs – the edges will be set but the middle will still be wobbly. Allow to cool on a wire rack and then refrigerate for at least 4 hours until completely set.
- Before serving sift over cocoa powder, serve chilled or at room temperature, with clotted cream or crème fraiche (it is also good with strawberries or raspberries).
- It will keep well in the refrigerator for up to 4 days and also freezes well!!
Emergency Chocolate Brownies
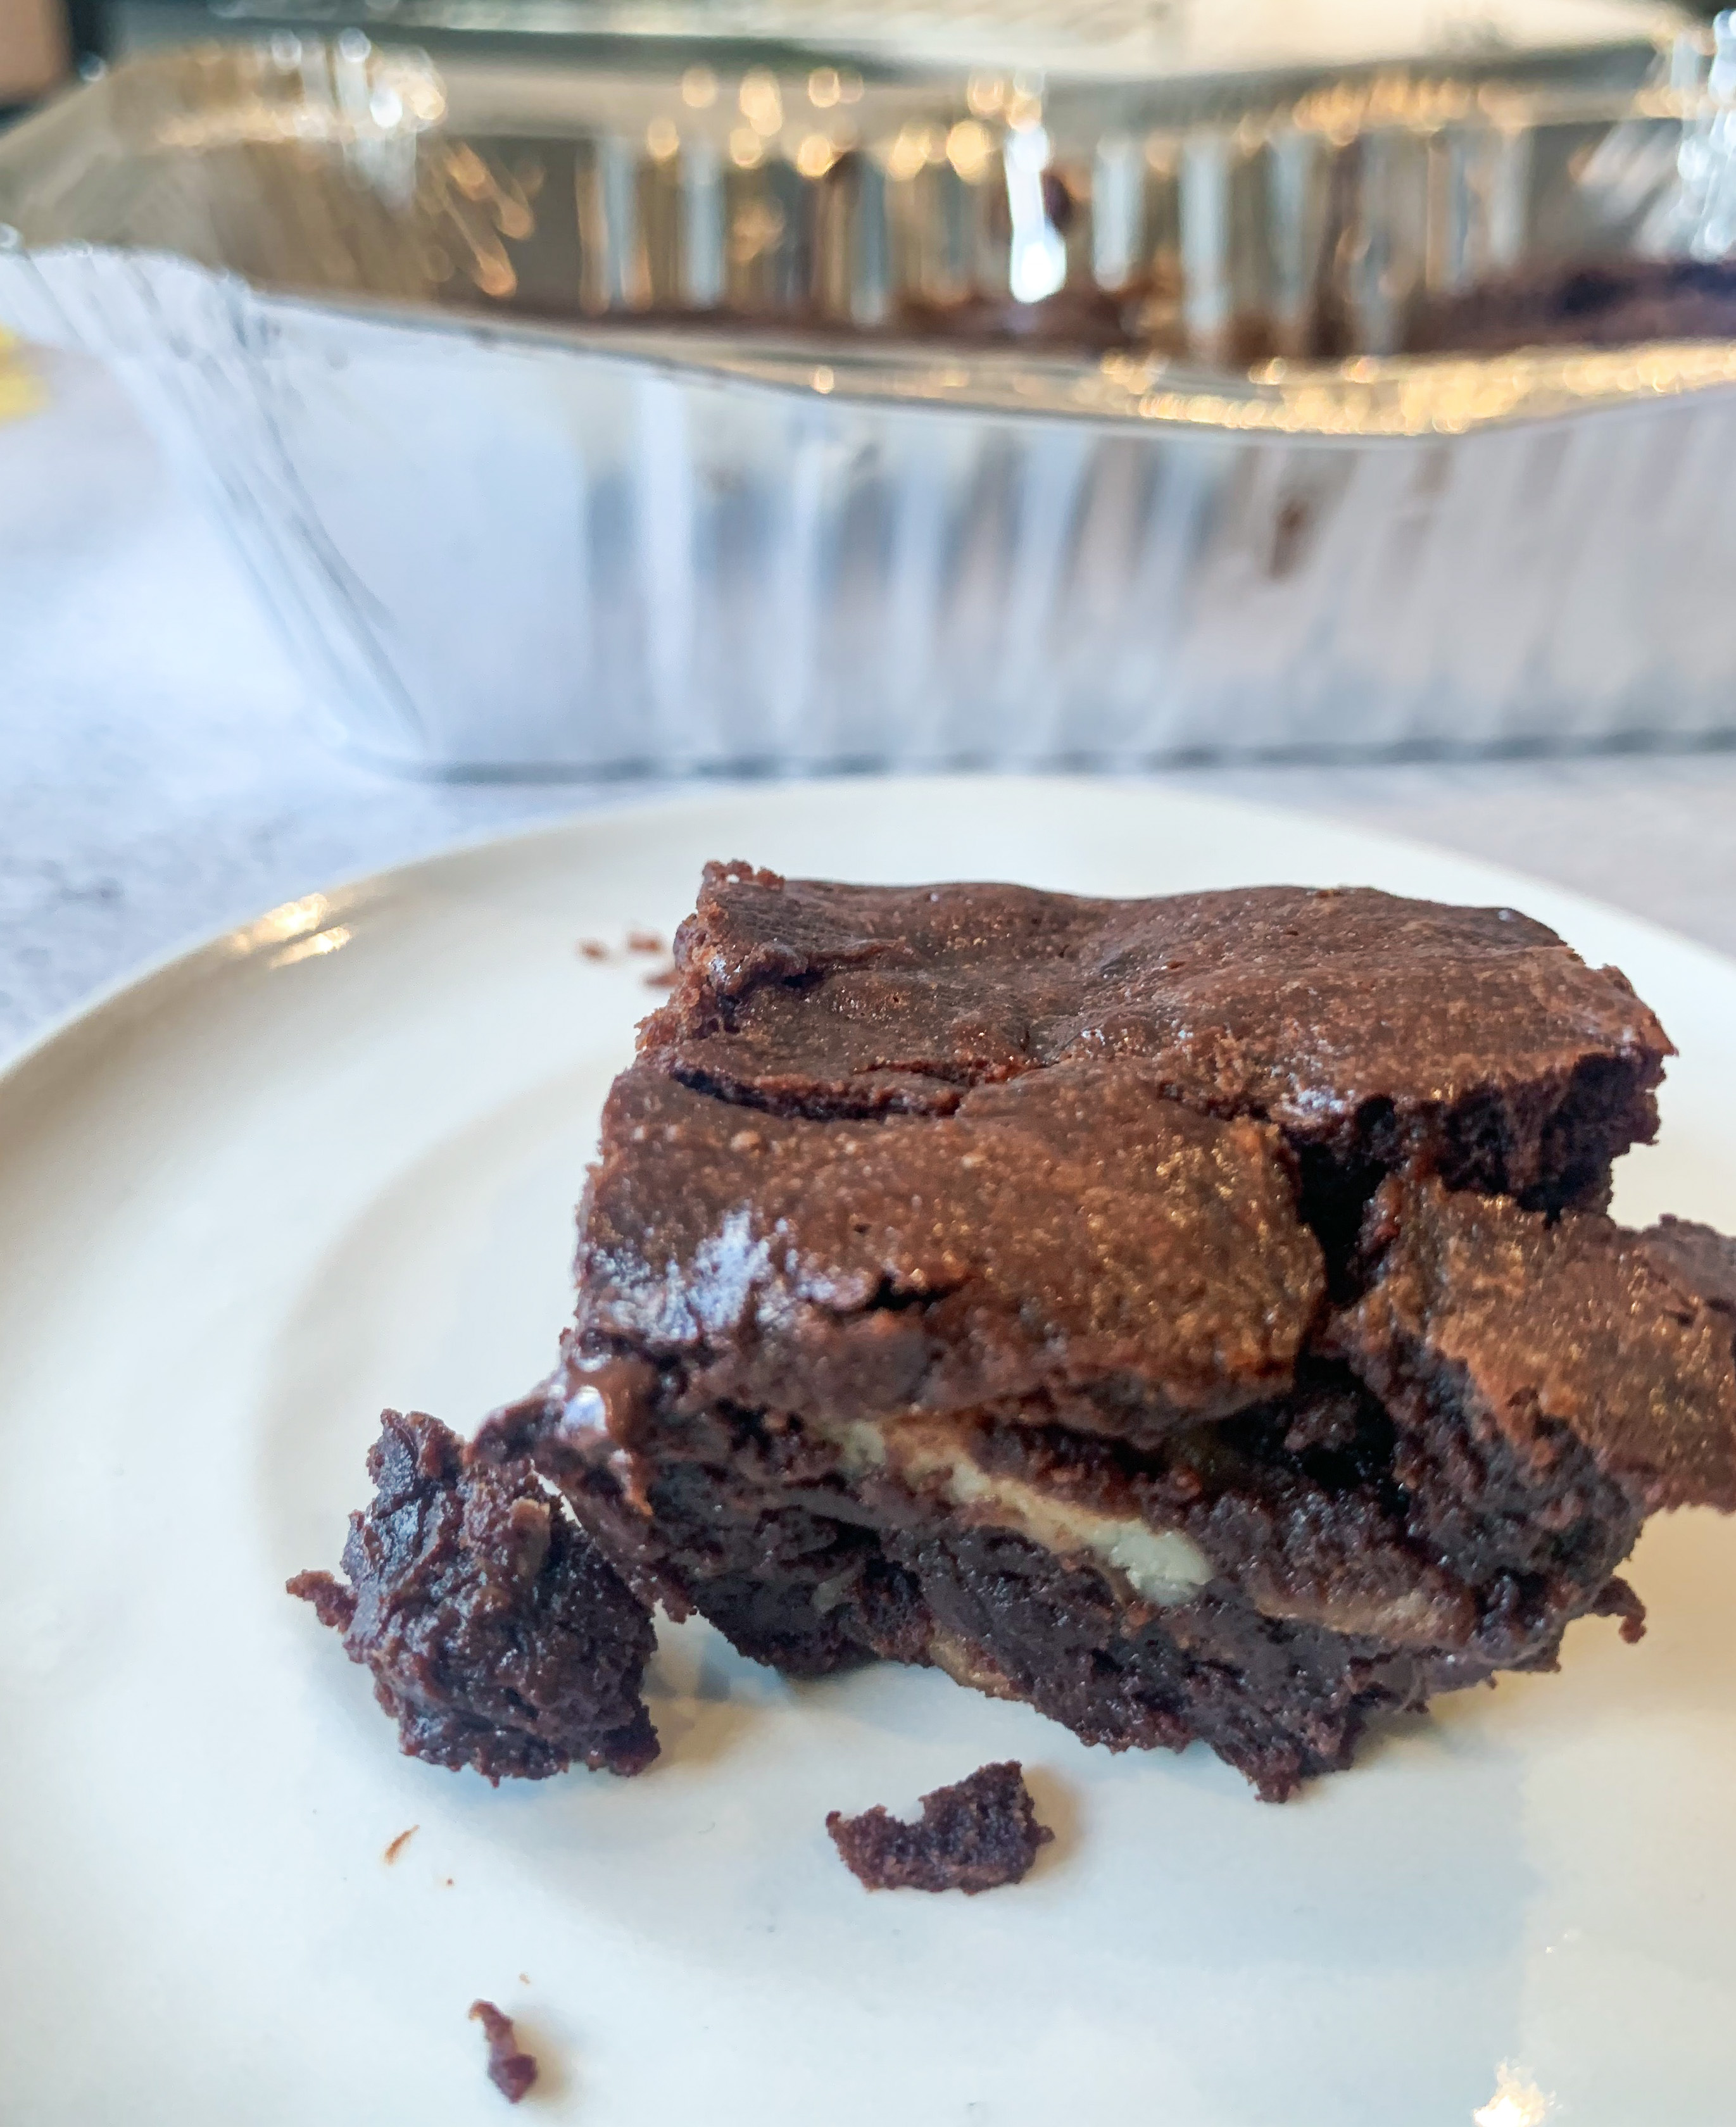
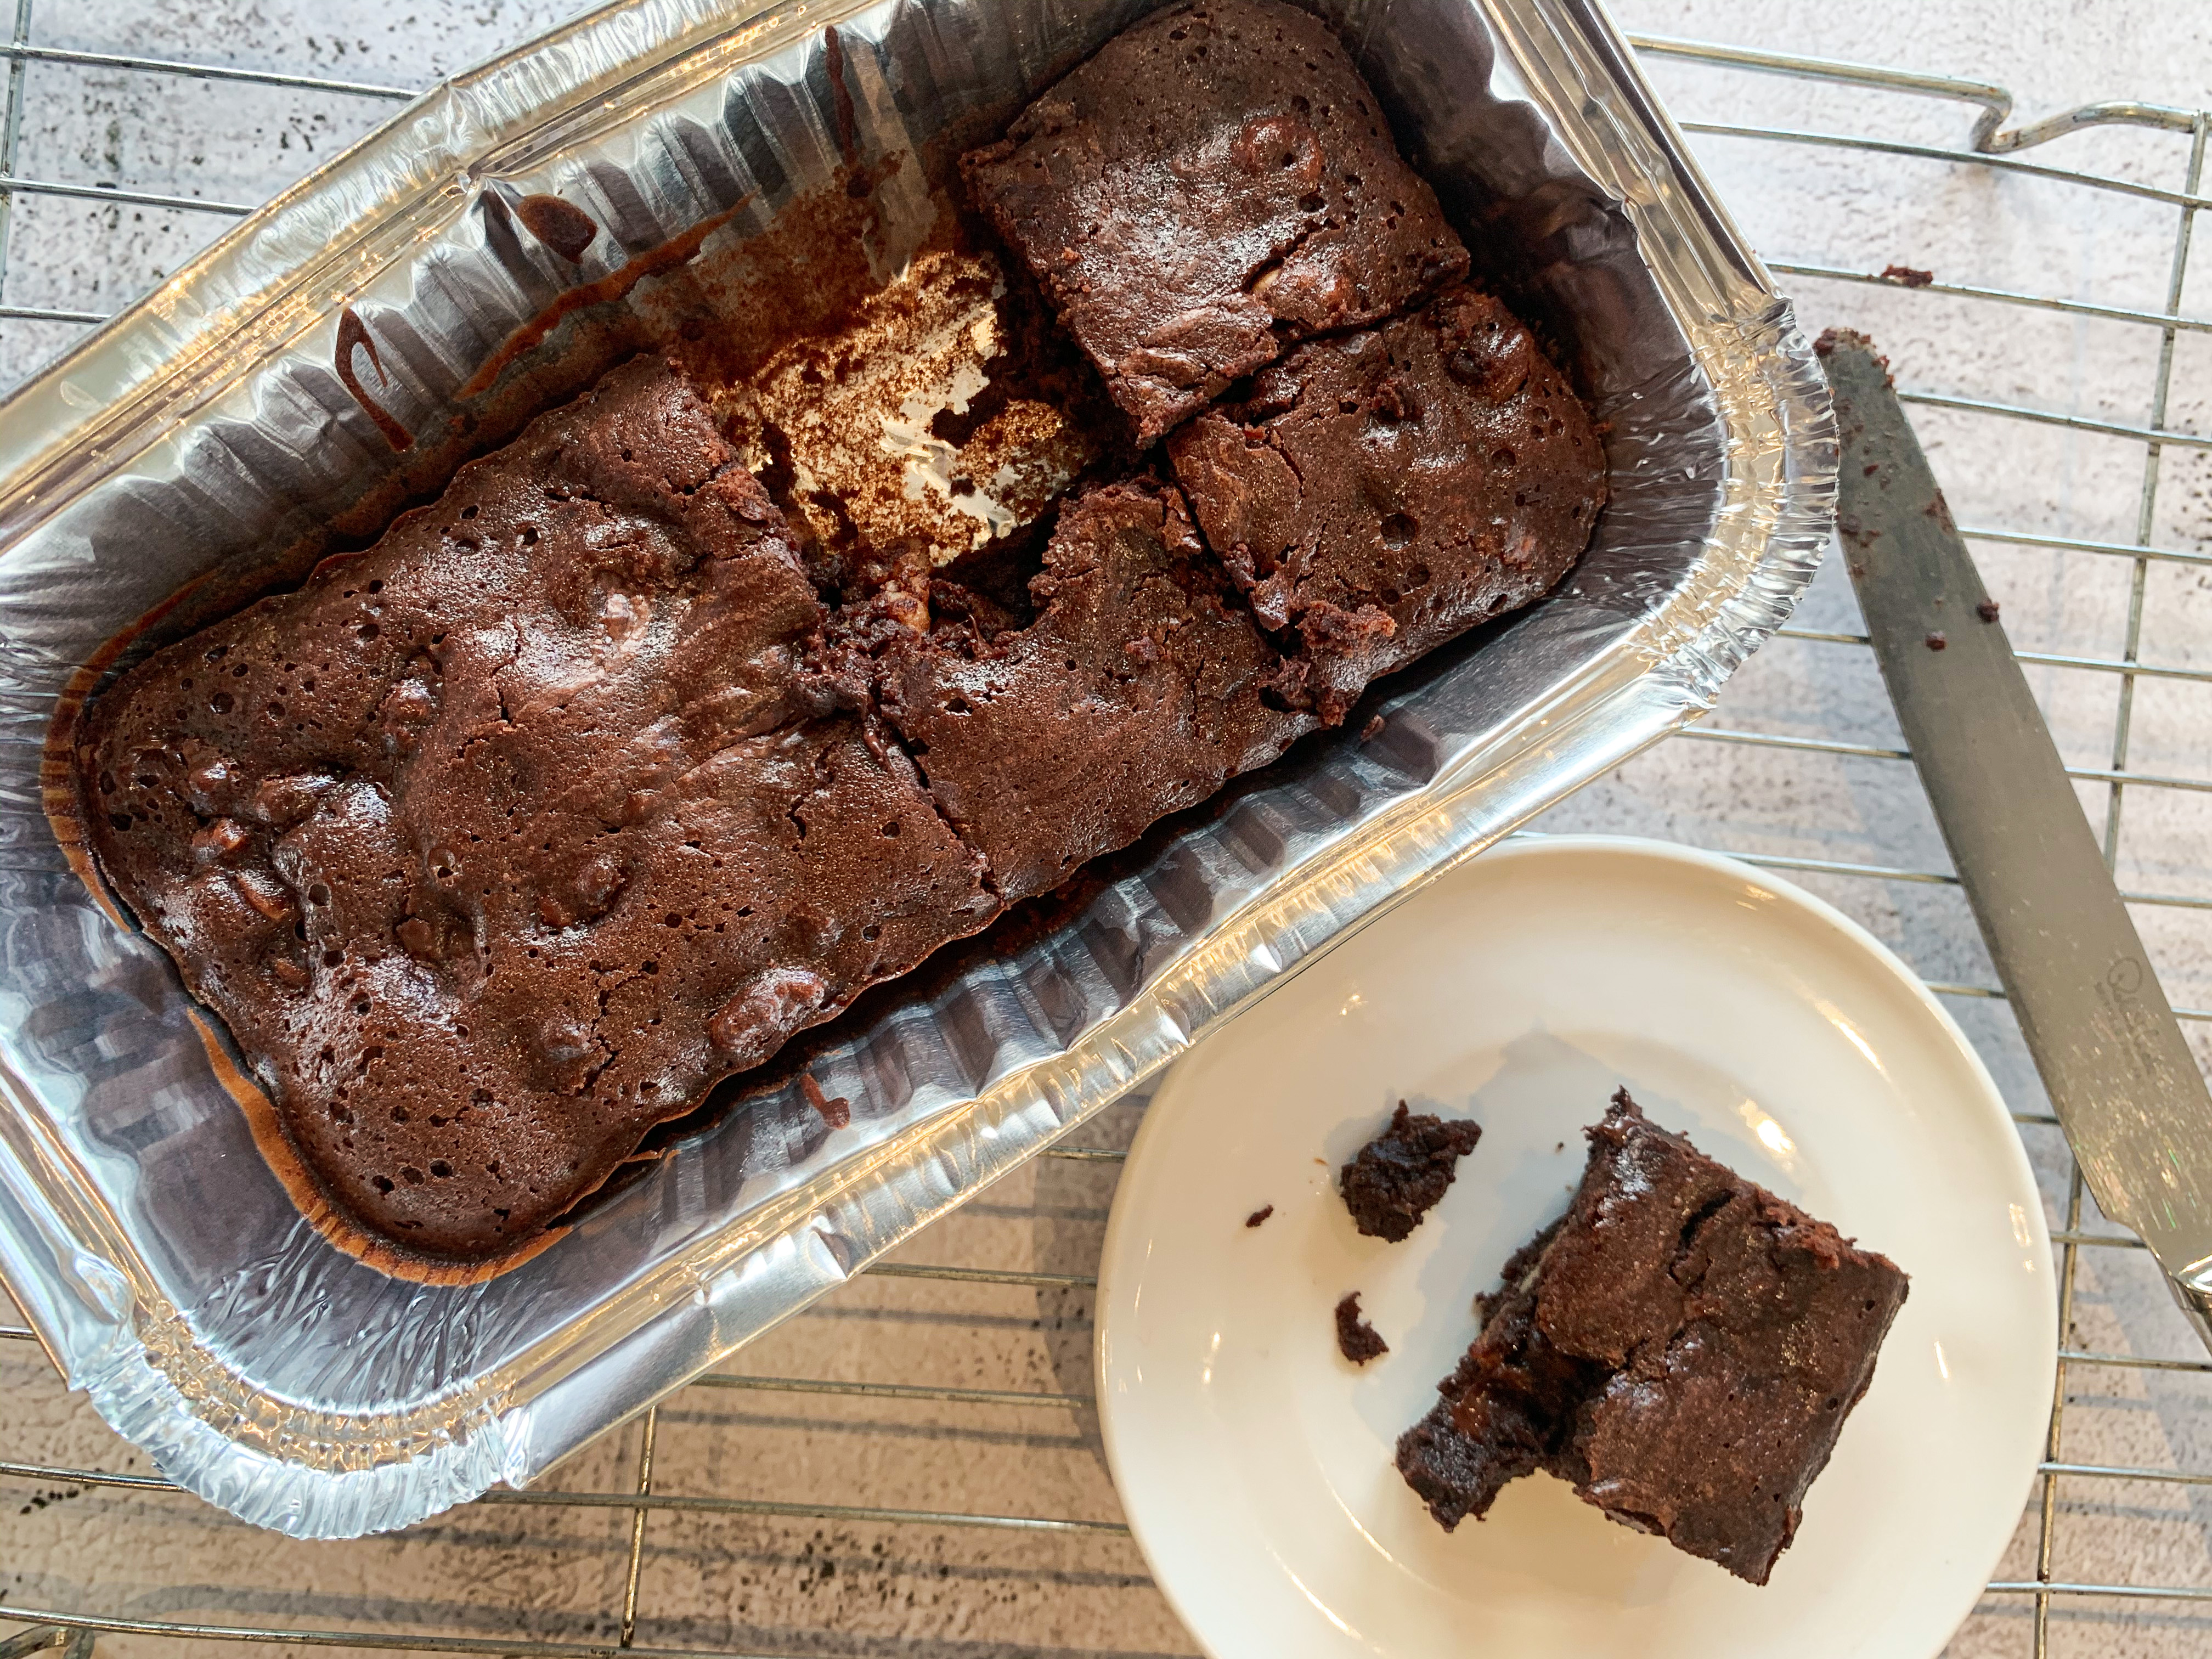
This is a brilliant recipe from Nigella Lawson – only she could have come up with the idea of ‘Emergency Brownies’ – the idea of a small batch for those days when you urgently need a chocolate fix! This recipe makes 2 very generous brownies, so on a good day you’ll get 4!
This recipe is cooked in a foil tin appox. 18 x 11 x 5cm, so there is no need to line or grease it!
50g unsalted butter, softened
50g soft light brown sugar
1 tablespoon golden syrup (or maple syrup)
3 tablespoons plain flour, gluten free if required
3 tablespoons cocoa powder (I use Green&Blacks)
¼ teaspoon sea salt
1 large egg
1 teaspoon vanilla extract
50g walnut pieces (optional)
50g chocolate chips (dark or milk)
1 x foil tin approx. 18 x 11 x 5cm
- Put the butter, sugar and golden syrup into a small saucepan and gently heat, stirring, until the butter is melted and the sugar has dissolved. Remove from the heat.
- Mix together the flour, cocoa and salt, then beat into the butter mixture in the pan, until smooth.
- Whisk the egg with the vanilla and then stir it thoroughly into the pan mixture. Finally fold in the chocolate chips and walnut pieces (if using).
- Pour the mixture into the foil tin.
- Bake in a preheated oven, 150’c fan, for 15-20 minutes until it is beginning to come away from the sides and the top has dried a little around the edges.
- Transfer to a wire rack in the tin and leave to cool for 20-30 minutes.
Chocolate Crispy Cakes
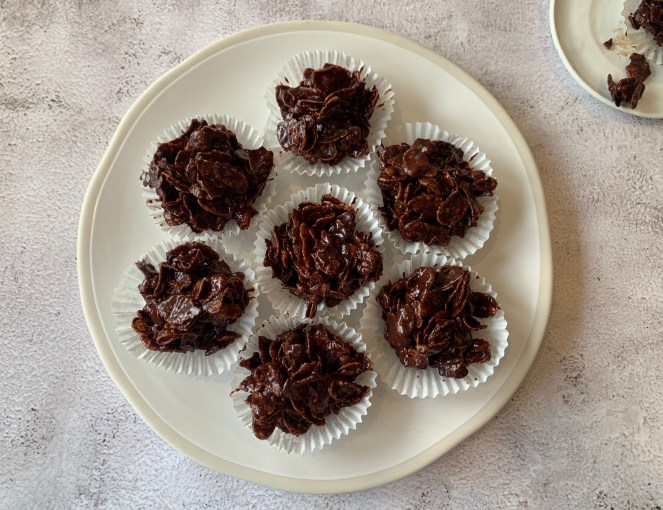
An all-time favourite in my house, these were the staple children’s birthday party food when my son, Felix, was a toddler. However, they really shouldn’t only be for children – everyone deserves these! I make mine with Lindt 70% cocoa chocolate, which gives them a more adult flavour, they are certainly not a childish treat – I have been known to serve mini ones as petit fours at dinner parties!
50g unsalted butter
4 tablespoons golden syrup
100g dark chocolate (I use Lindt Excellence 70% Cocoa Dark Chocolate)
75g cornflakes
- Gently melt the butter, syrup and chocolate in a bowl suspended over a pan of barely simmering water (a bain marie).
- Stir in the cornflakes.
- Spoon the mixture into cupcake cases (or smaller ones to make petit fours!), or if you don’t have cases, just spoon large spoonfuls onto a buttered baking tray, and place in the fridge until set.
